Creating Custom Cabinetry
After stripping off the old contact paper, there wasn’t much else that the cabinets needed. We primed them, painted them and planned on calling it good. But being us, we decided the cabinets needed a little something extra. Creating custom trim was the way to go.
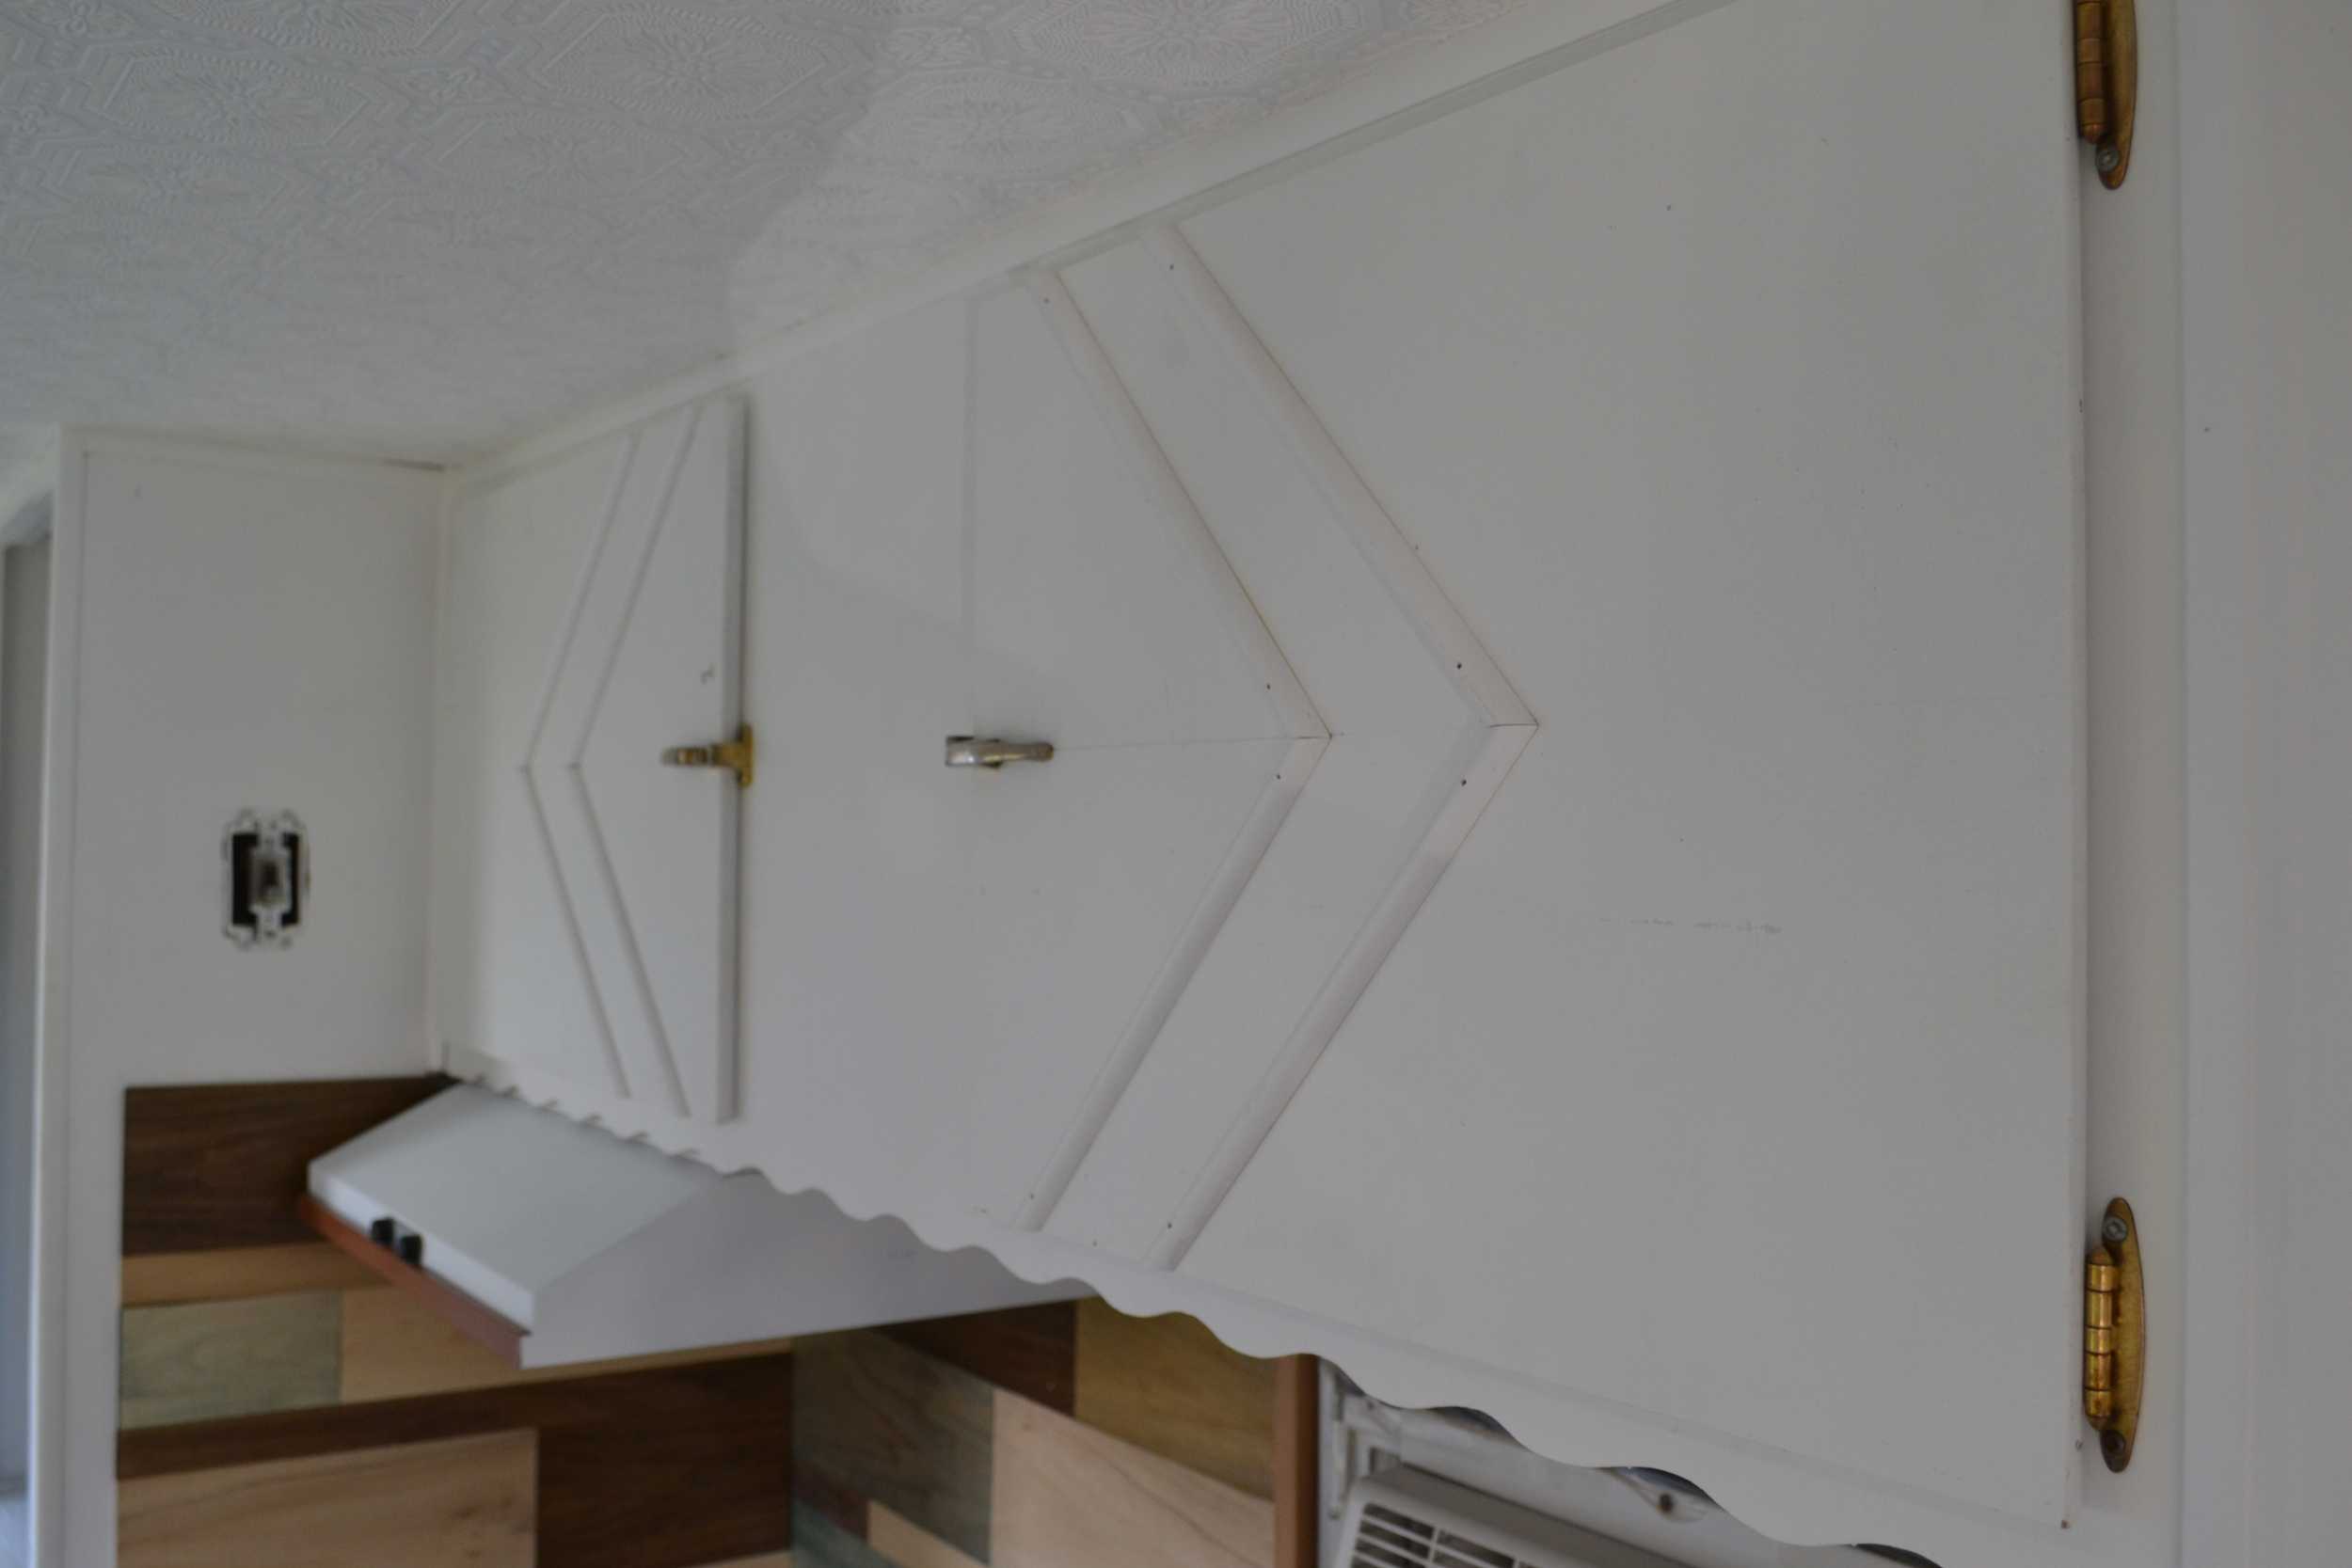
We’d already purchased some ¼” round trim for our flooring project. After holding it up to the cabinets, we thought that same trim would be the right size / width for cabinet facing, too. So we got busy designing.
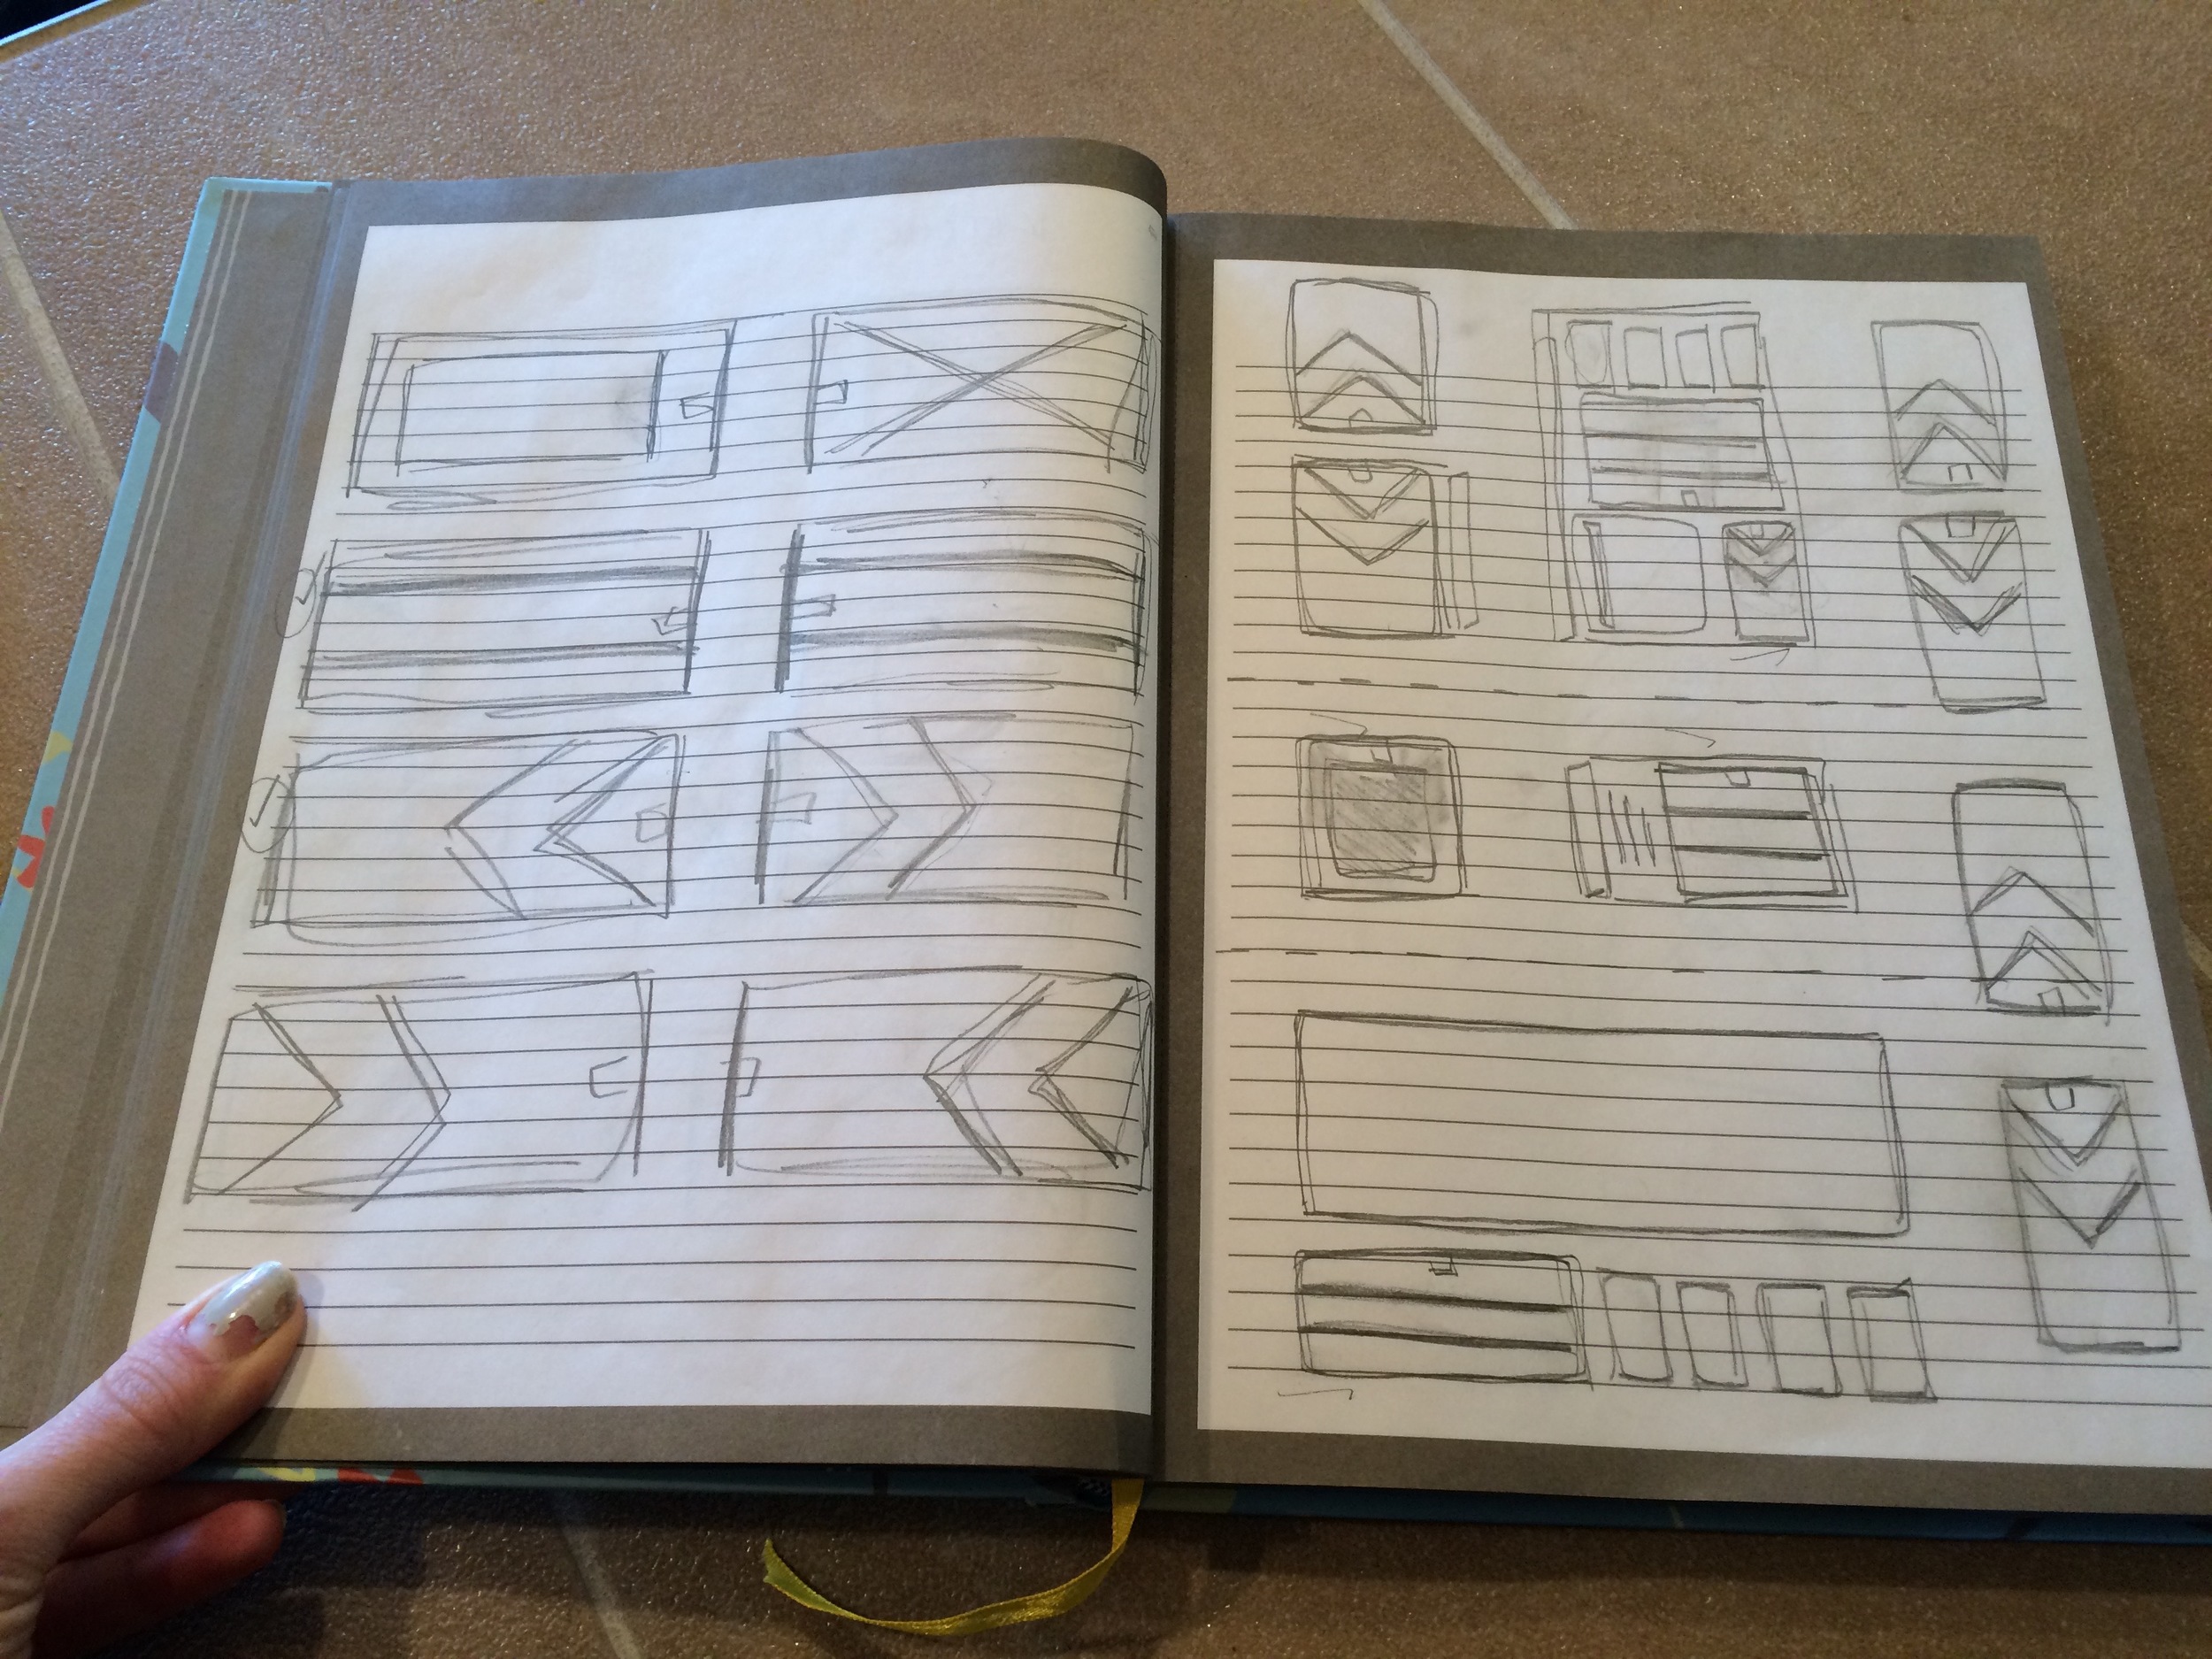
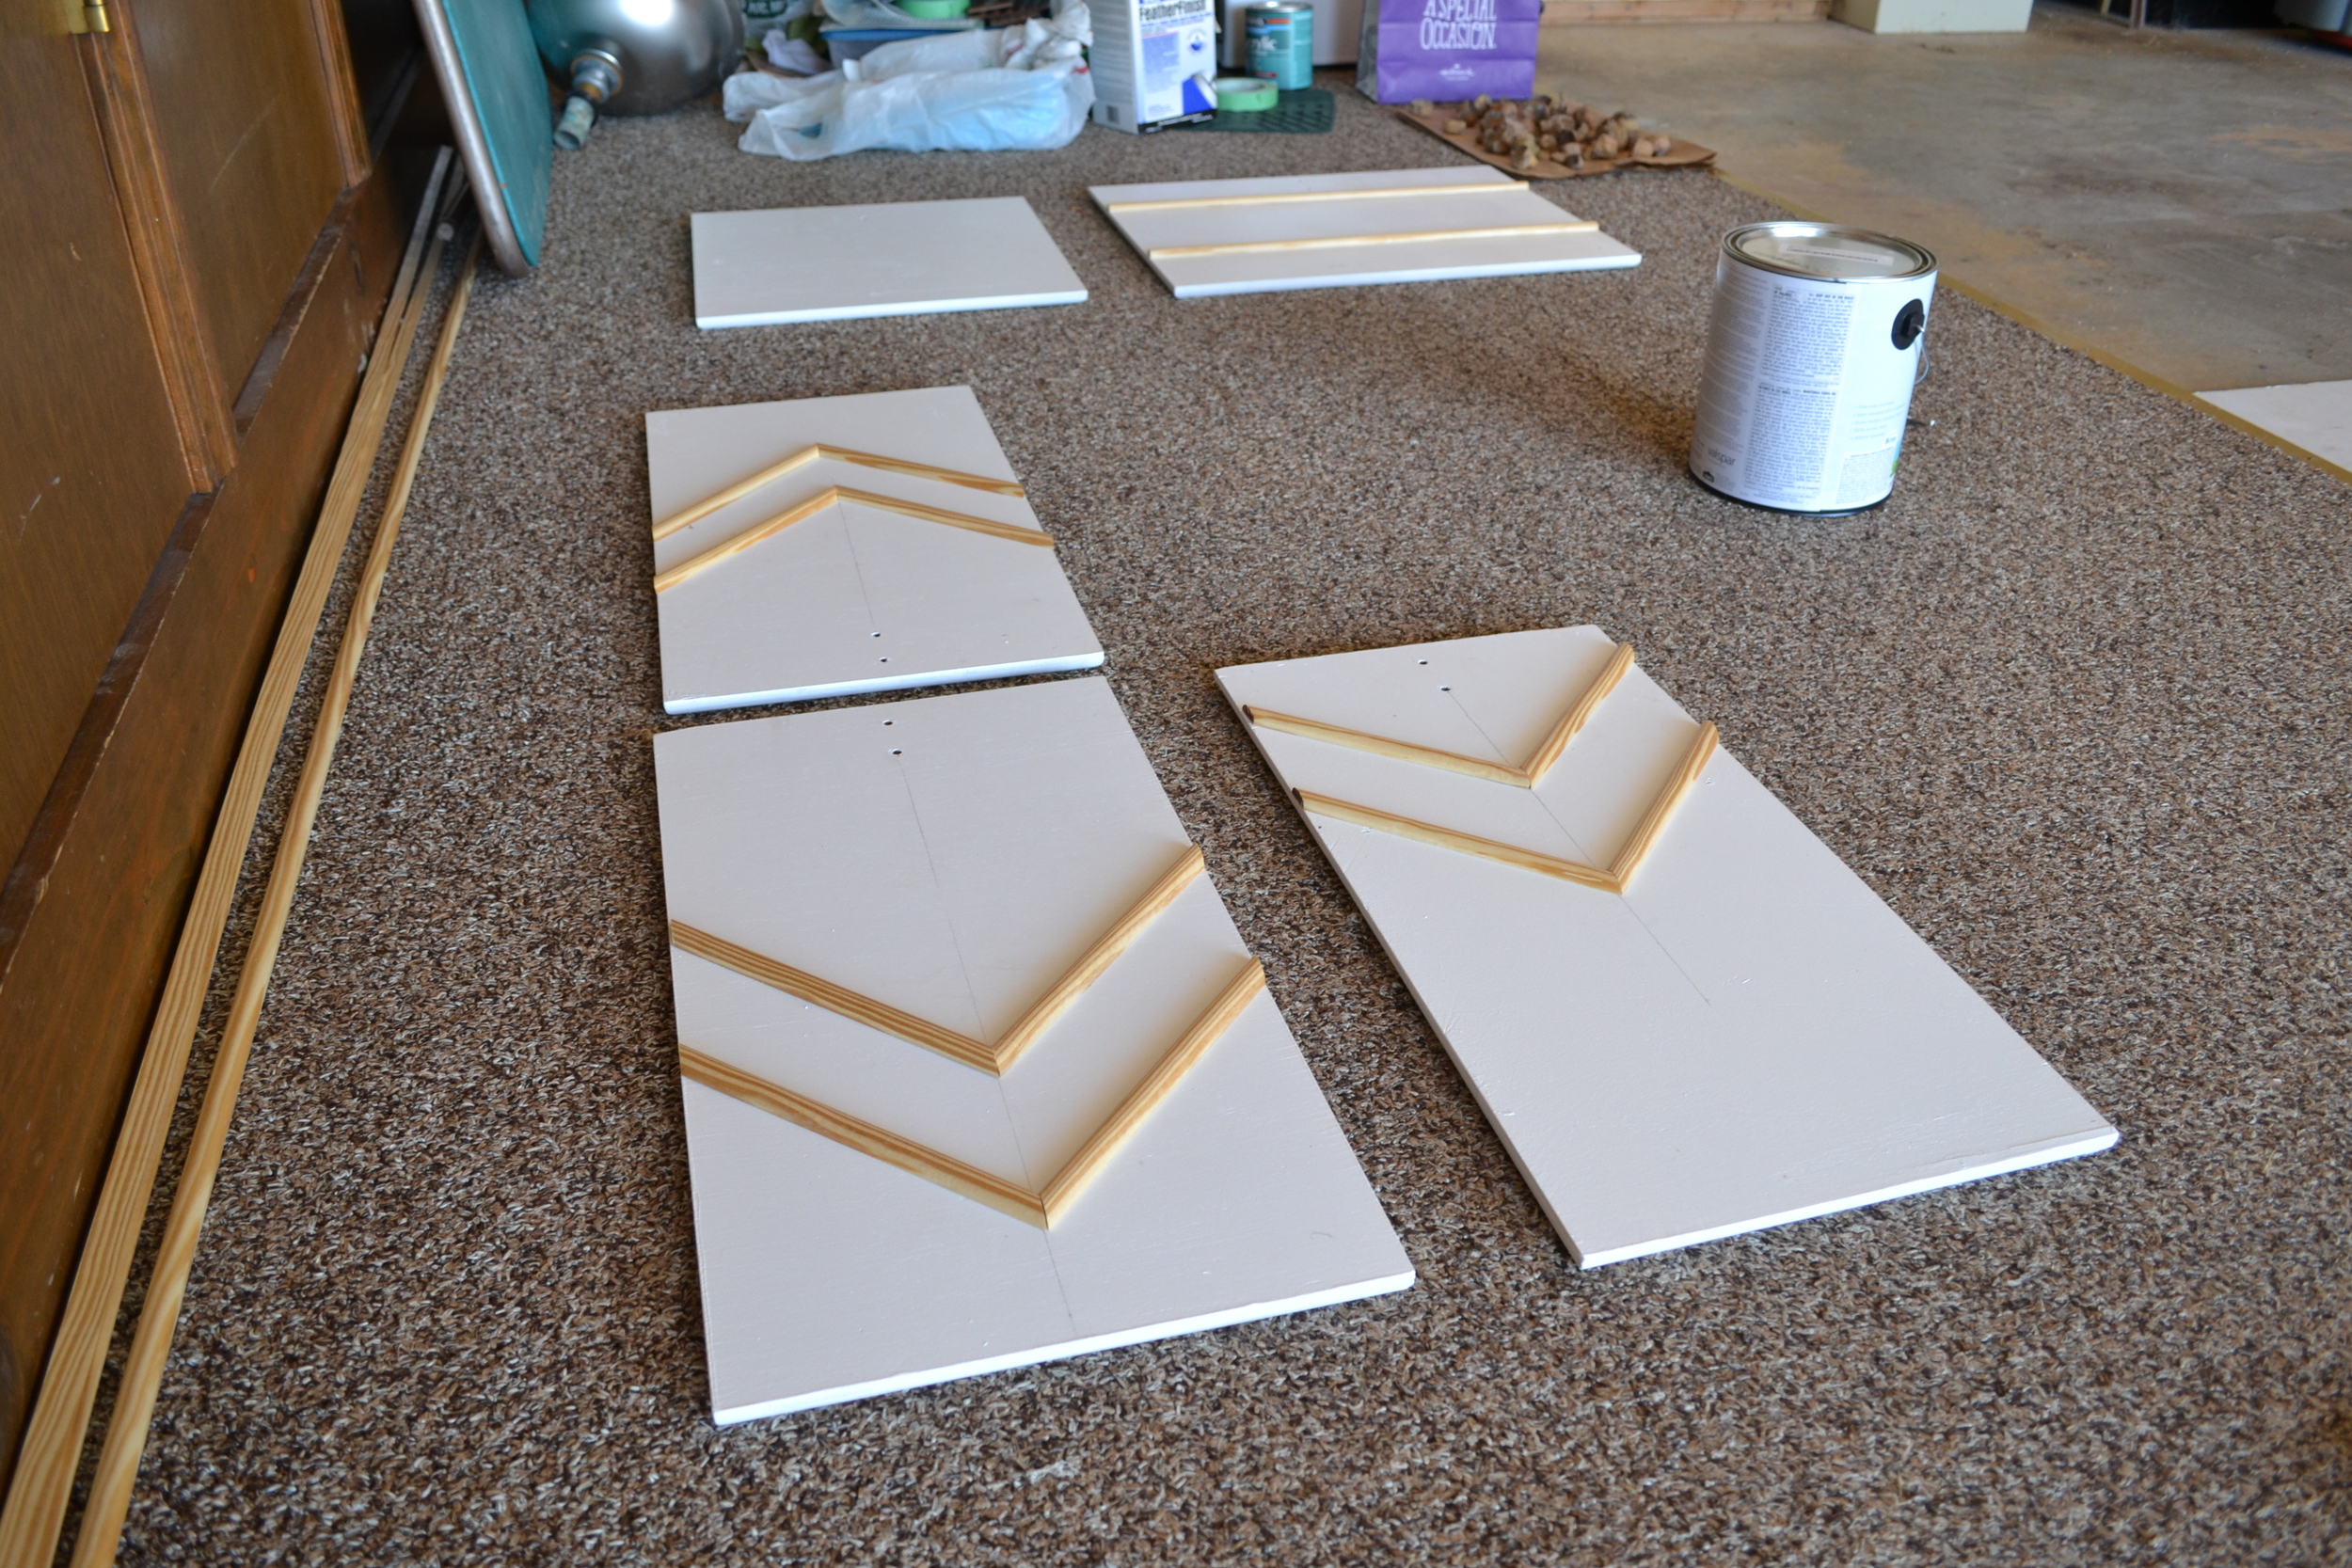
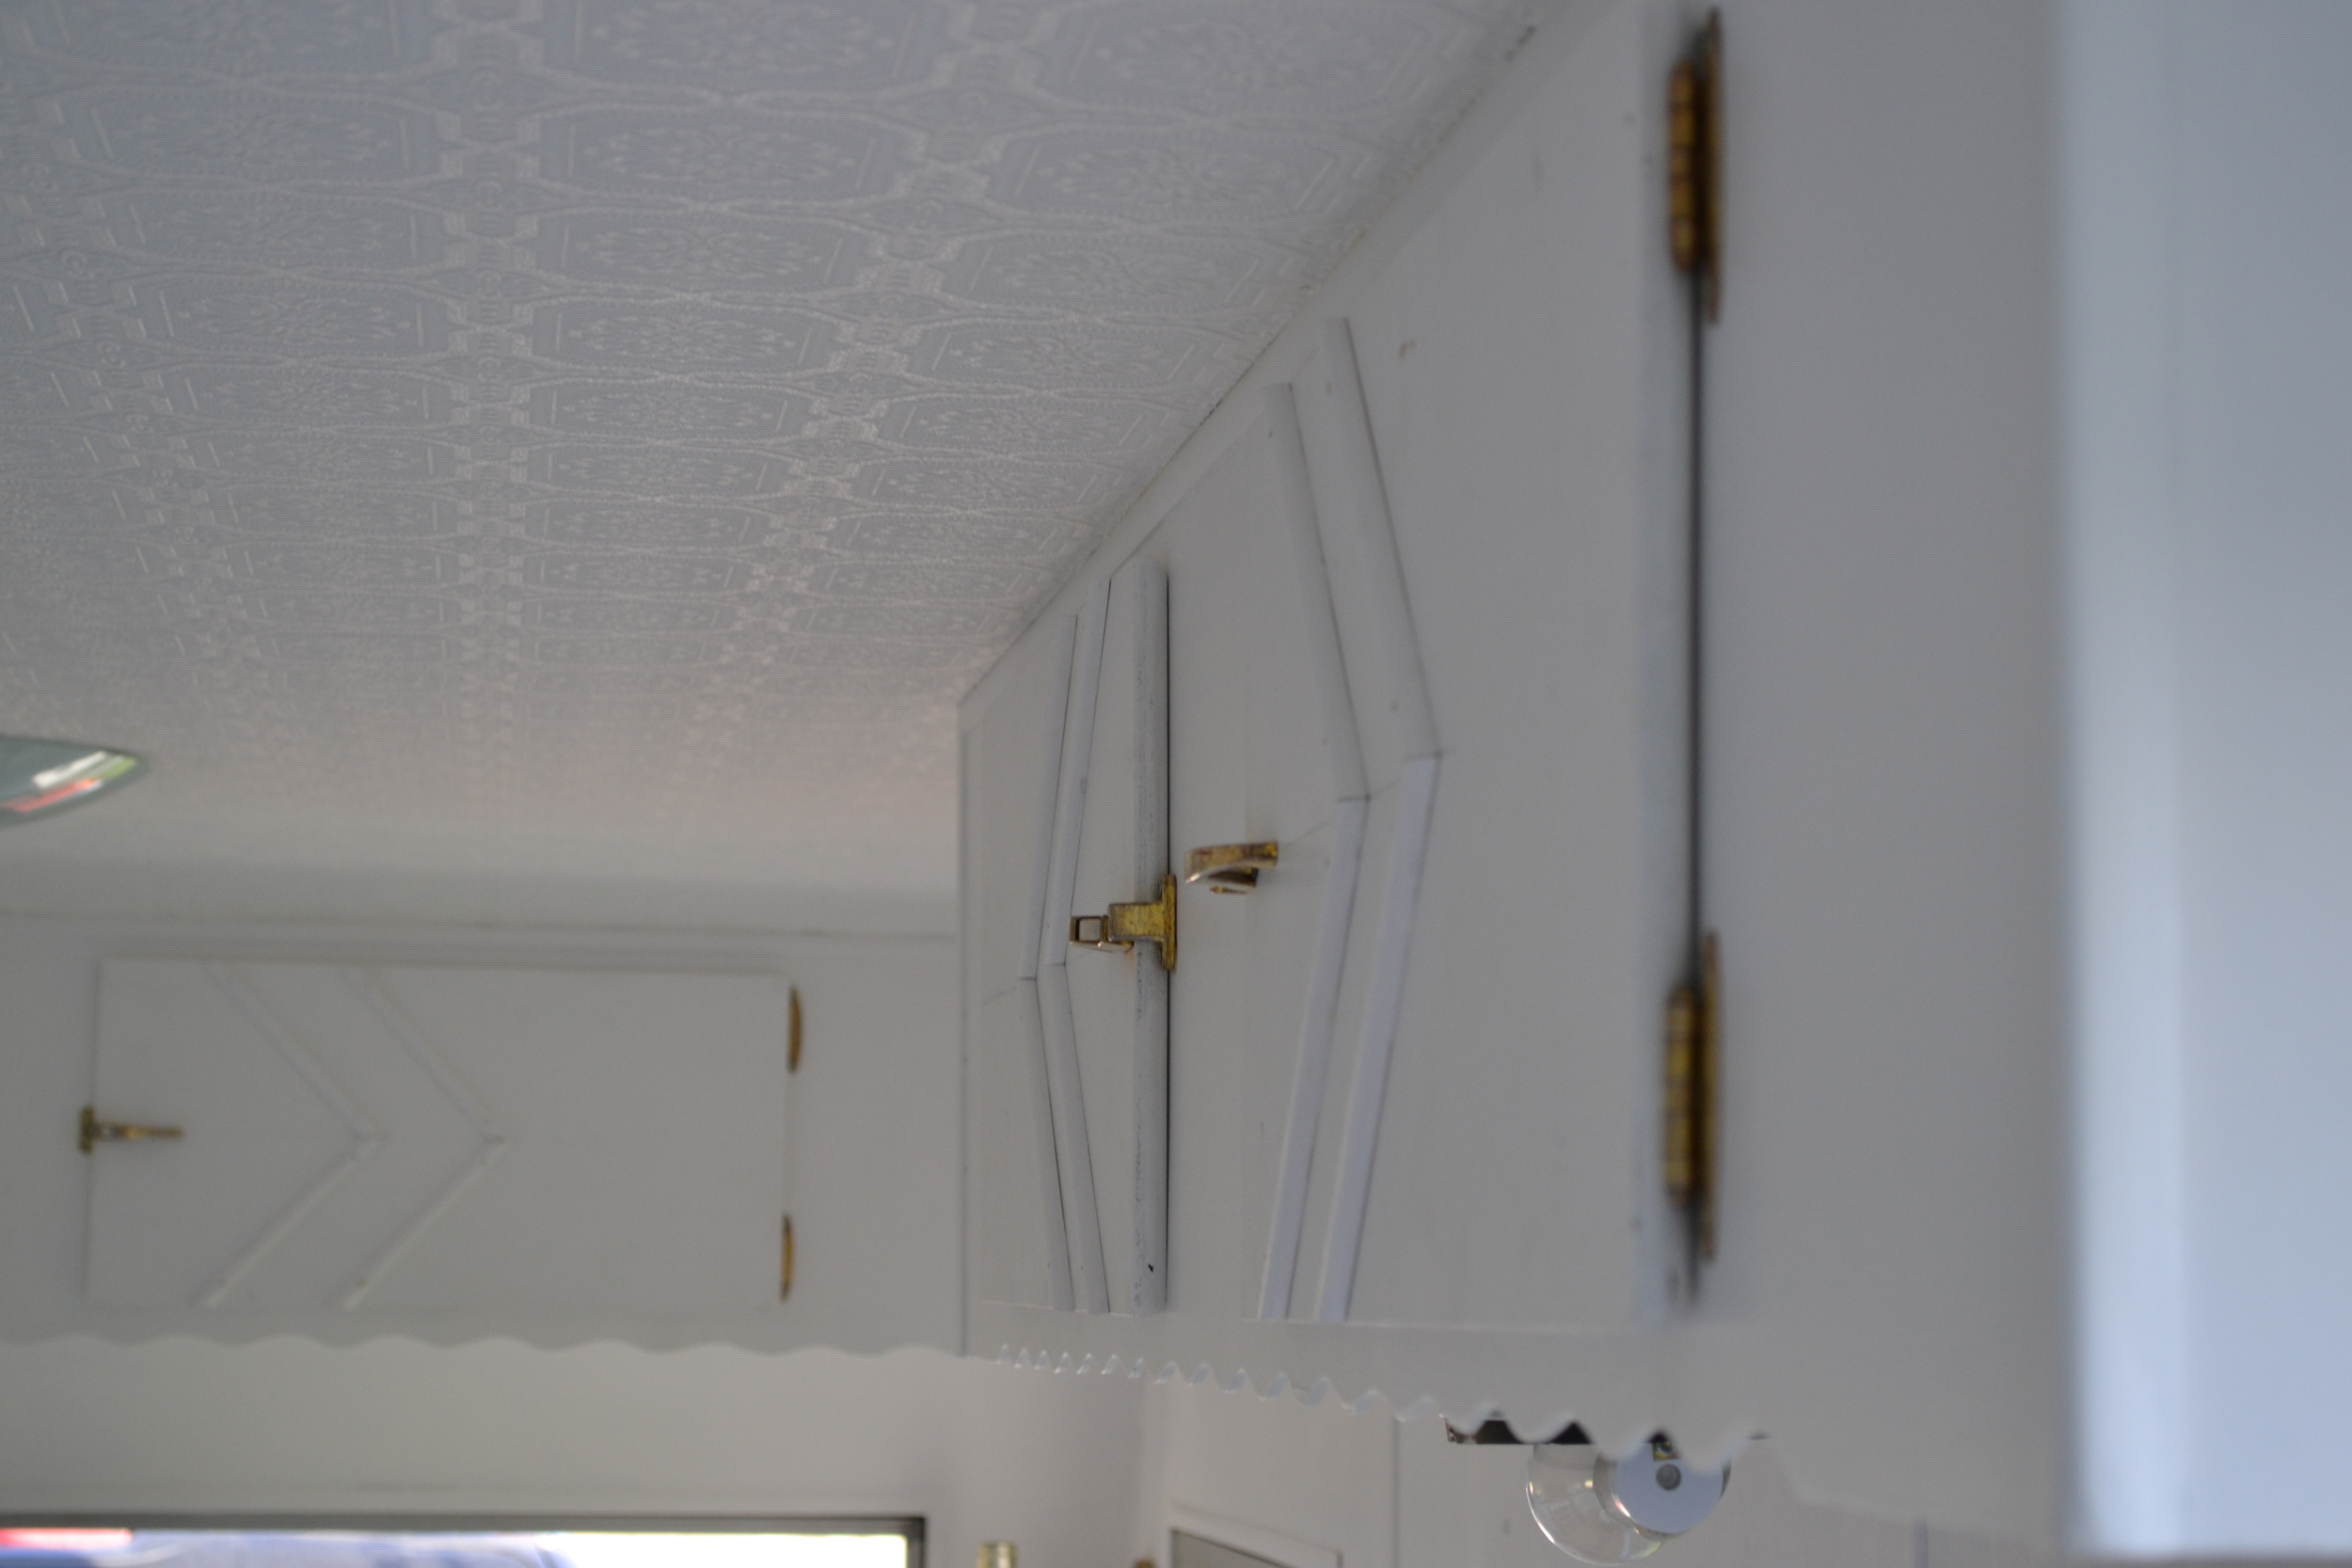
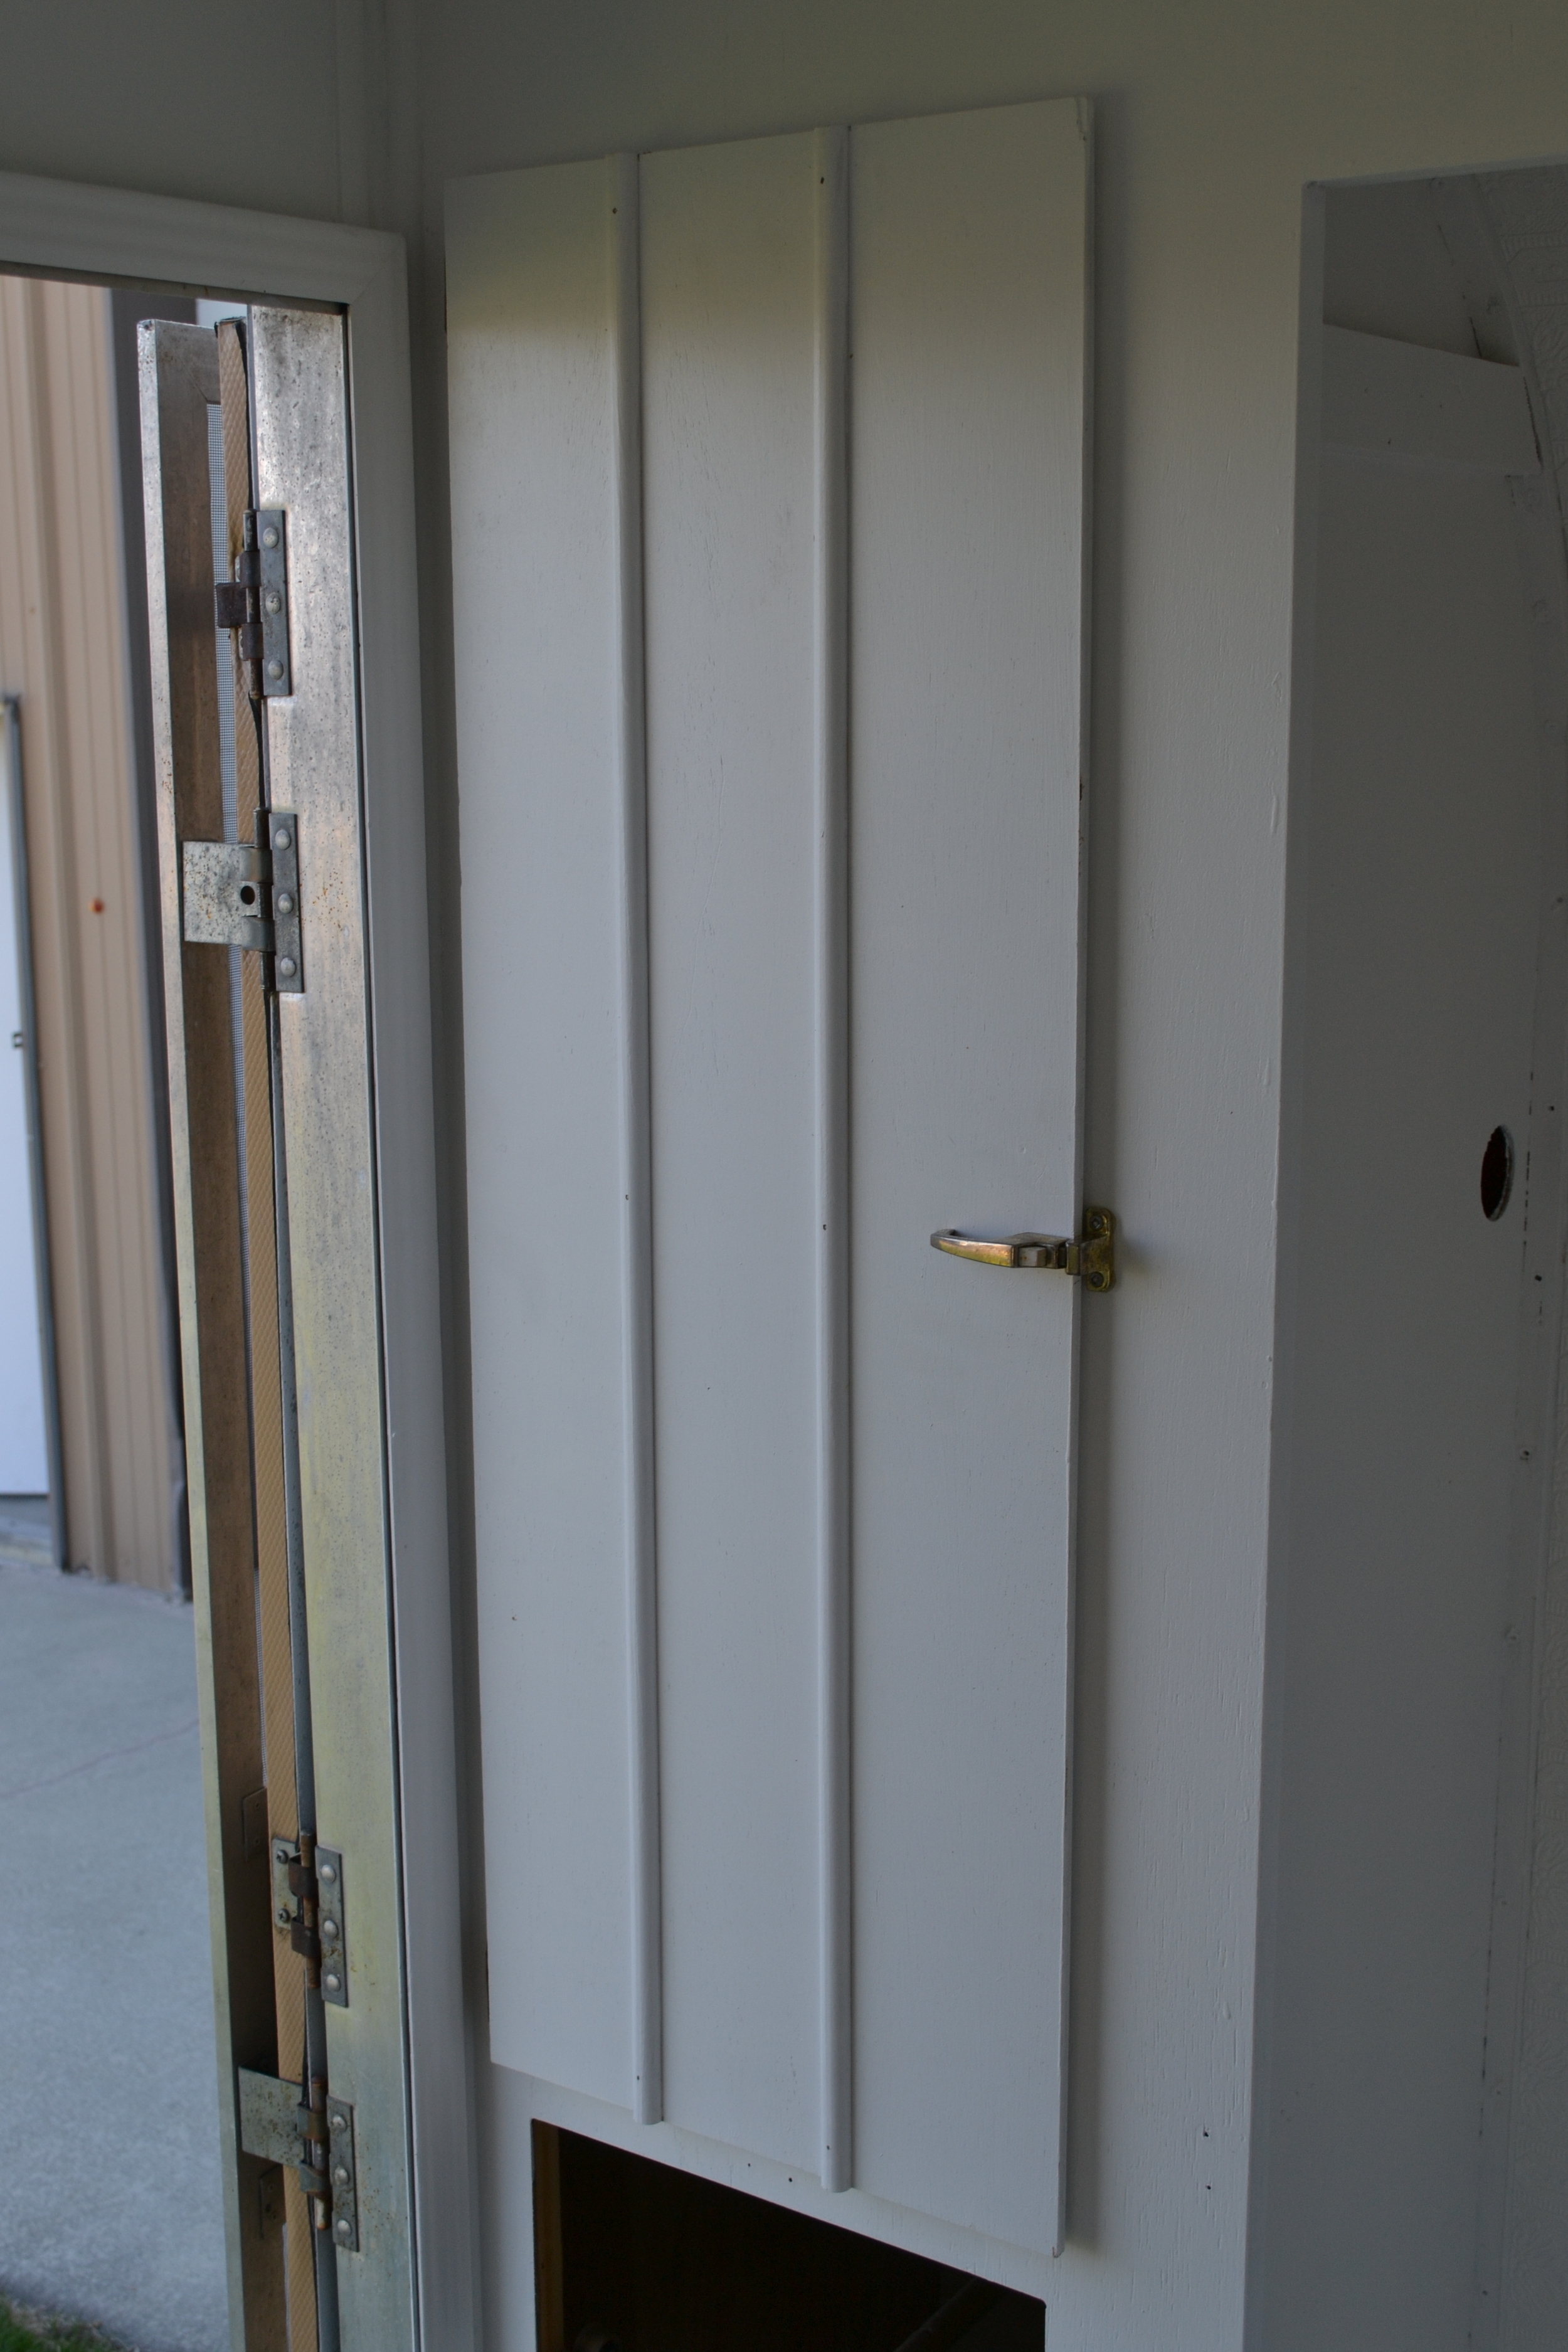
We considered a lot of different designs: boxes, diamonds, other polygons. We sketched out a few options that were arrow shaped and decided we liked that best. The only problem was that some of the cabinets were too tall for the arrows; they'd look funny with that same design. So we opted for some plain parallel lines on those. Oh, and we decided to leave the big closet and bathroom doors alone, too. Cabinets only on this DIY.
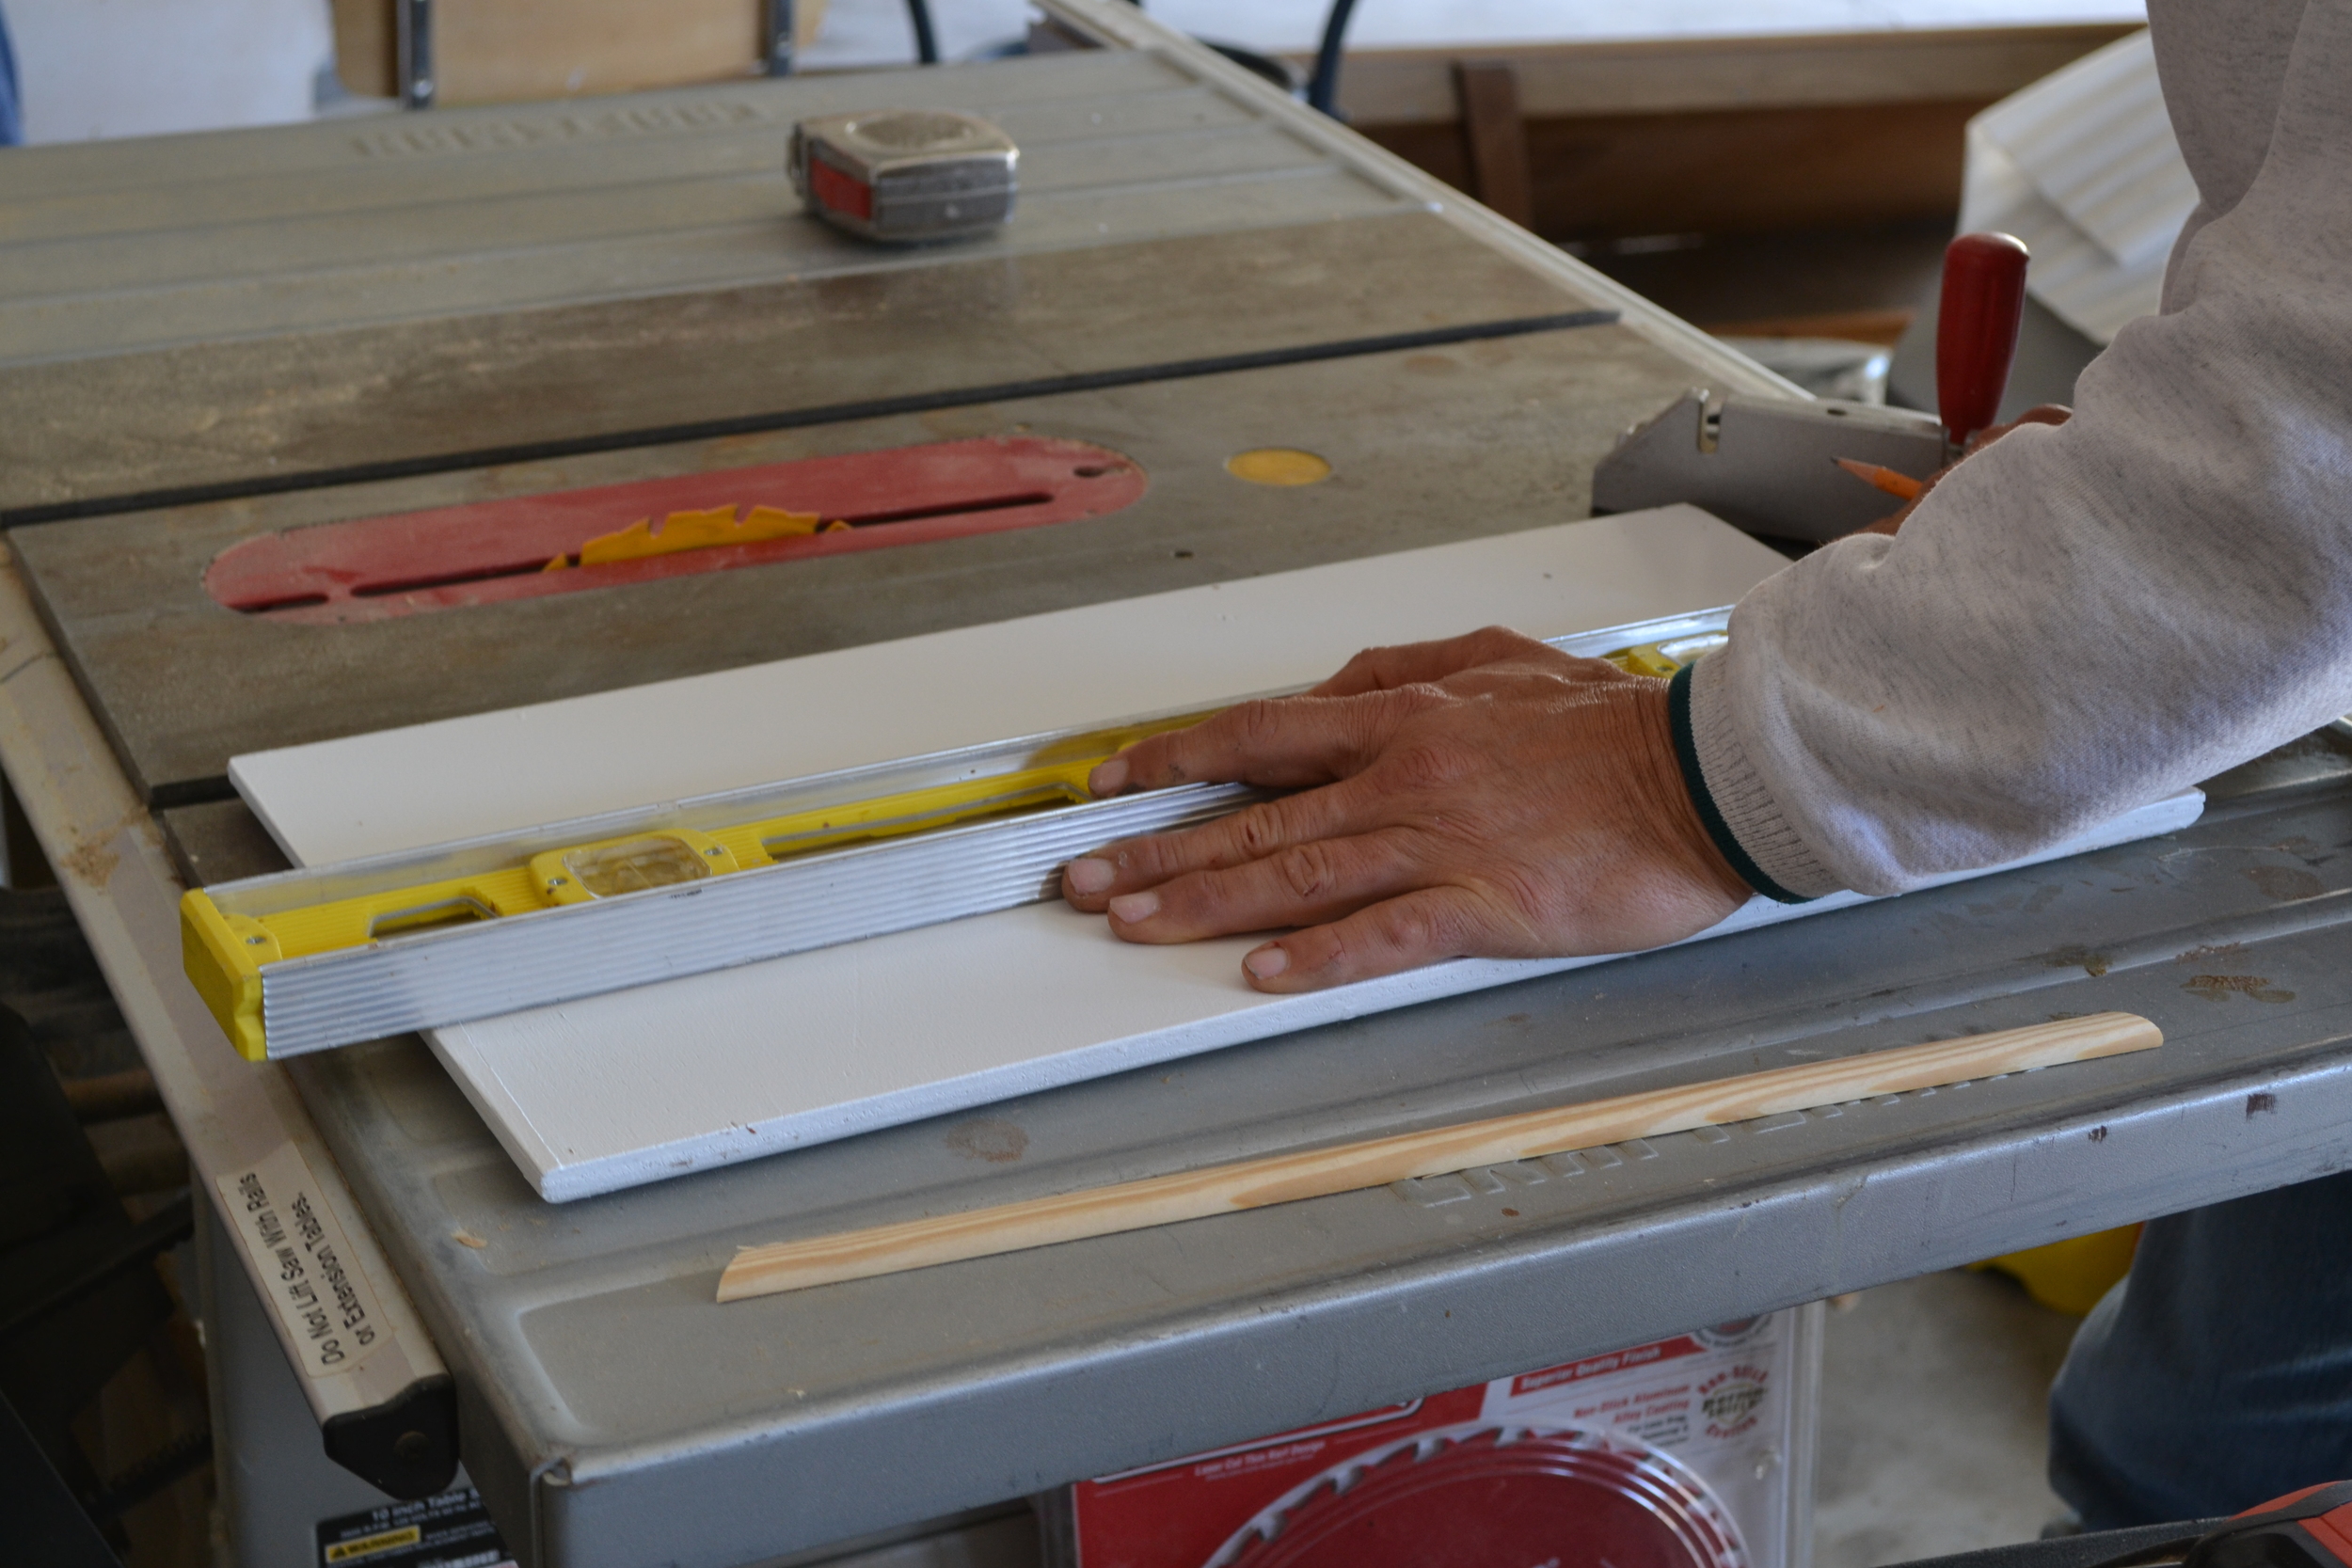
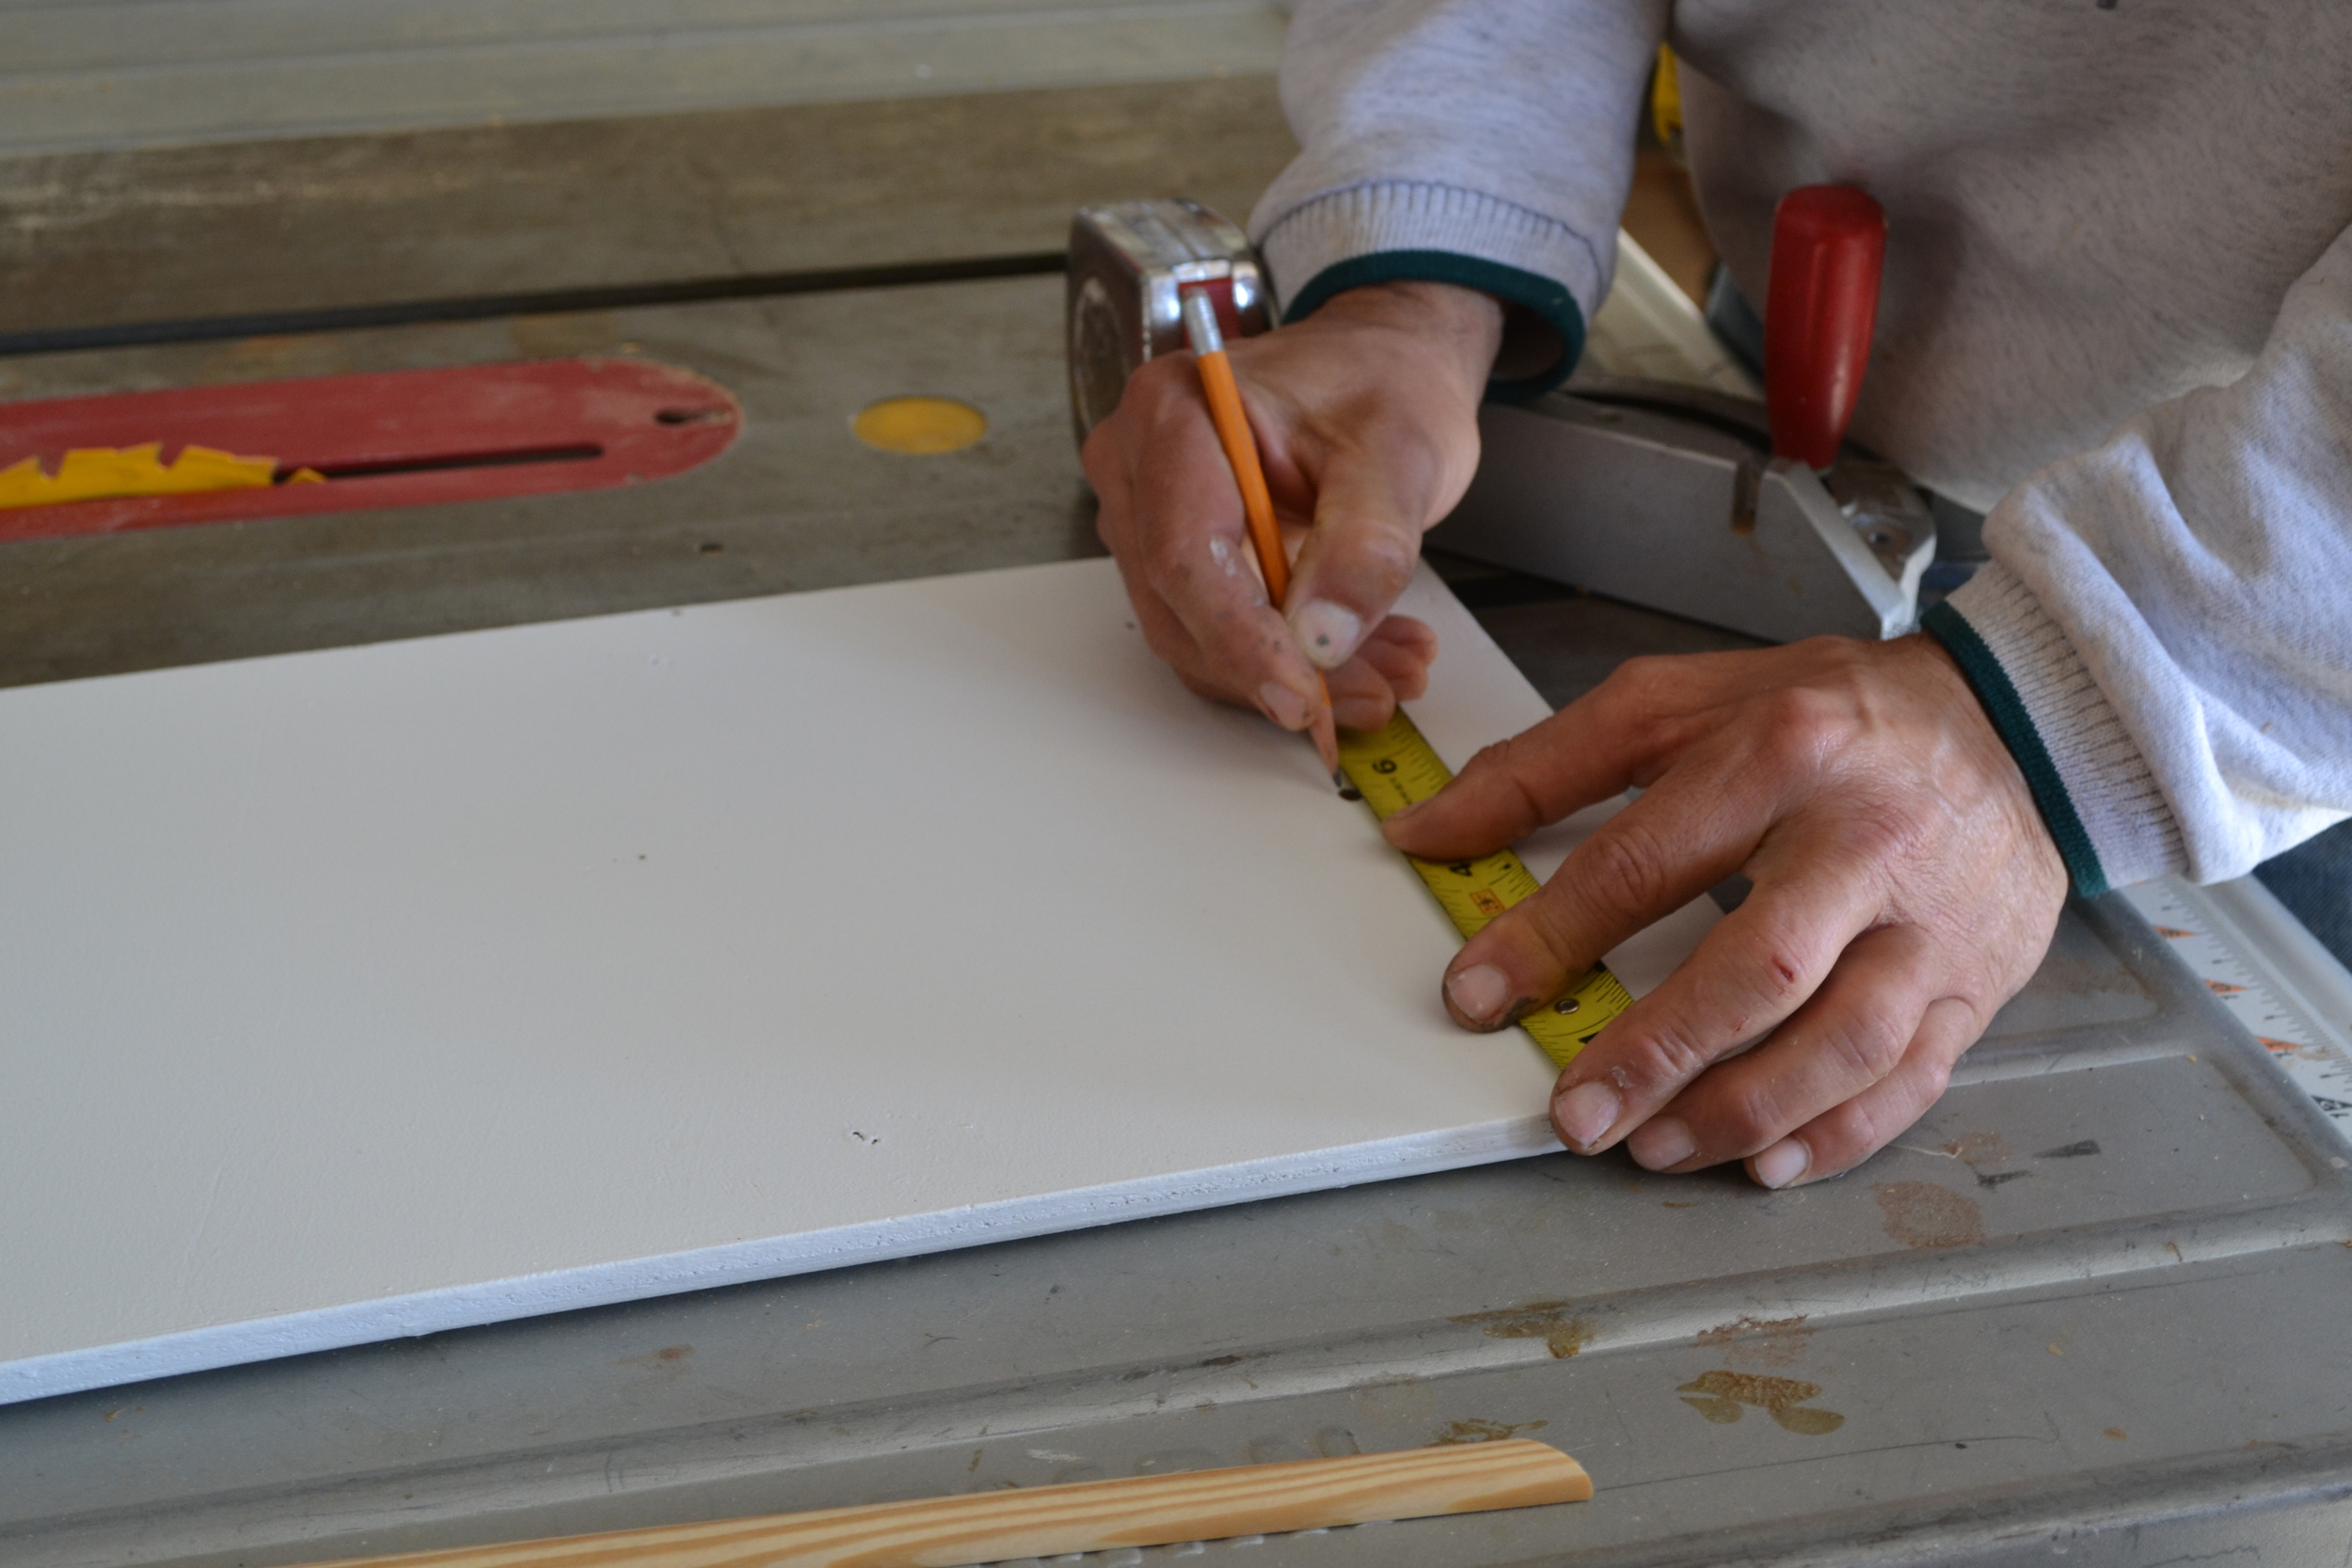
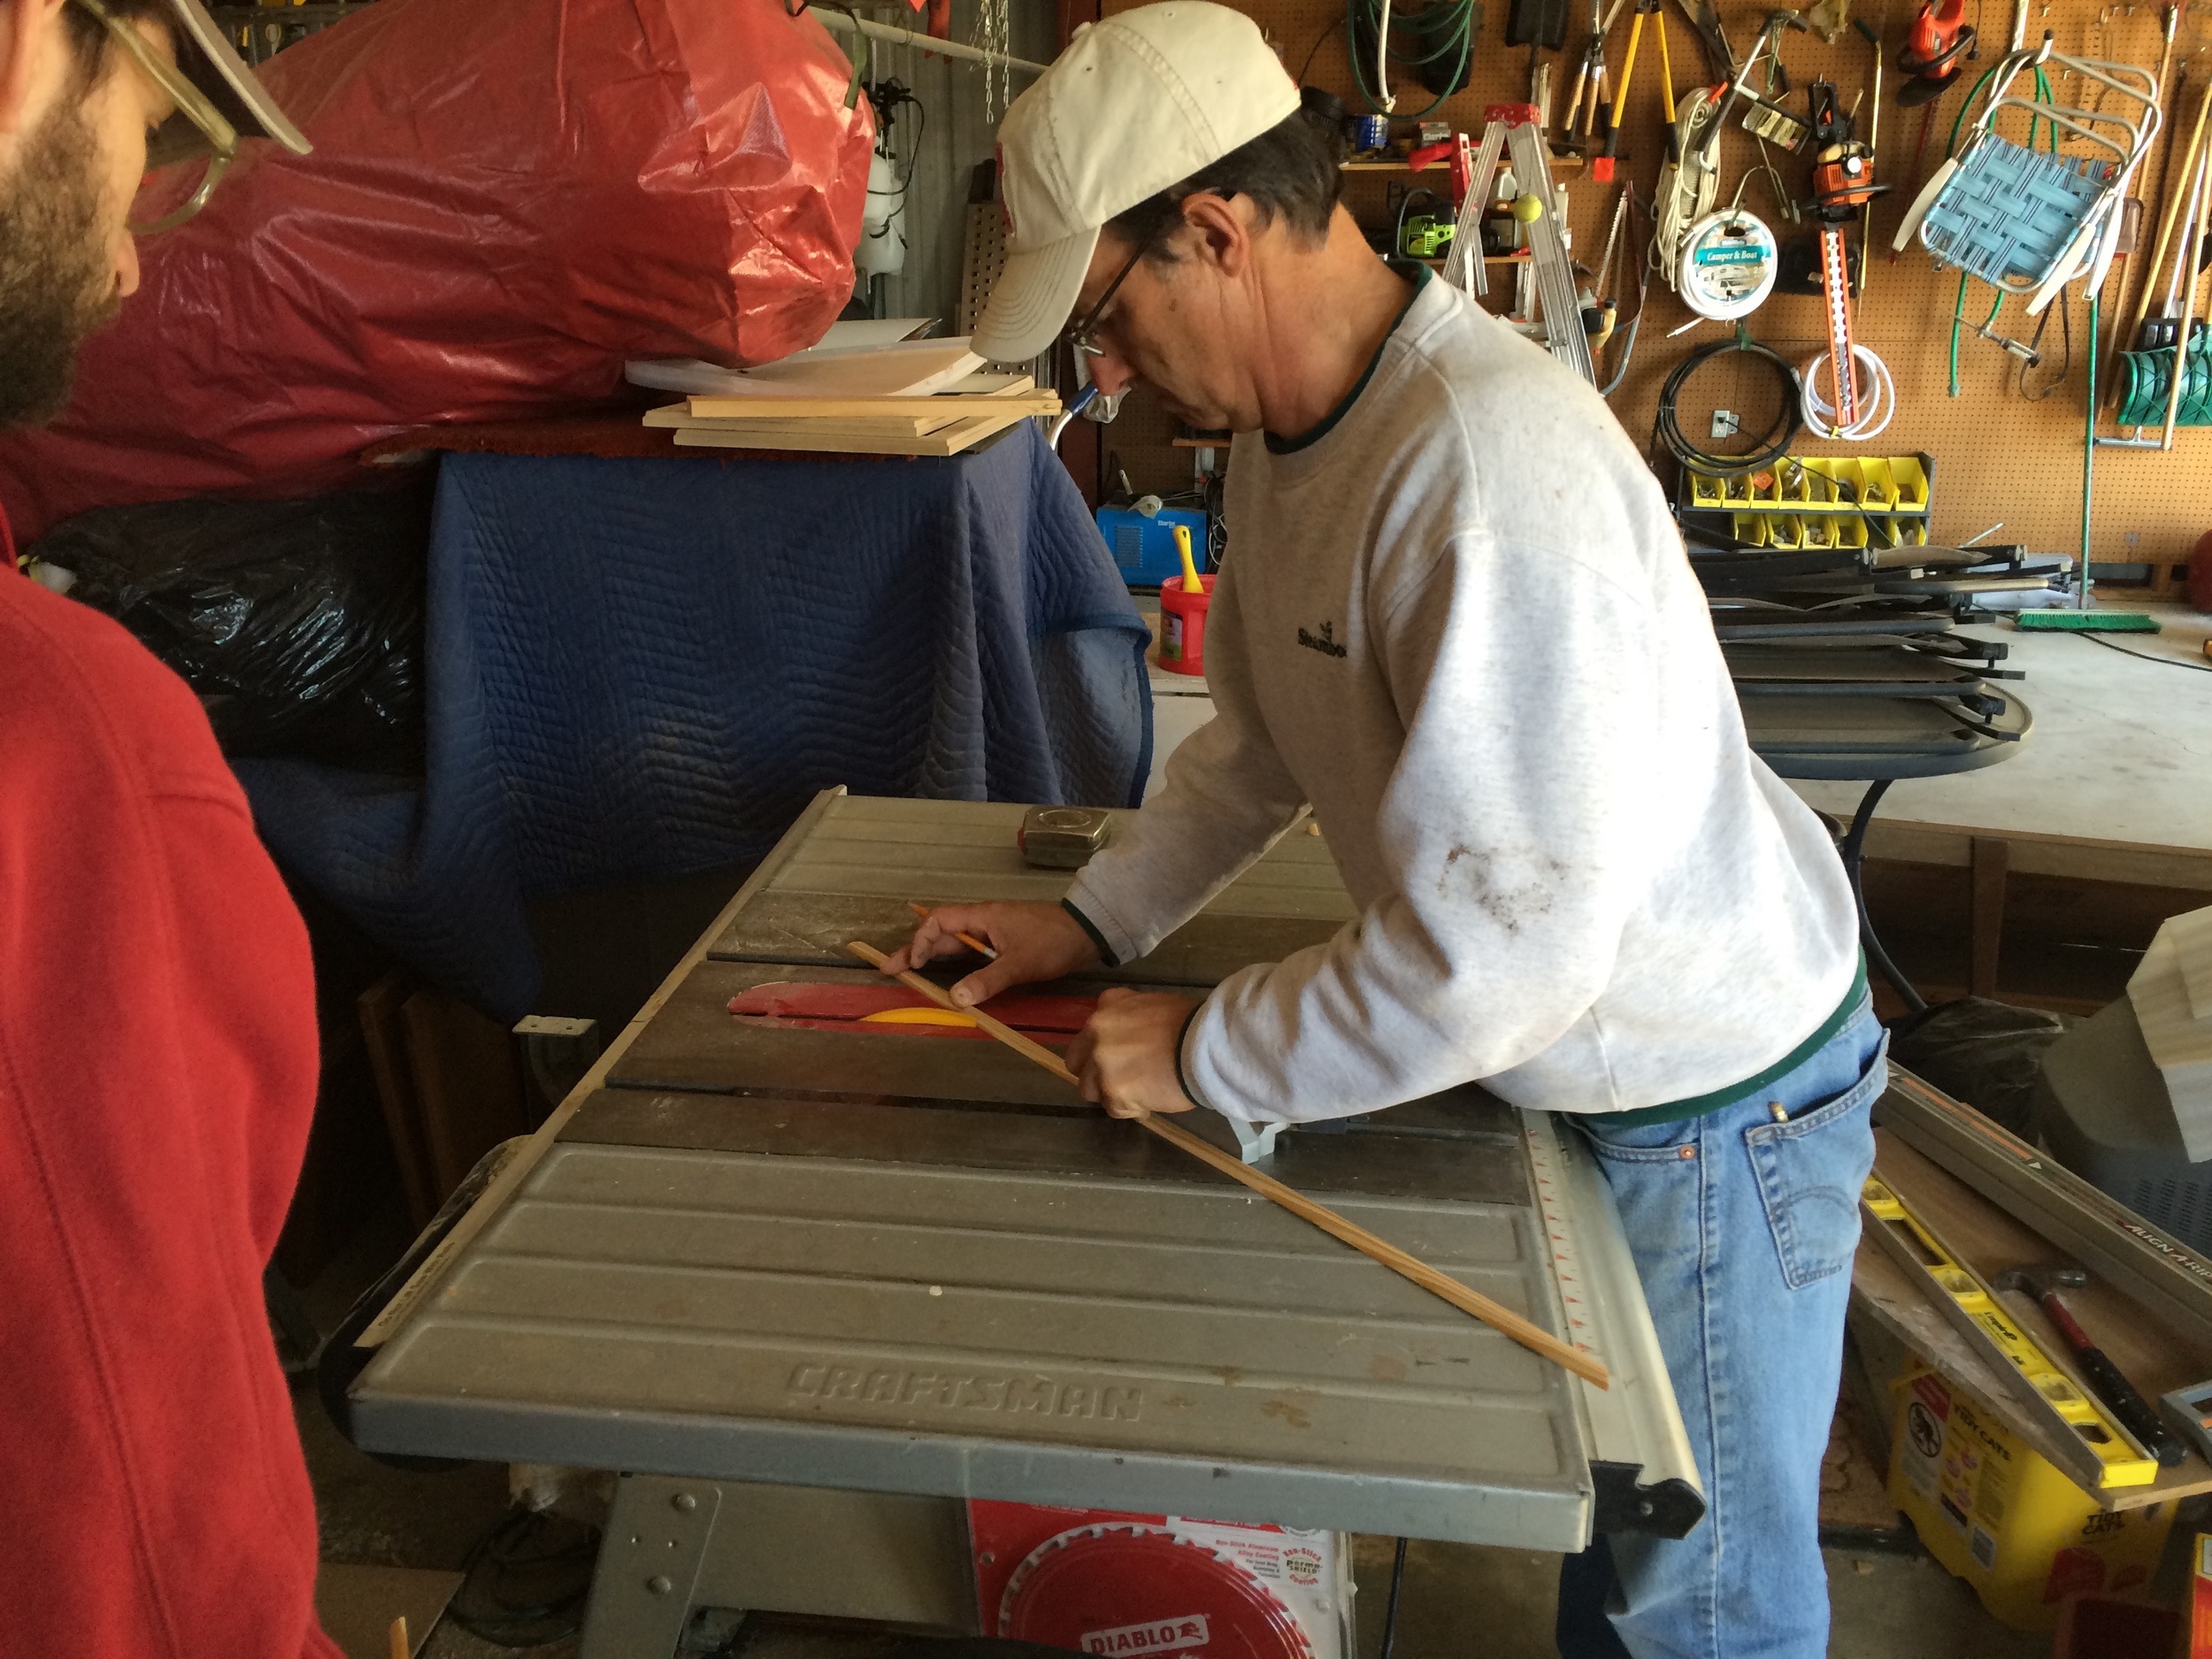
Next up: measure and cut. Jerry helped us a lot with this process as we had to cut each piece to make a 90 degree angle. Not going to lie, this part hurt our brains a bit. But Jerry kept us on track and cut each trim piece at a 45 degrees to make a perfect right angle. Cutting took at least a couple hours as we did each cabinet one-by-one to account for any inconsistencies between faces.
After the trim pieces were cut, we painted them all white. We considered leaving them plain and applying a simple polyurethane coat; after all, we had a lot of natural wood in the backsplash. However, we decided it would be too distracting. The white on white would be more subtle. Once they dried, we wood glued them to the faces and then secured them forever and ever with the pneumatic nailer.
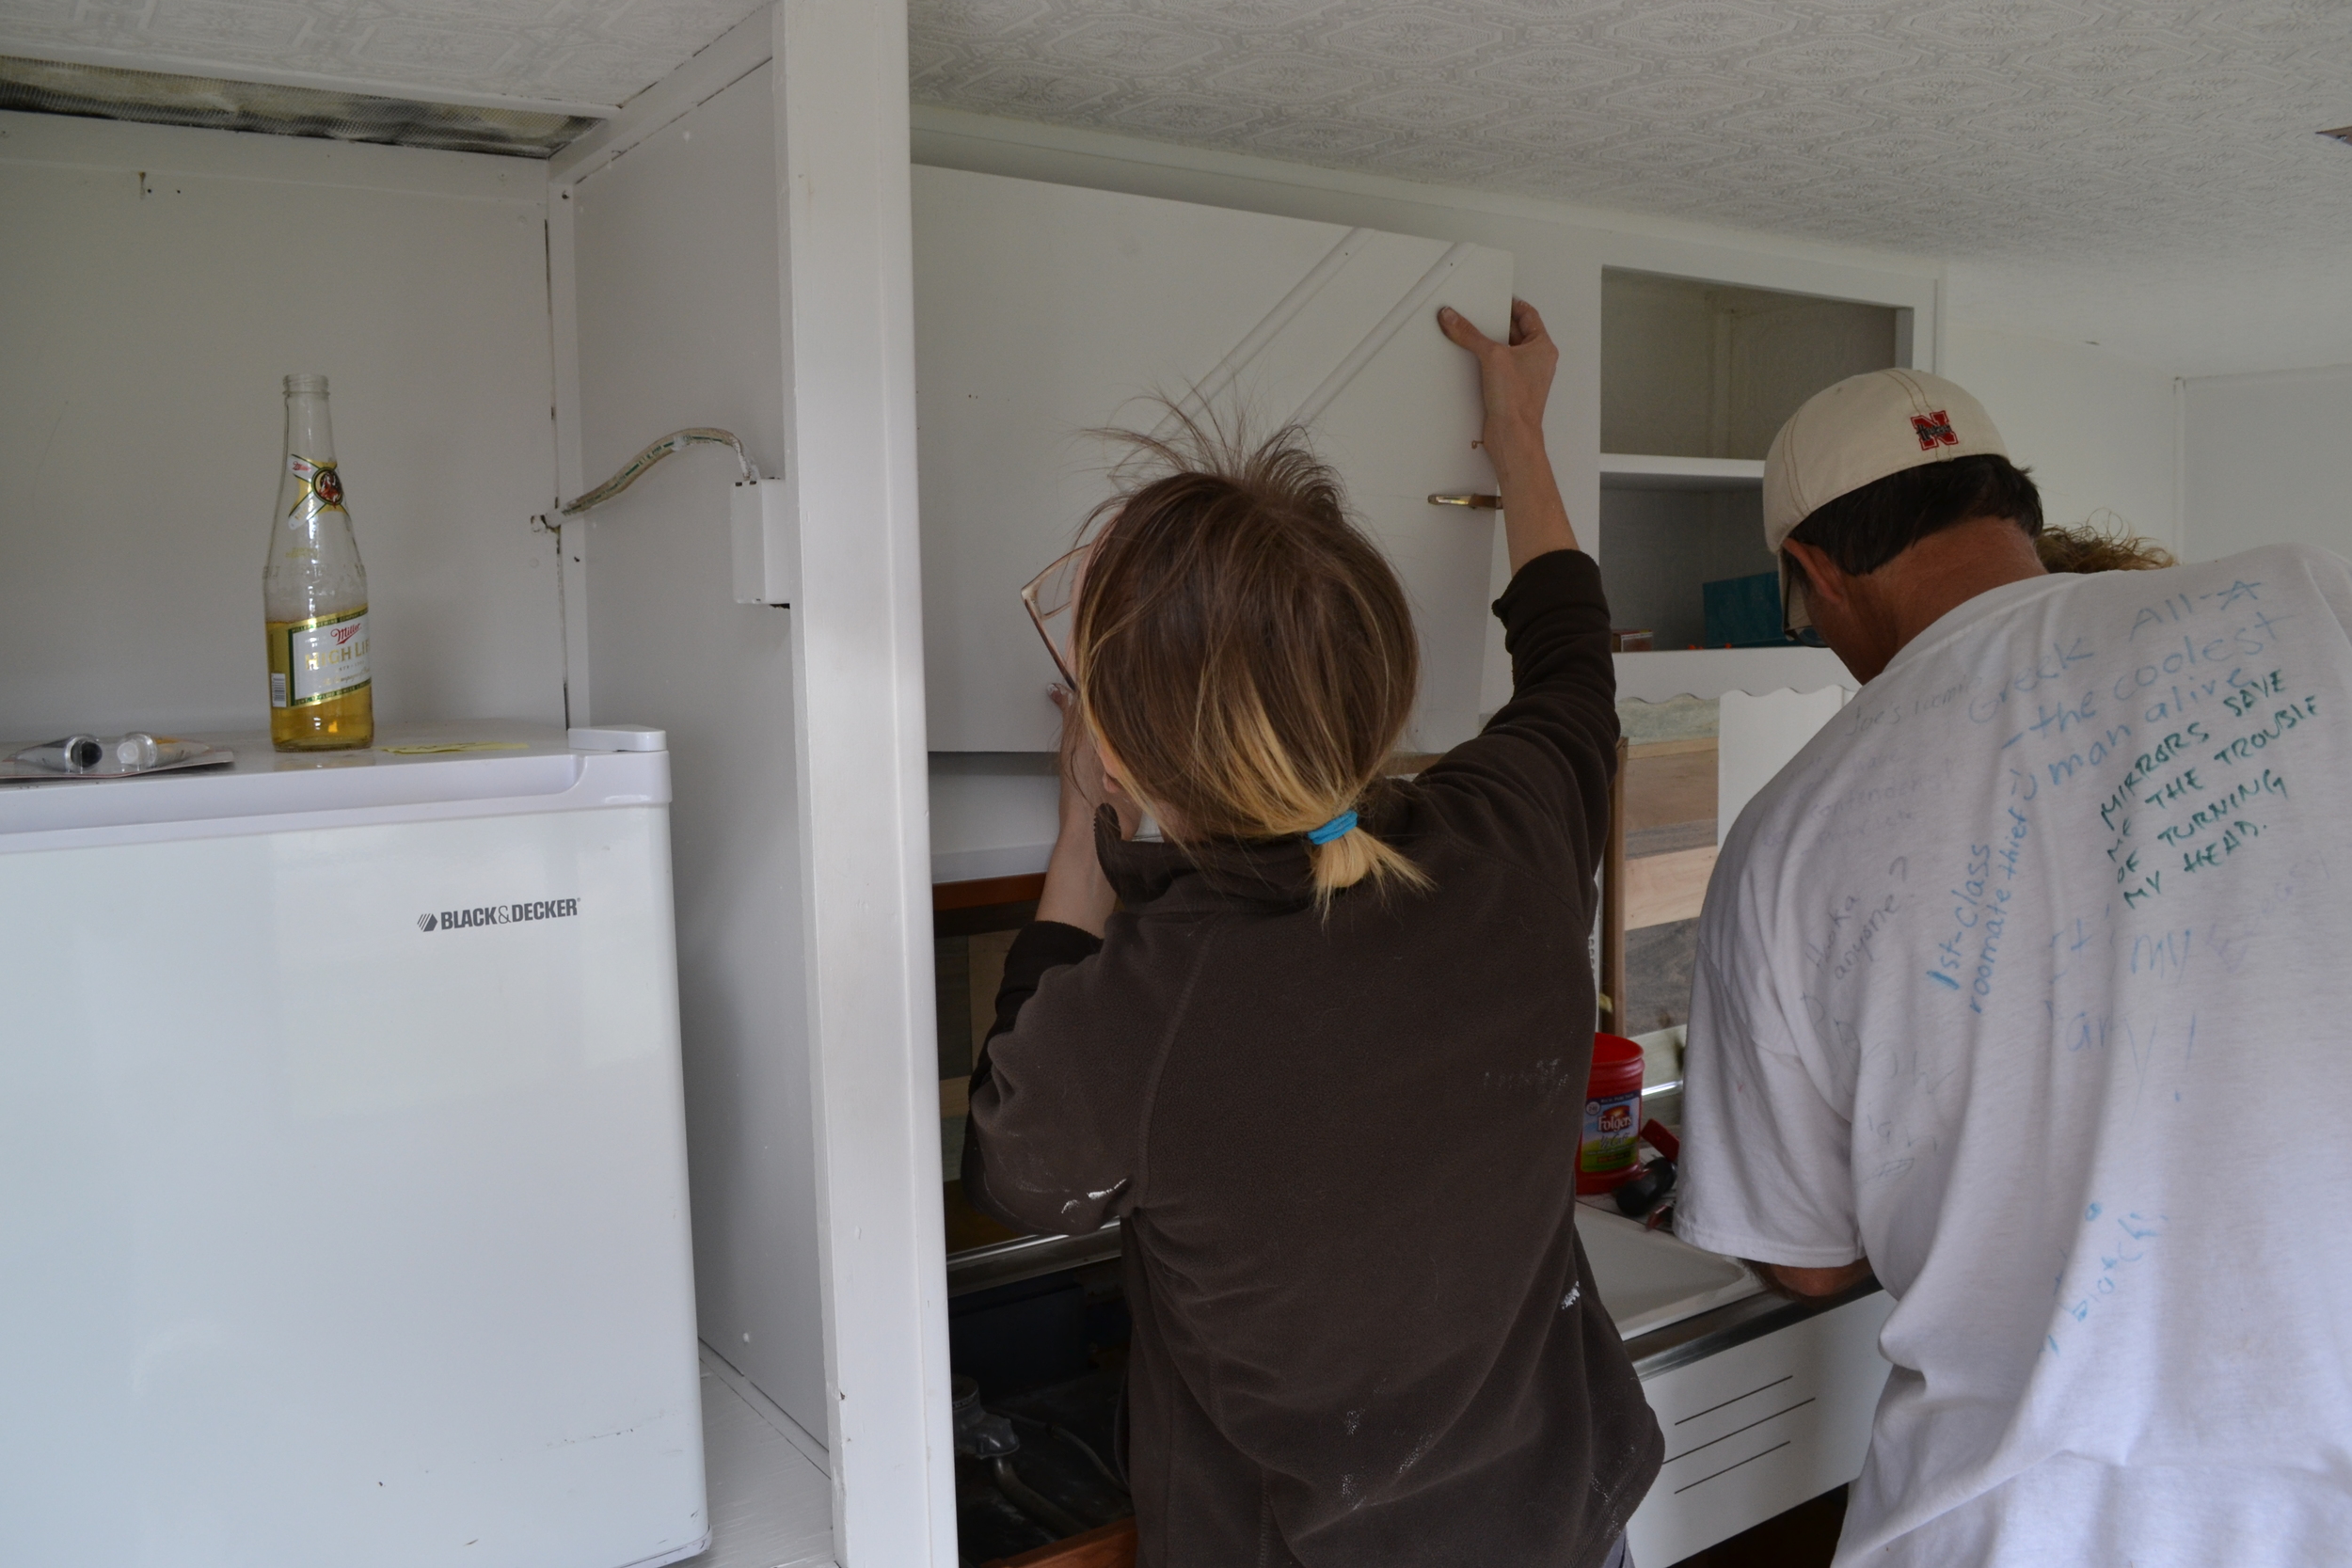
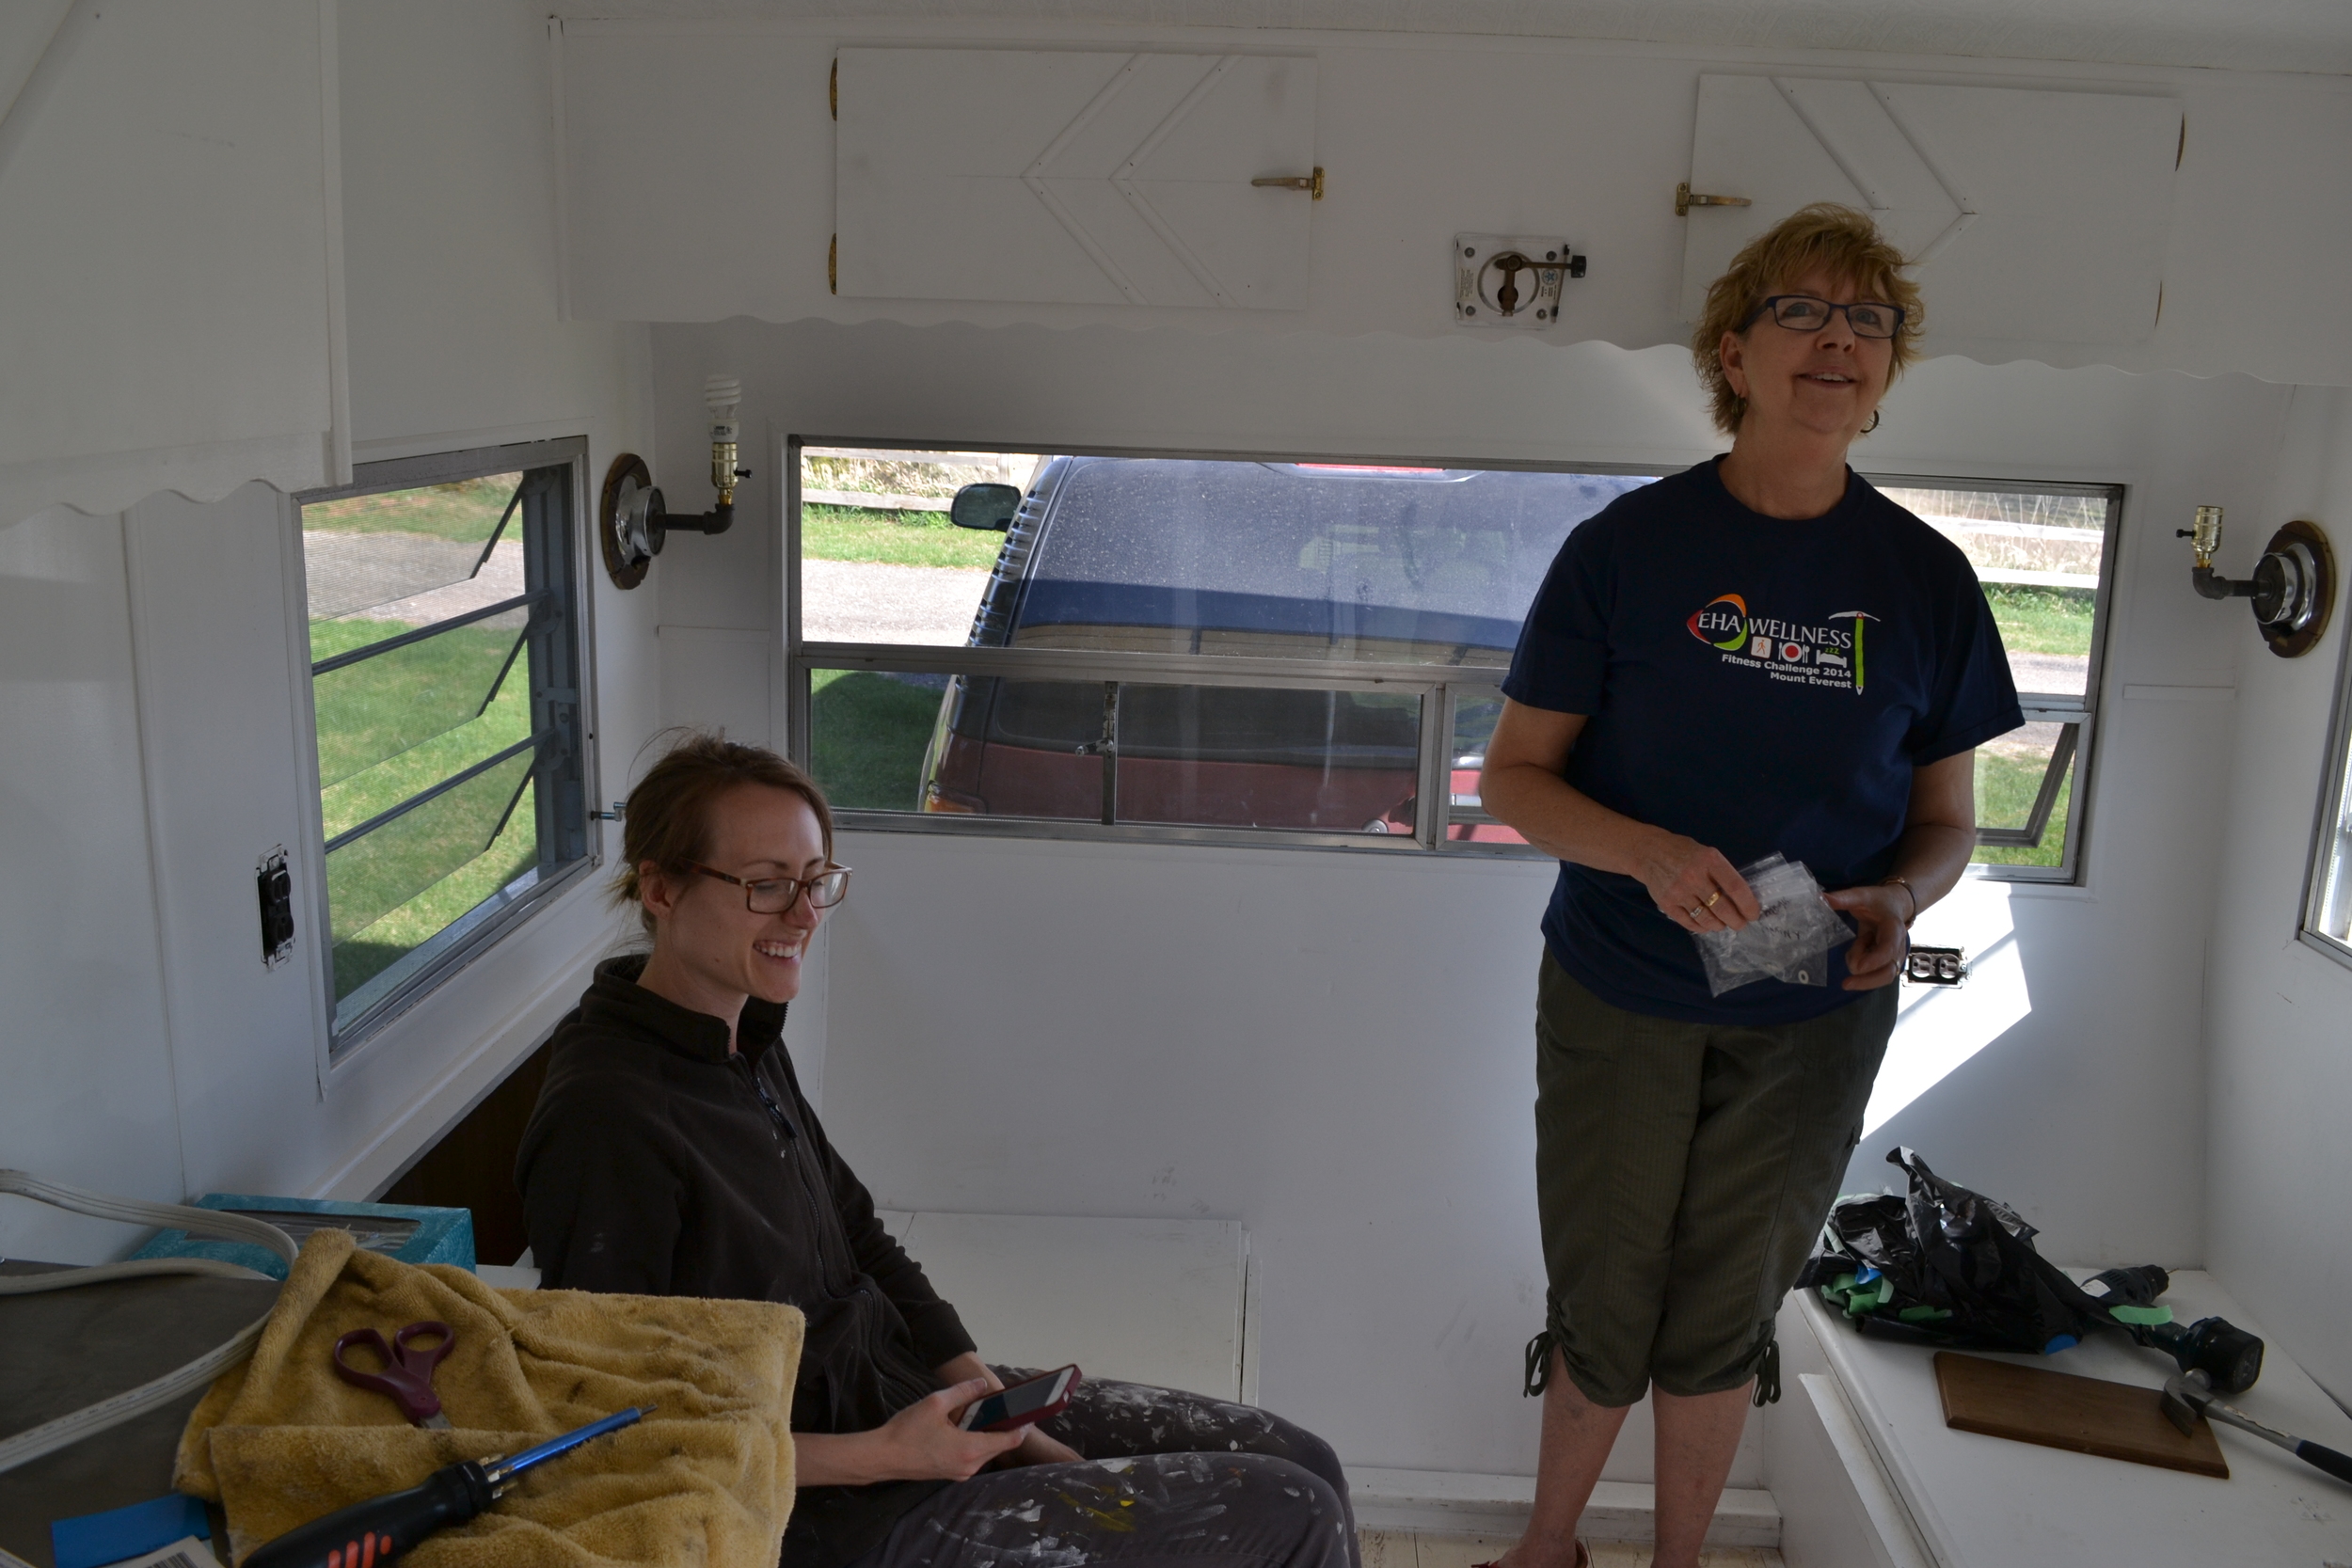
The last step before putting the cabinet faces back on for the first time in 8 months was affixing the hardware. As you may recall, we cleaned the handles and hinges in a vinegar solution, which polished them up. We used electric drill to reattach them to the cabinet faces and then headed for the camper. An editor's note here: label your hardware and your faces if you intend to reuse them like we did. A lot of our faces were technically the same size, but had little variances that made putting them back difficult. It's very important that the cabinet and its matching hardware go back exactly where you had them. We had to spend some time double checking this as we went along.
We love the way the cabinets turned out. Sure, it probably wasn't necessary to go through all the effort. They would have looked just as good plain white! But we love the finishing touch. It's unlike anything we've seen before, and that suits us just fine.
What do you think? Let us know in the comments!
