Reasons to Install Vinyl Plank Flooring in your Trailer or RV
We knew the flooring would ultimately make a strong visual impression in the trailer, and picking out the right style / color / weight was something we took very seriously. We shopped around a lot and looked at everything from hard wood to vinyl to linoleum -- anything but the gross carpet that was previously there.
We visited the “big 3” and nabbed nearly two dozen samples before we ultimately decided on vinyl planks from Menards. The benefits of vinyl:
- Wouldn't warp from weather;
- Could withstand normal wear + tear plus some abuse from Costello;
- Wouldn't crack from the bouncing and variations in temperatures;
- Was easy to clean (again, we live with a 70 lb goldendoodle).
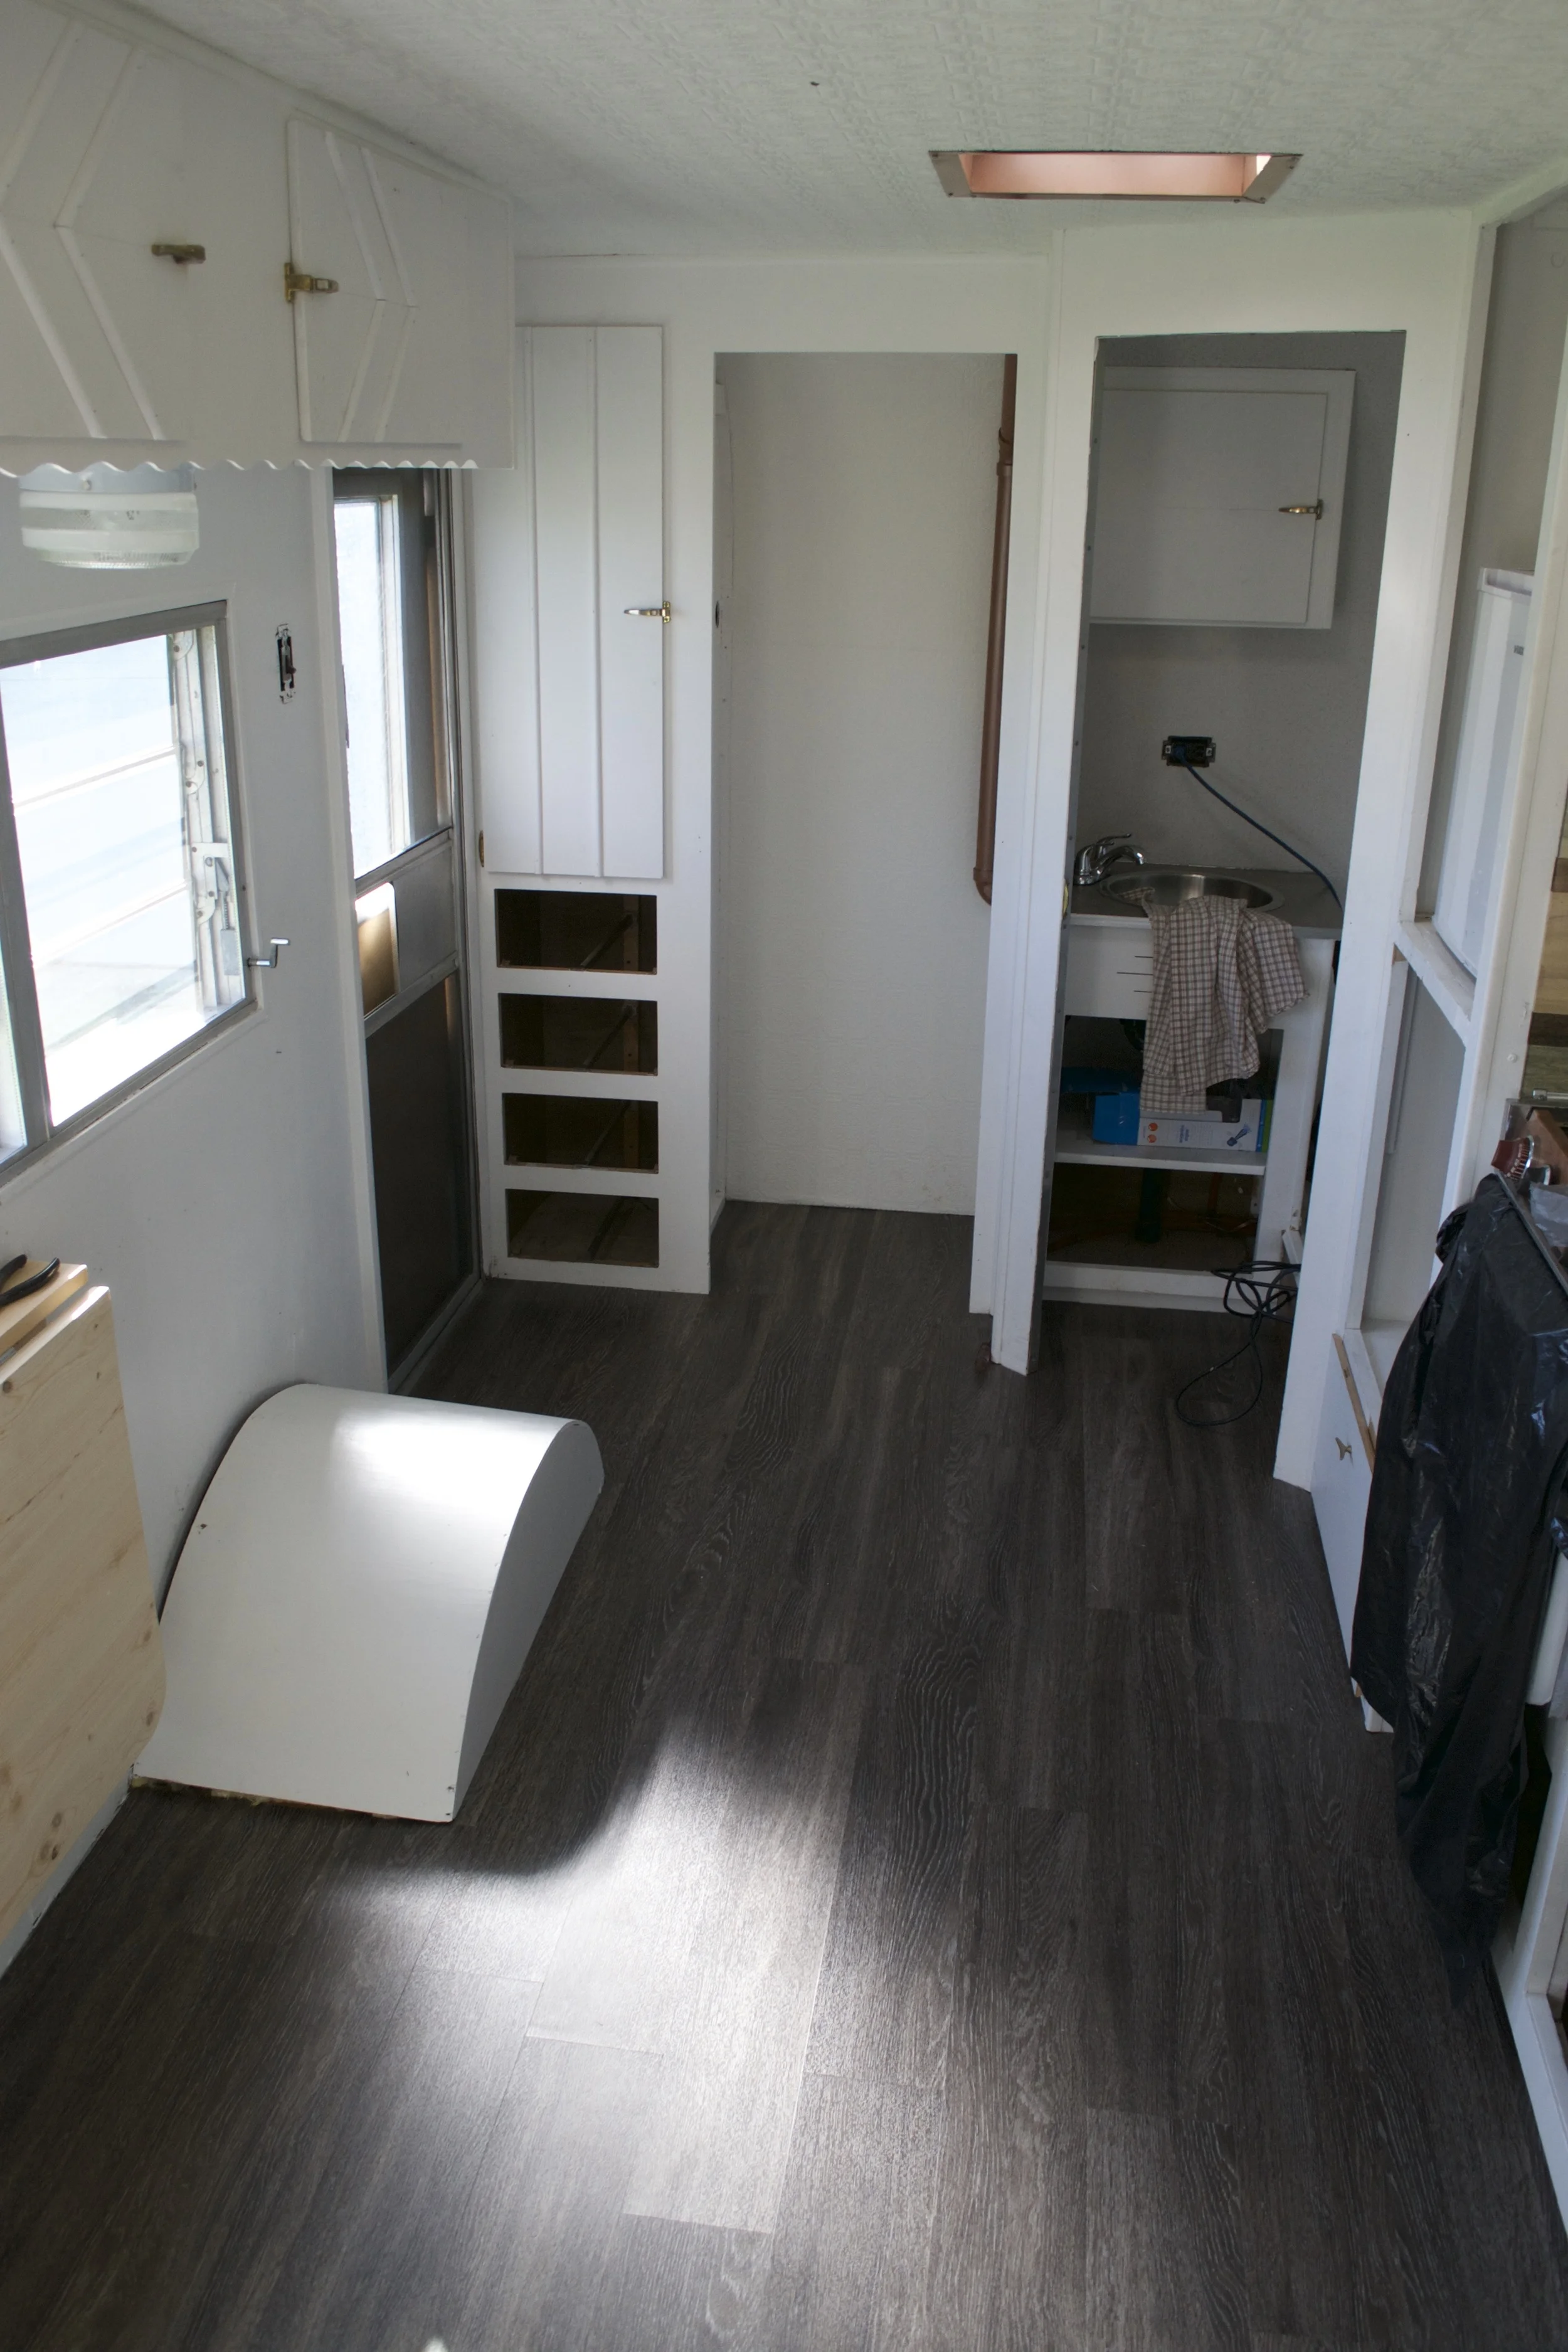
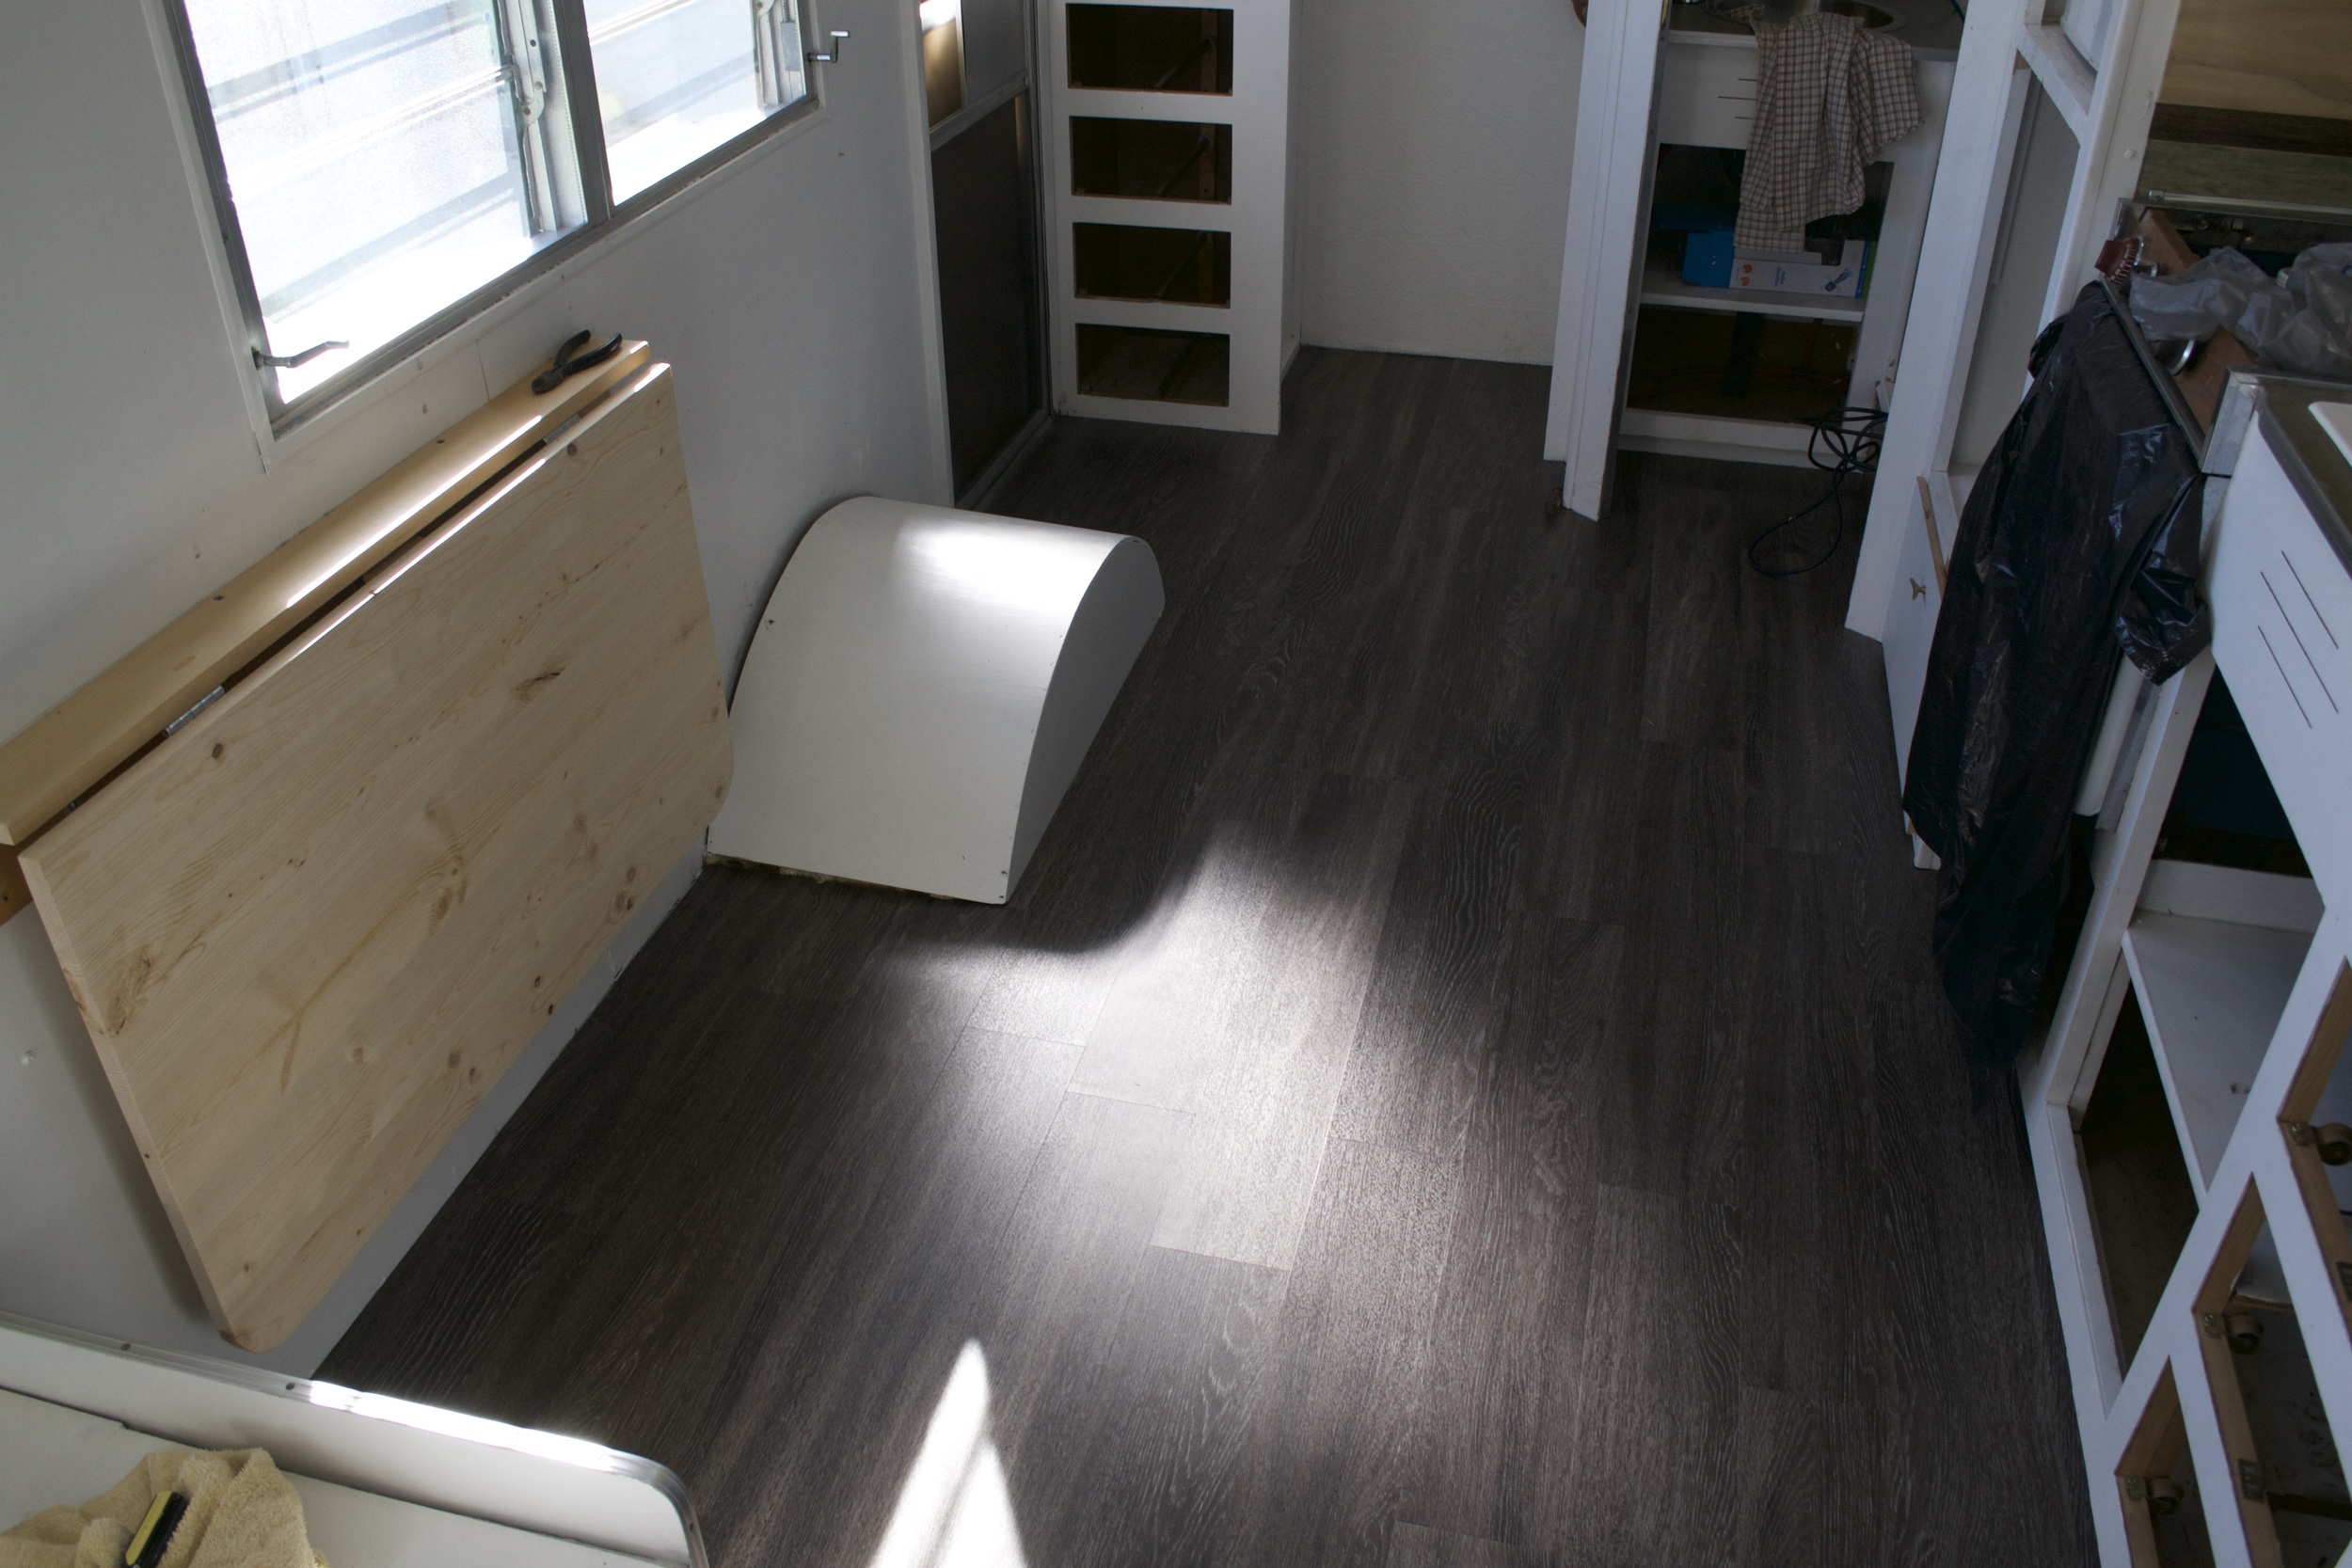
Grey/brown vinyl flooring planks. Also known as "Acropolis".
They (flooring people) make a lot of different vinyl wood patterns, some of which are more fake-looking than others. After living with the samples in the trailer for a while, we knew we didn't want anything to “red” or too “piney”. We decided on a dark shade with a few grey undertones: Acropolis. We purchased two bundles and called it good. We were ready to install this sh**.
The Install
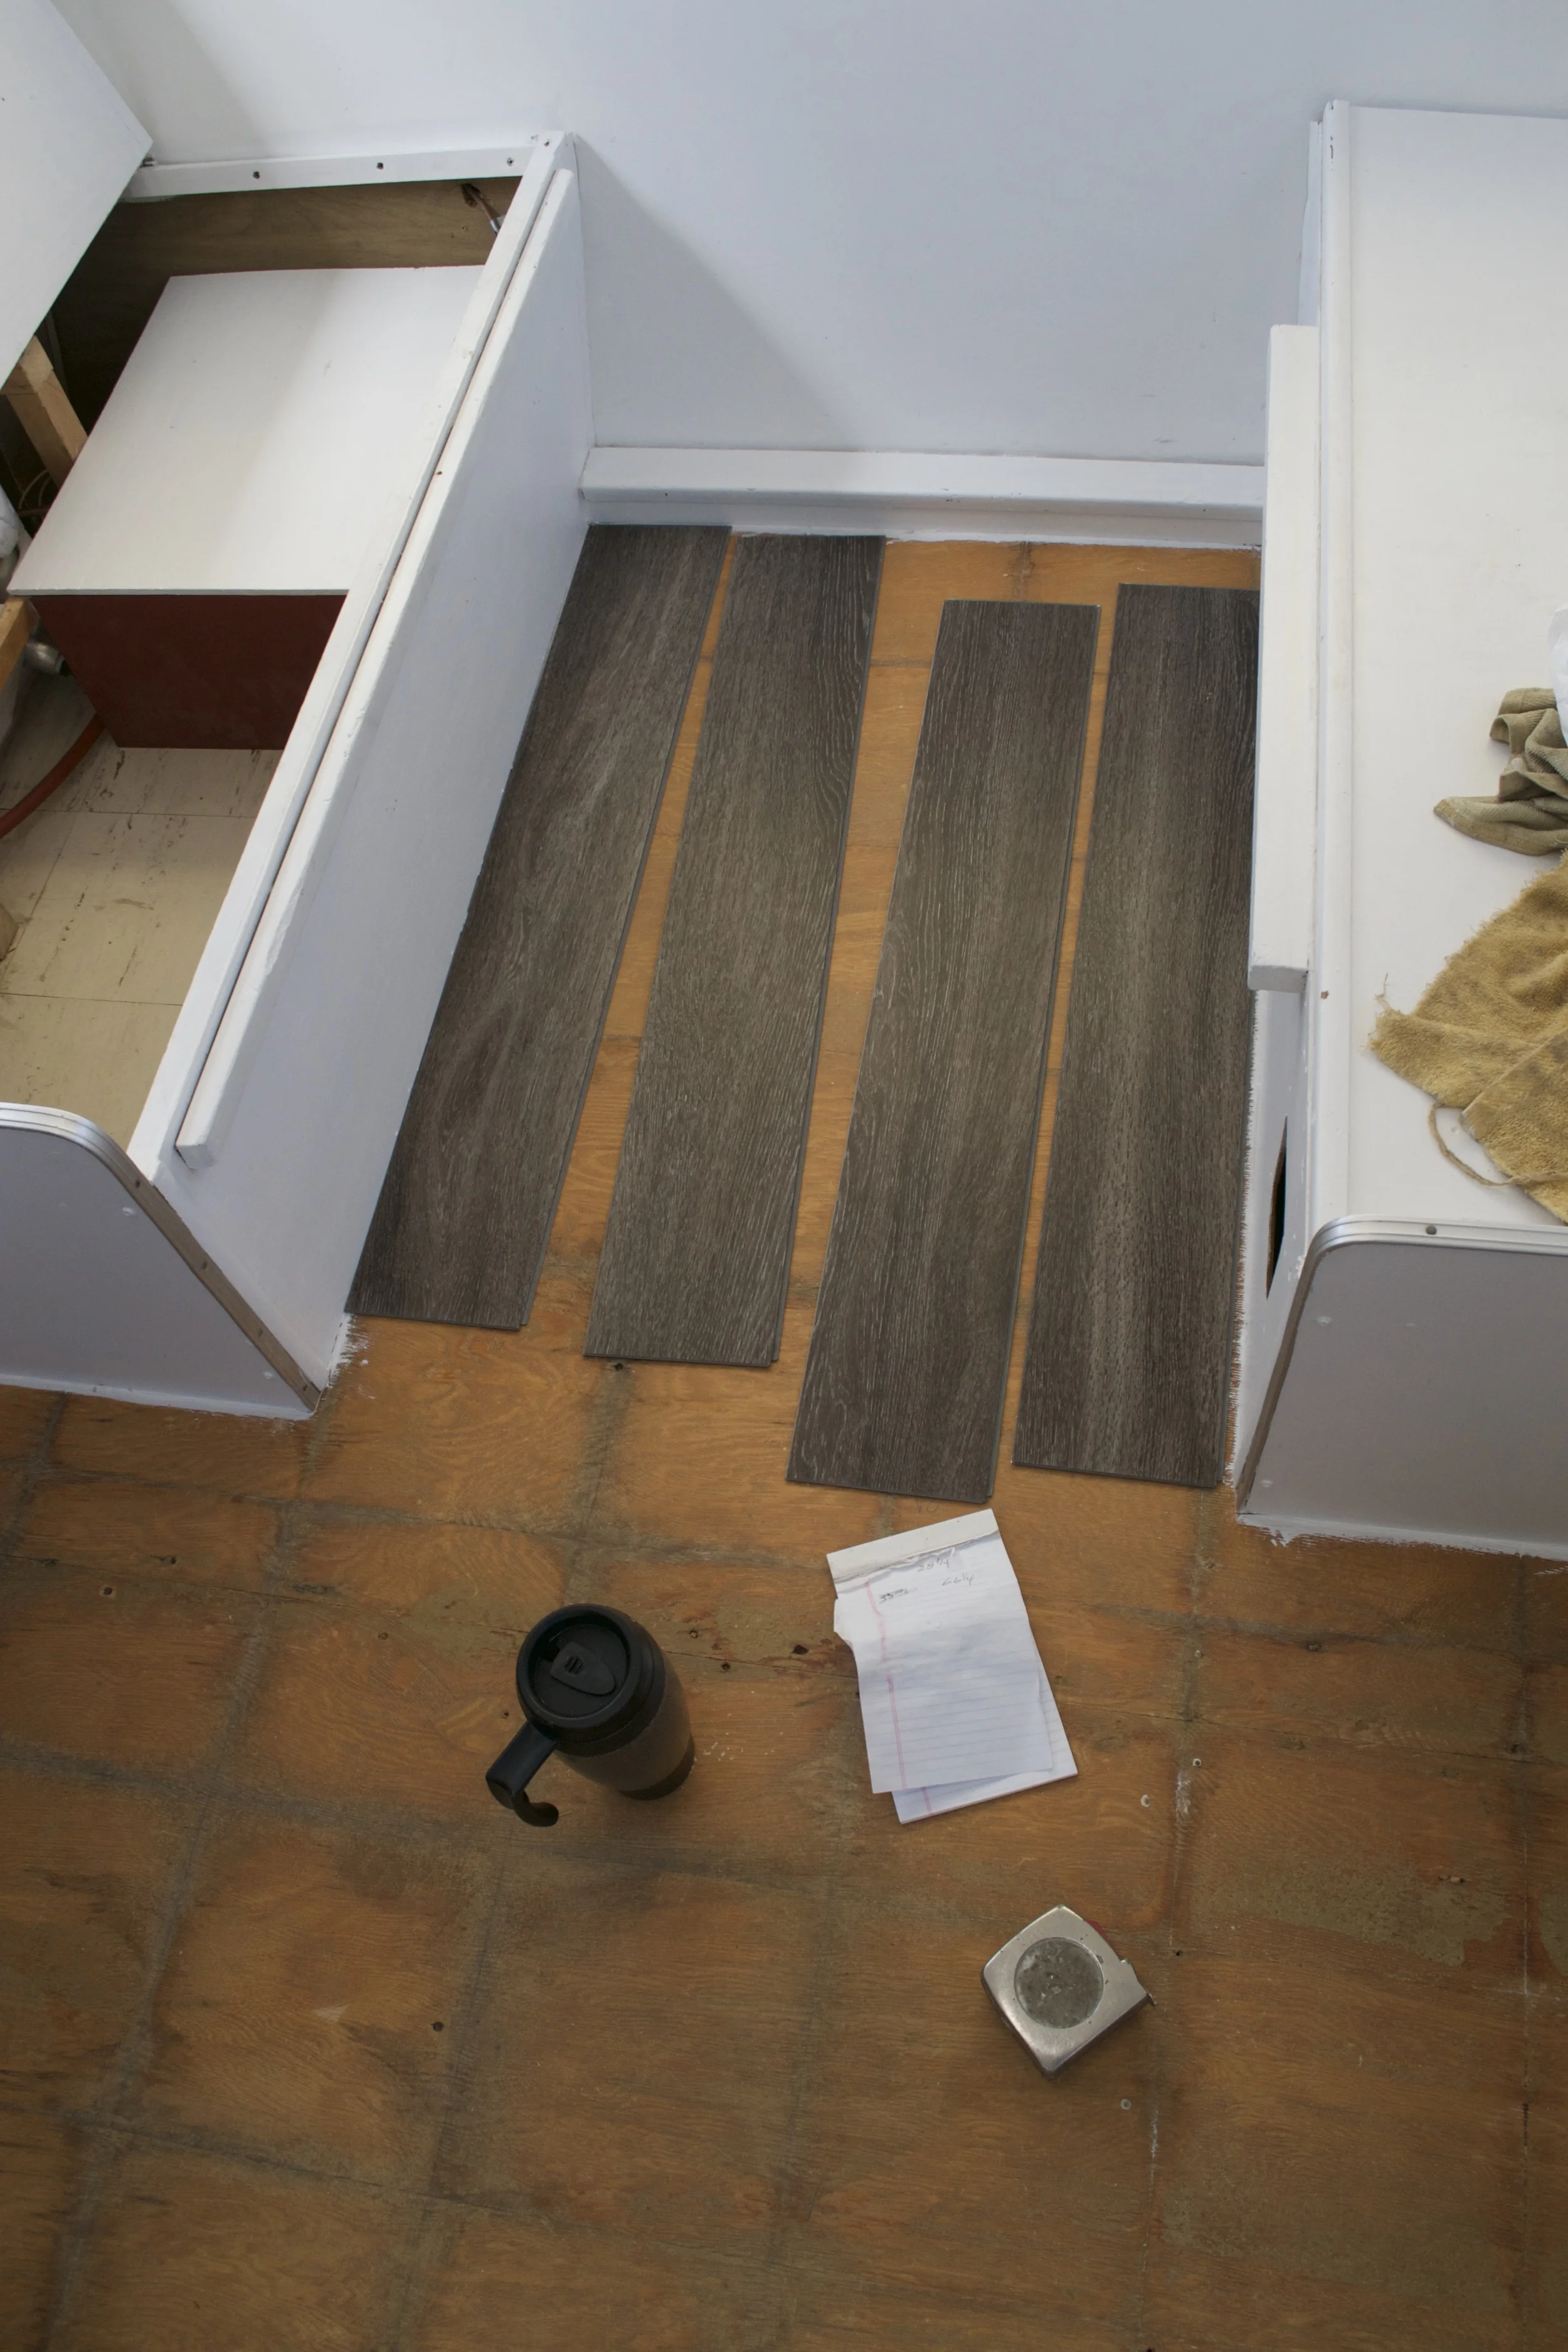
Required tools: measuring tape, flooring, coffee, scratch pad.
The first thing we learned: we did NOT buy enough flooring. Our camper is only 120 sq ft, which is why we thought two bundles would be plenty. We were way wrong. This required an exhausting second trip to Menards before we could start.
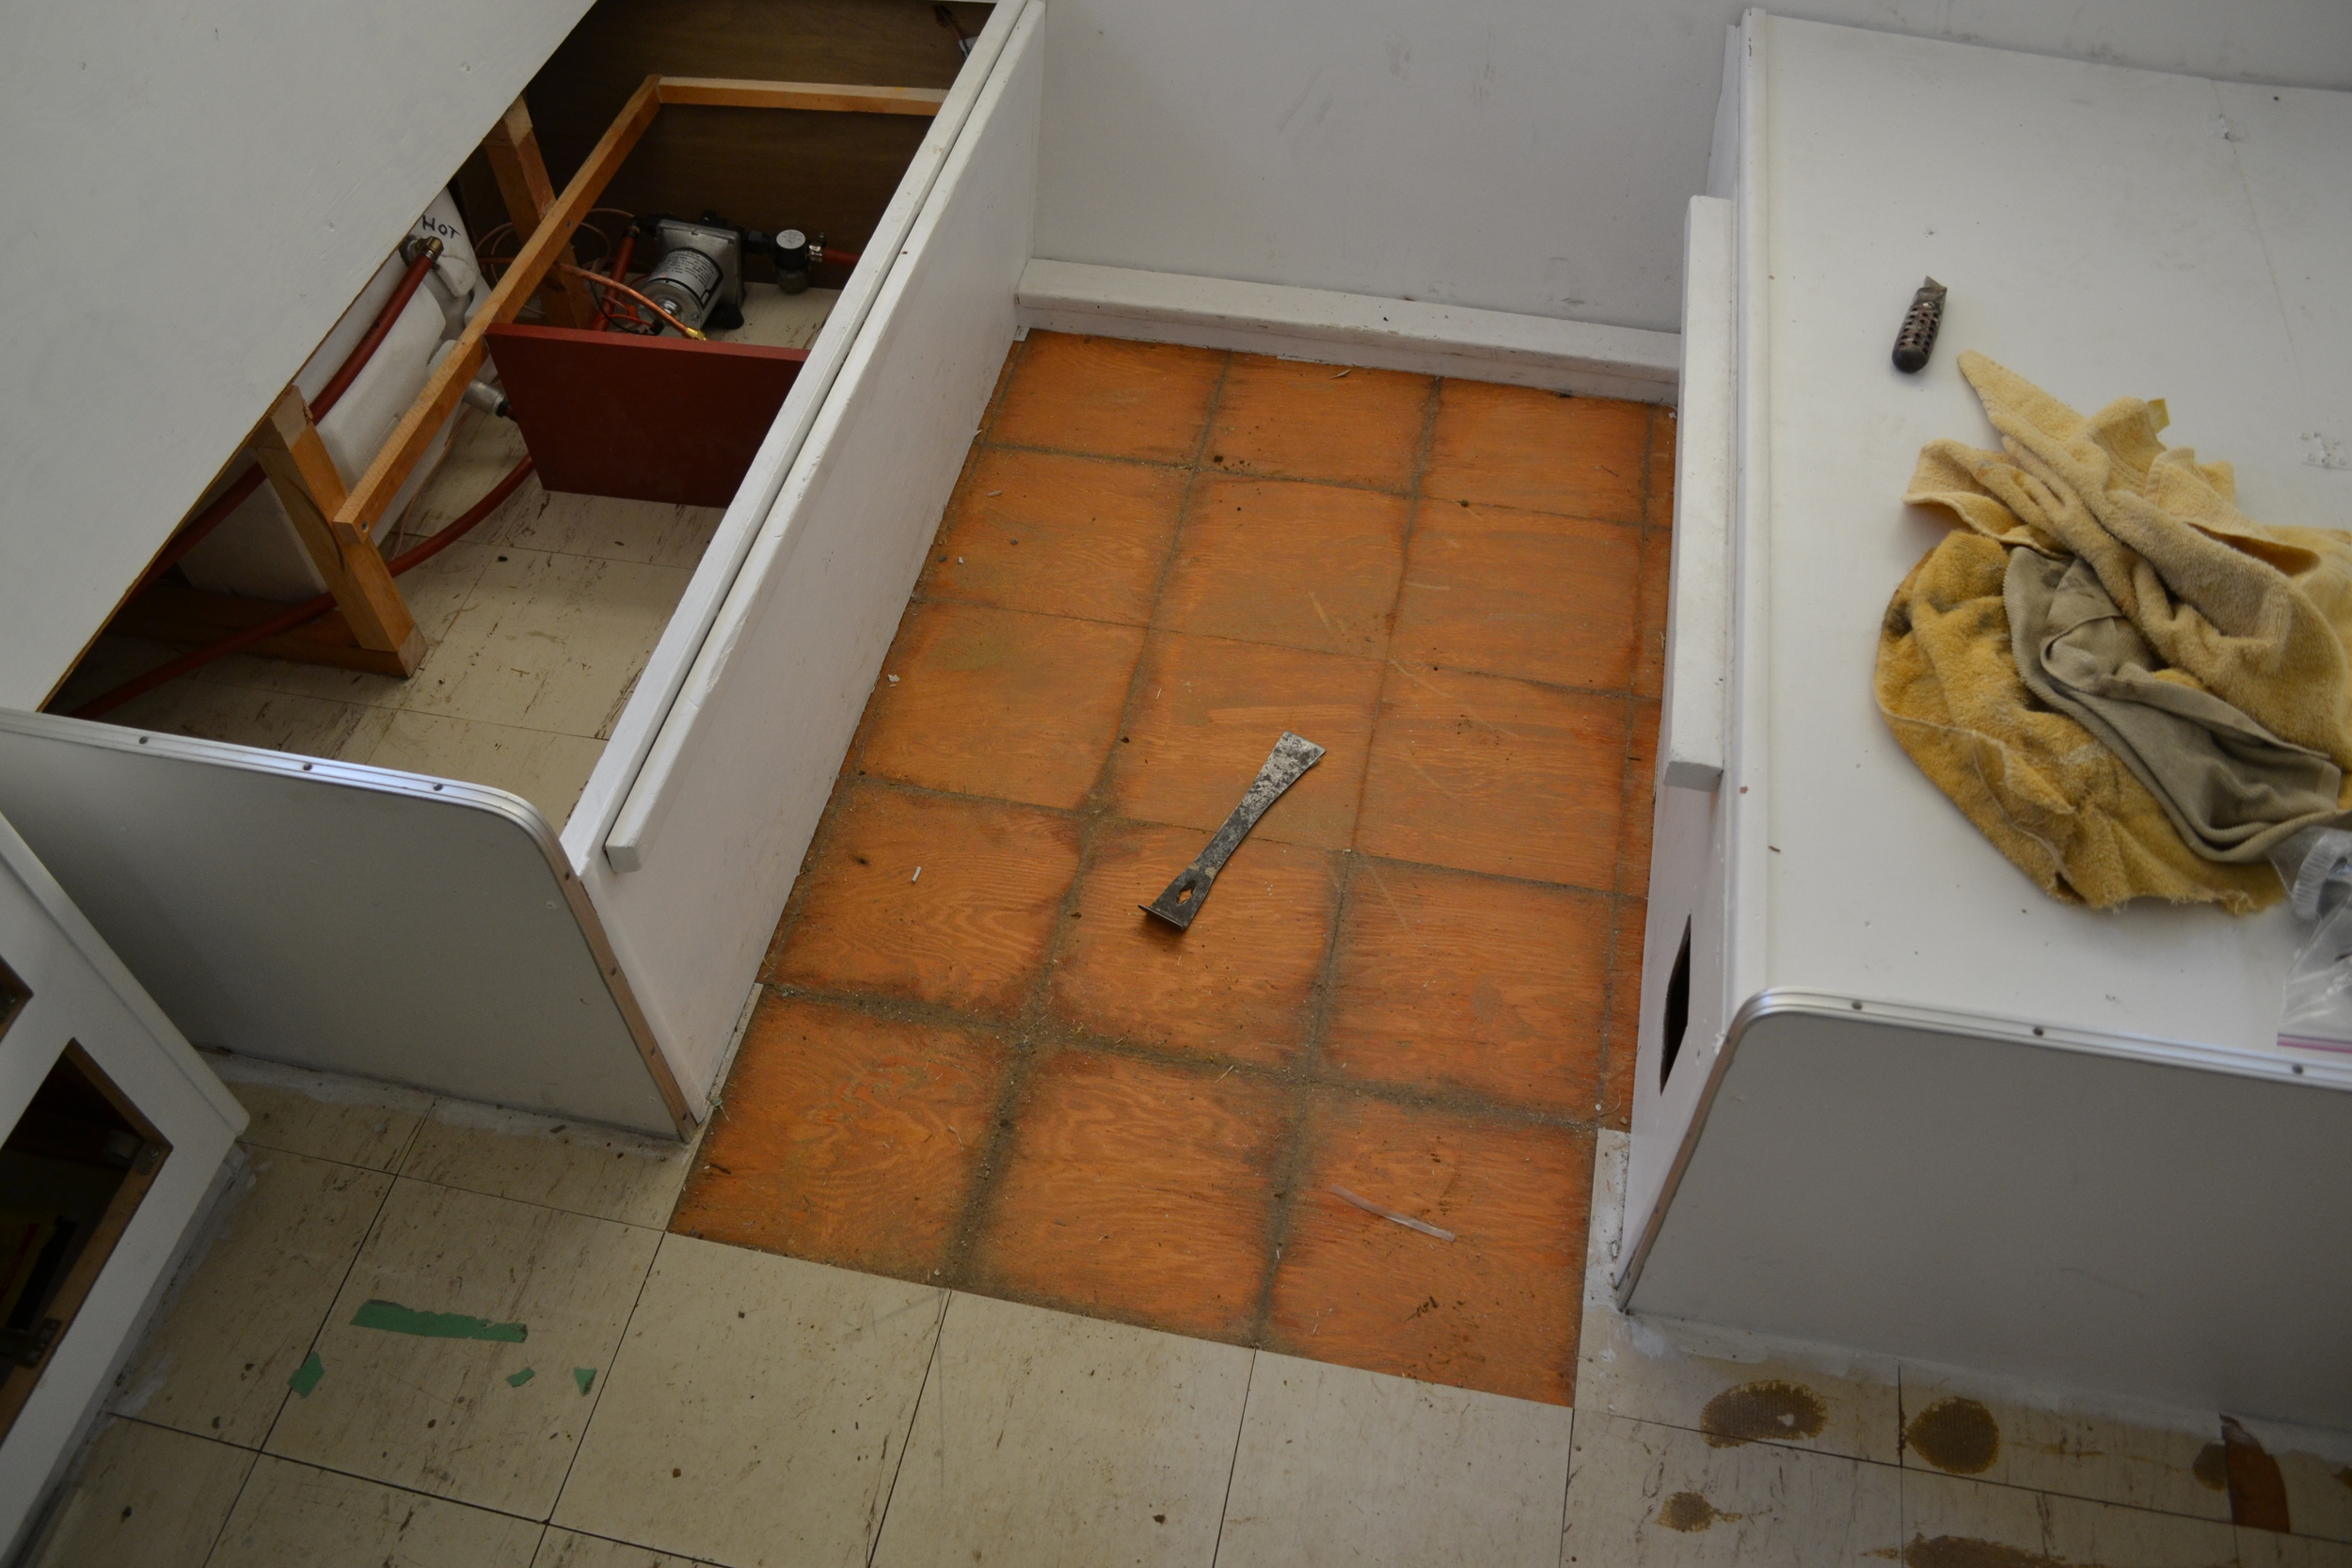
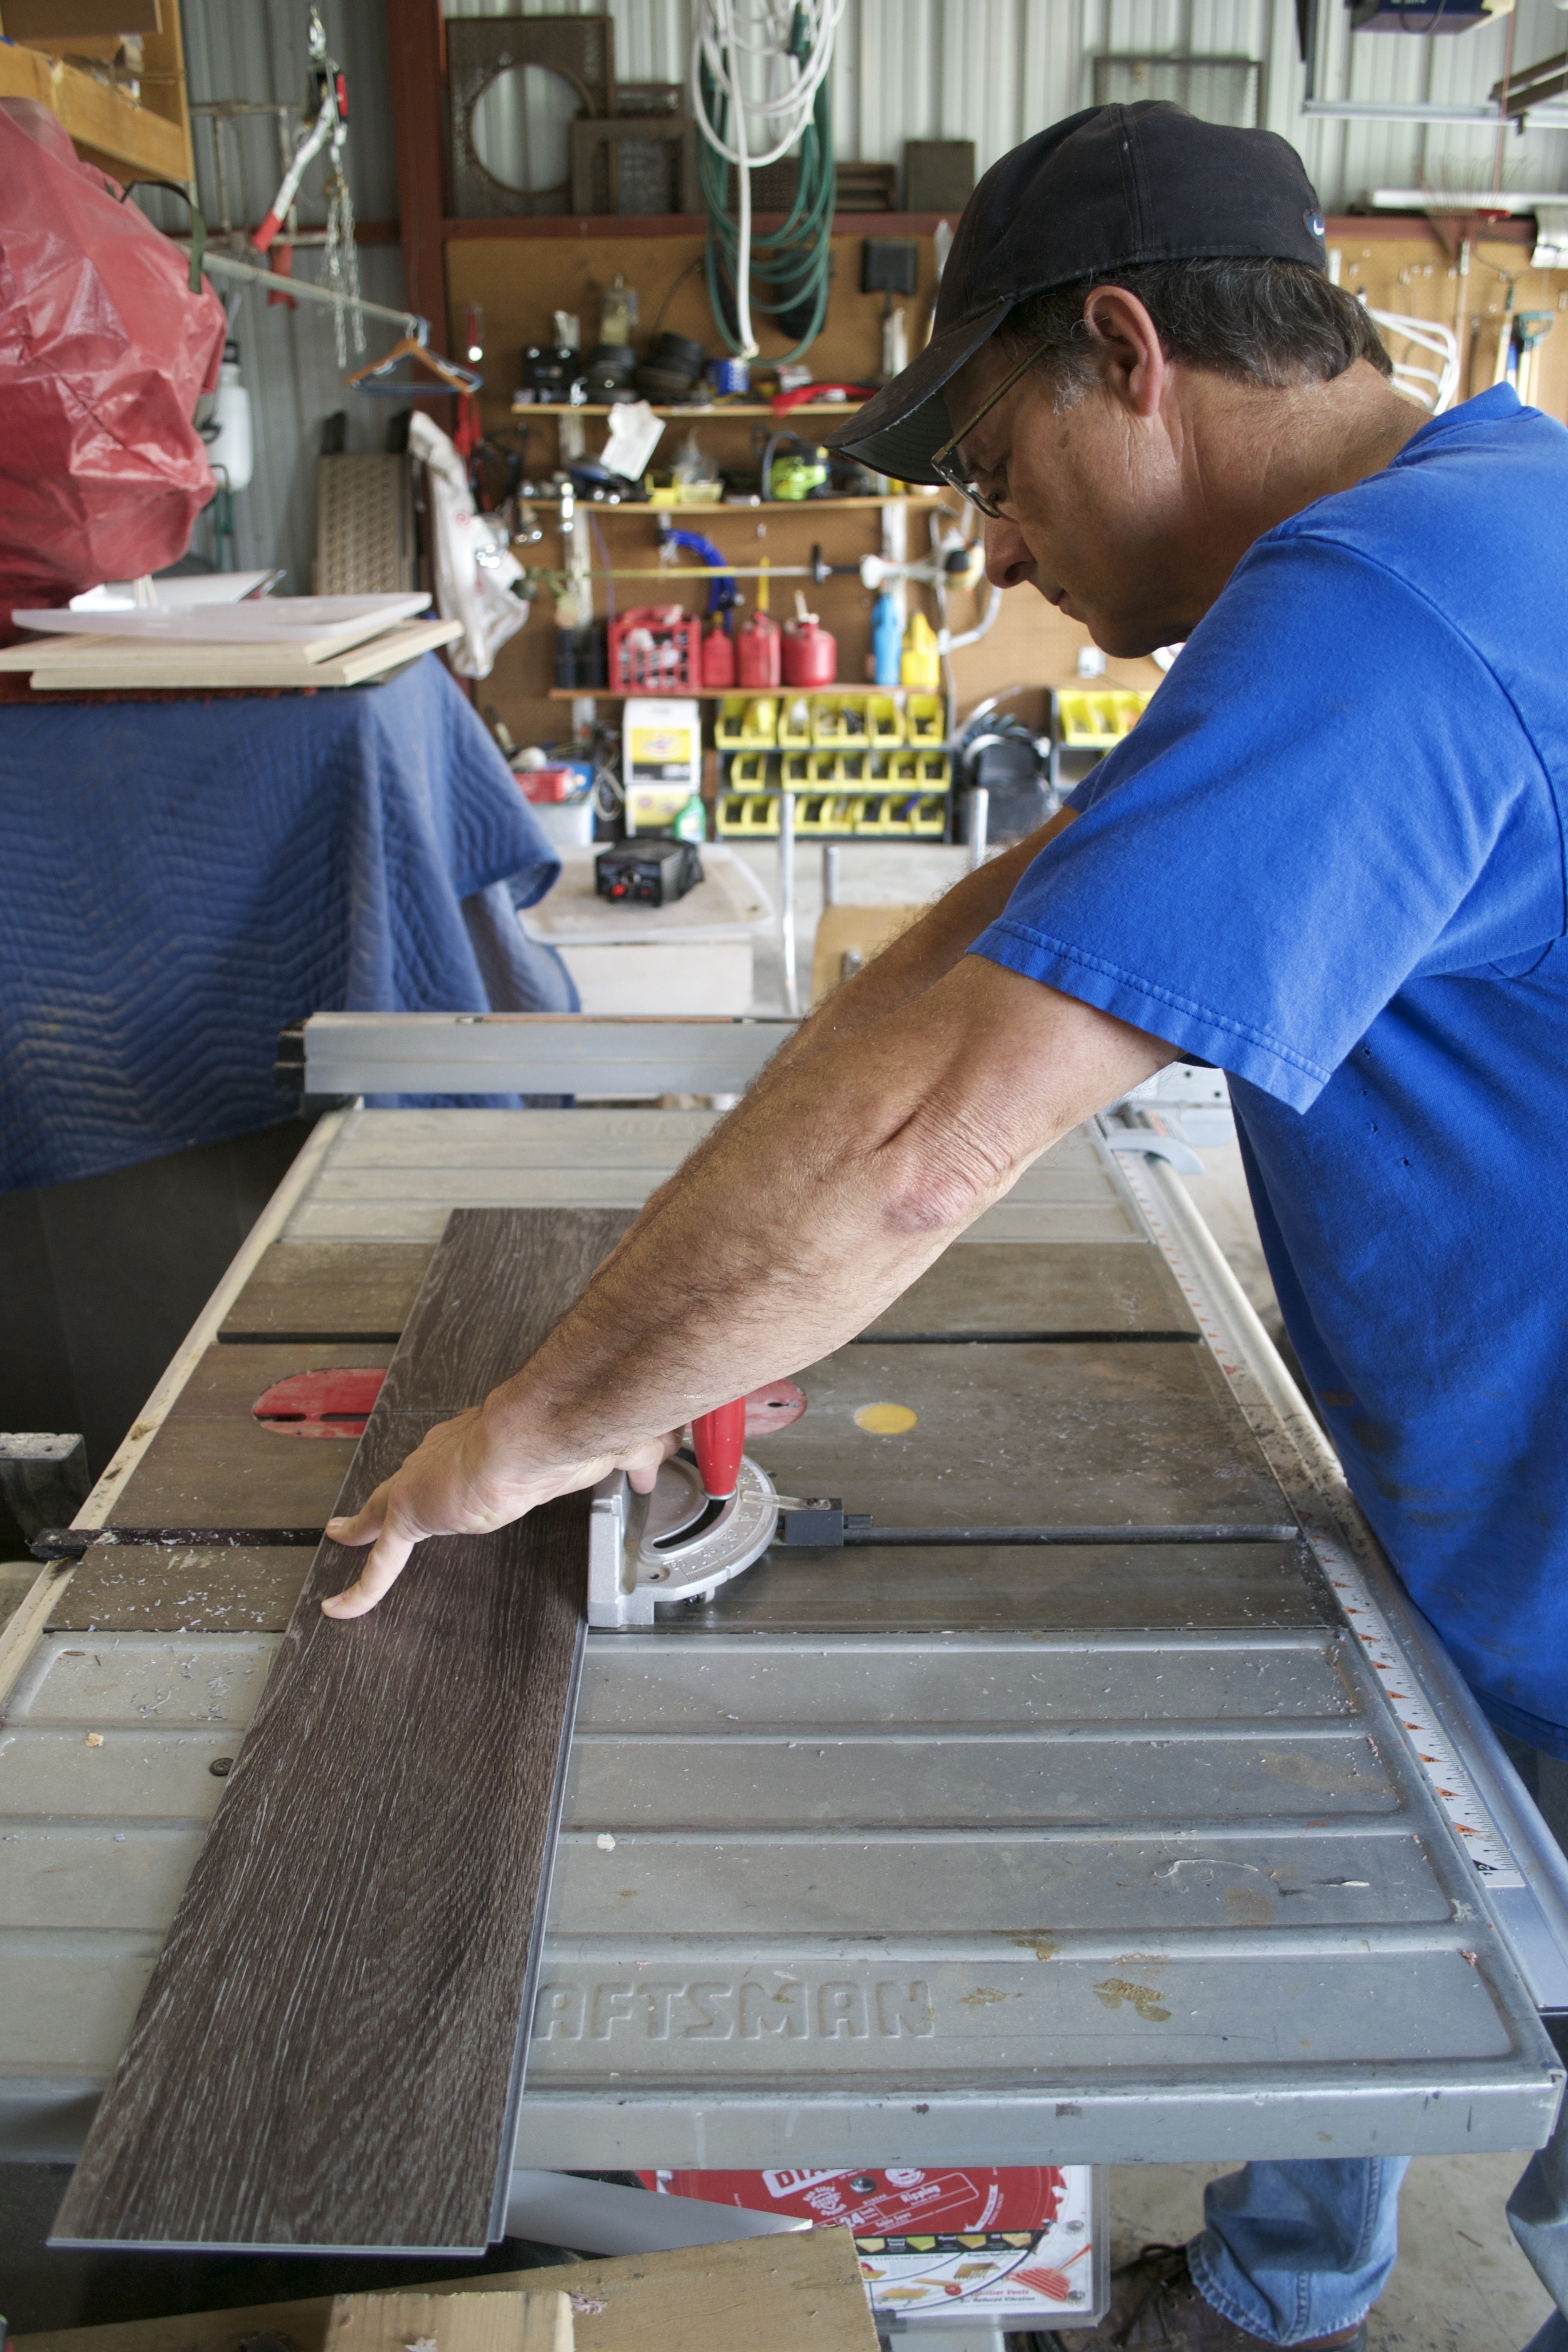
Next up, we had to remove the old vinyl tiles that had been stuck beneath some ugly berber carpet from Craigslist Ray. They used a vaughan bar (fitting name, eh?) to pull up the old tiles and toss them.
Vaughans using the vaughan bar to get rid of those old tiles.
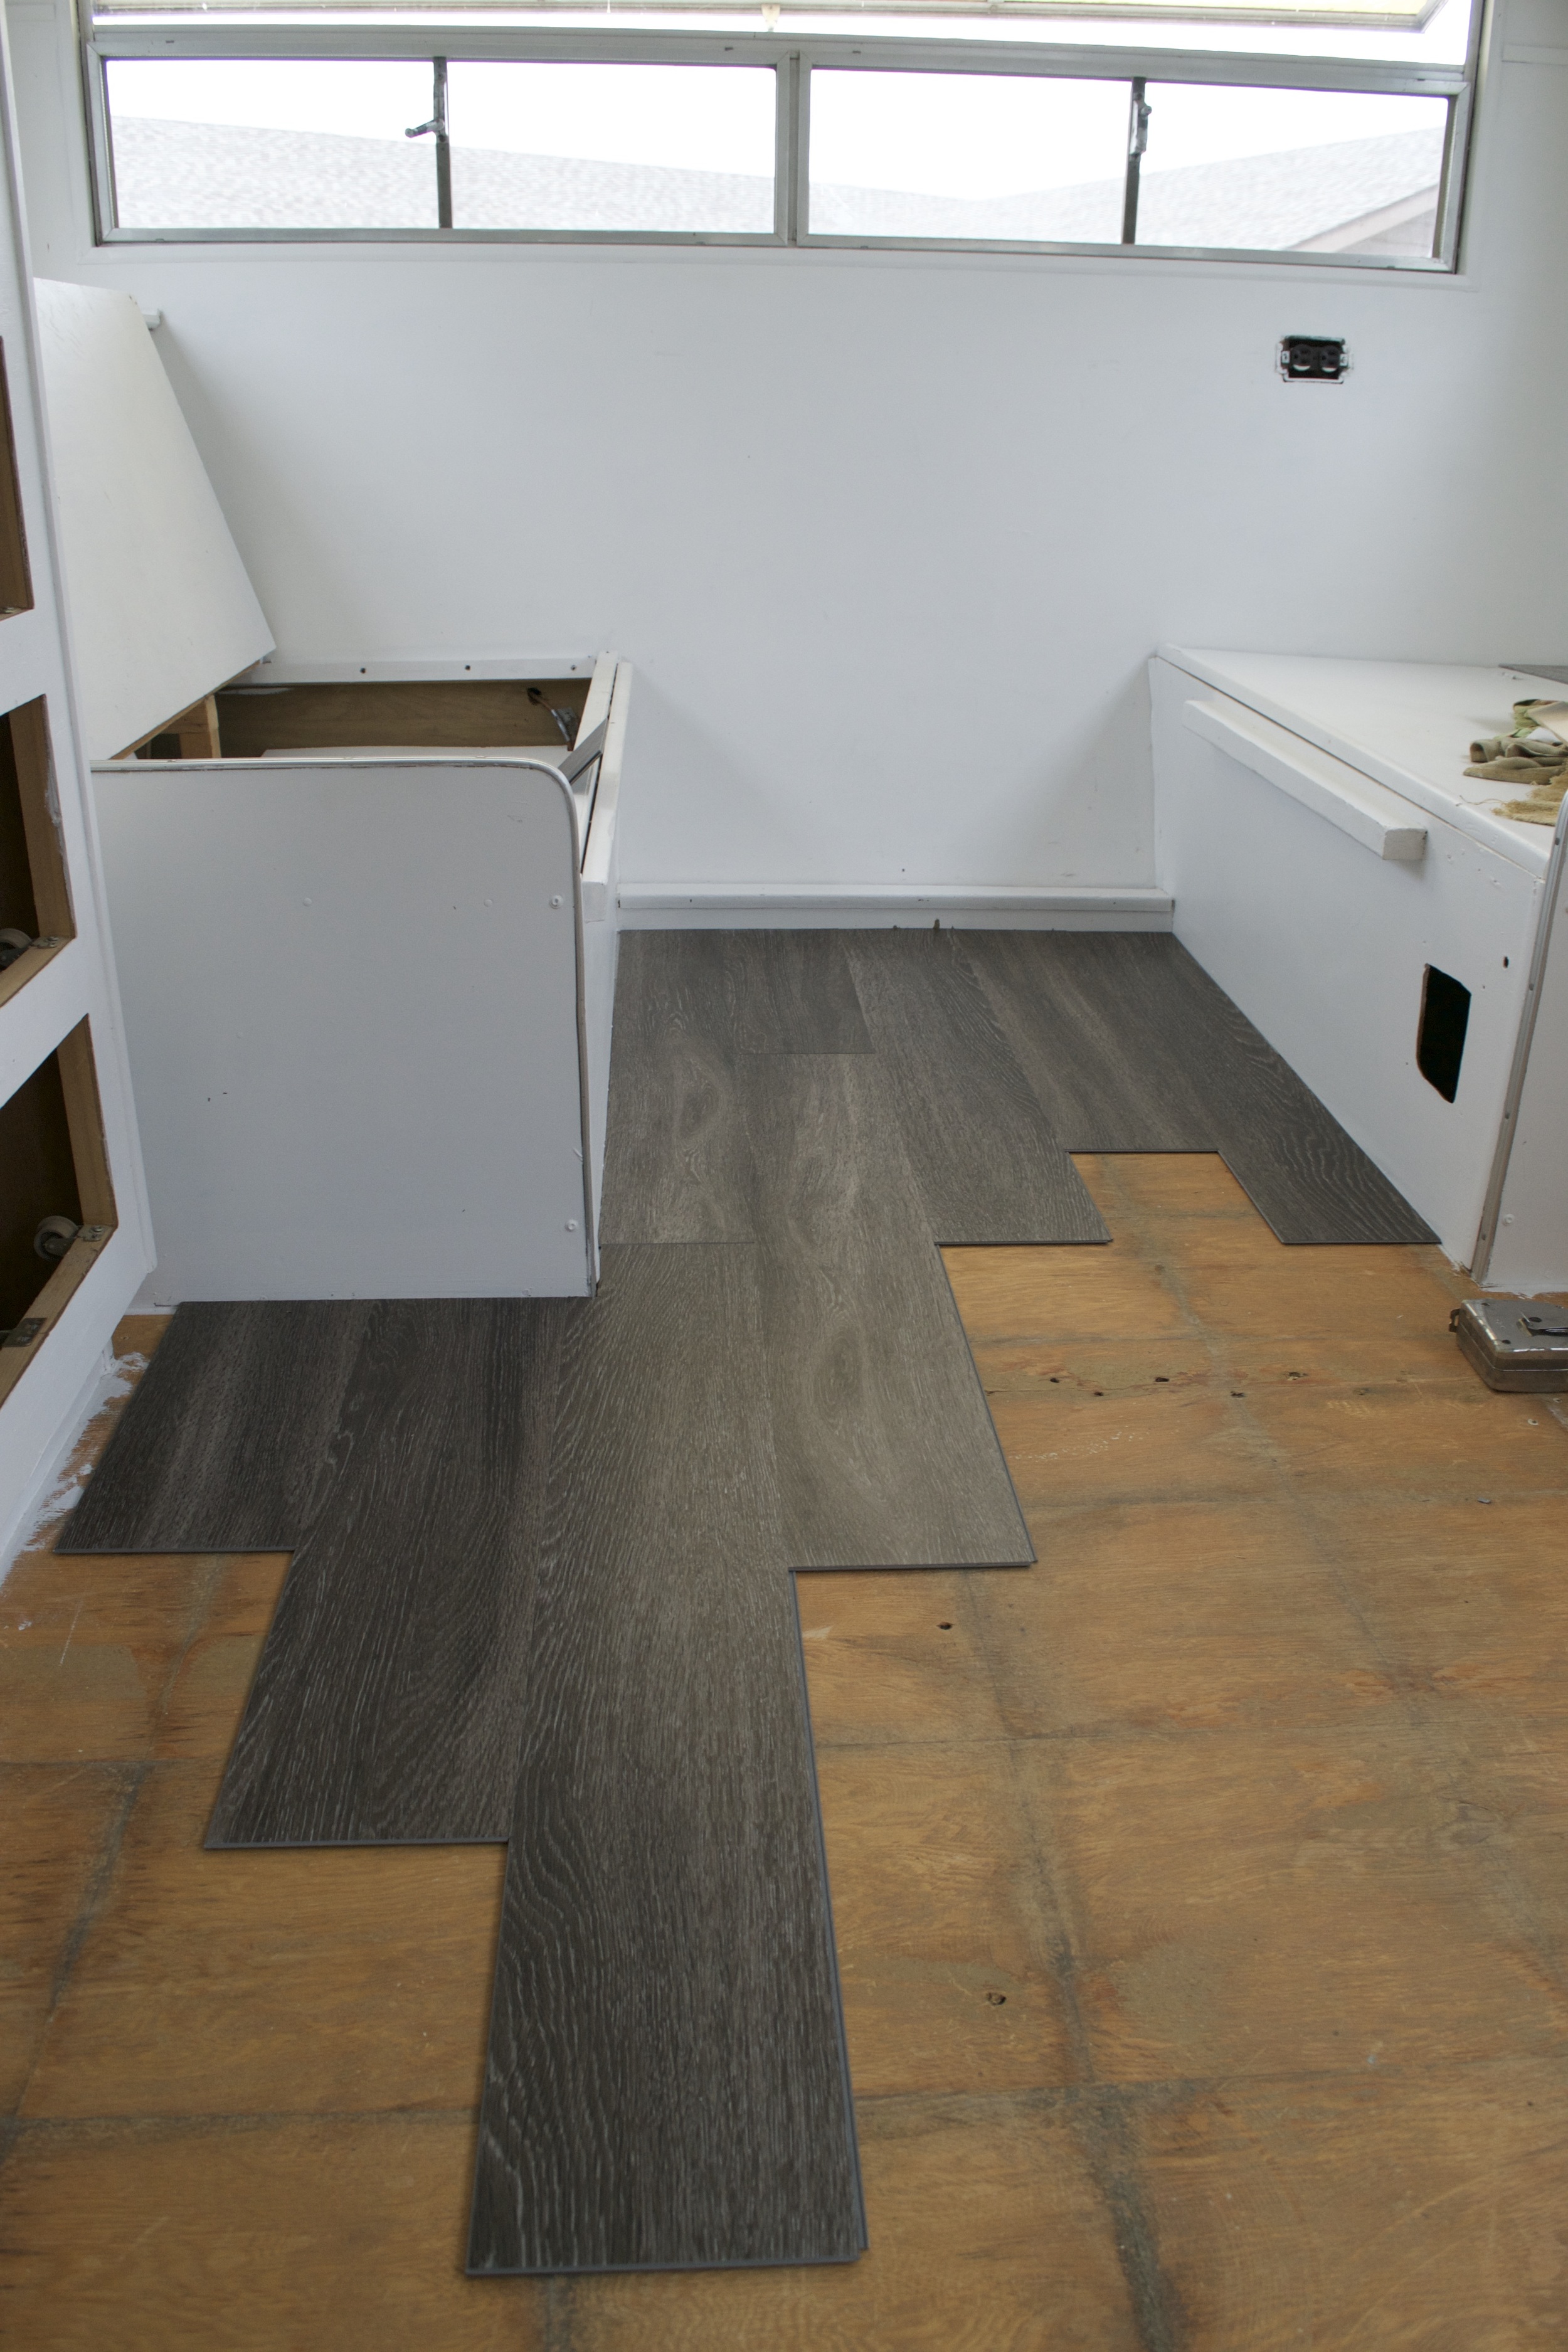
Carson and Jerry started installing the planks in the back of the trailer, in between our two dinette benches. With plank flooring like this, you want to make as few cuts as possible because every time you cut a piece you lose a joint. And when you lose a joint, that piece is kind of done-zo. Starting between the benches and then working along the kitchen cabinets allowed them to use nice long pieces first.
The boys started between our two dinette benches.
Pro tip: the fewer the cuts, the better.
These planks locked into place so they don’t slide around. But because this is Jerry and Carson we're talking about, they did use the pneumatic nailer to keep a few "strategic" boards in place along the edges. Please note: this is NOT necessary. But if you like the nail gun like these guys do, we won't stop you.
Of course, this DIY has a story: After laying about half the floor, the boys realized they did it wrong. There was a milimeter or two gap in between the boards where the joints were suppose to connect or snap together. Jerry thought there was suppose to be that spacing as a buffer zone for weather, condensing and contracting. But when Carson looked closer, he realized they weren’t pushing them together tight enough to "lock" into place. Thankfully they were able to go back and push together spaces without ruining anything. They were nervous it wouldn’t line up, but they just shifted everything back a few millimeters. We got lucky!
Carson had a lot of enthusiasm for this project. Thank goodness he didn't lose all that joy when they had to start over ...
It was tricky in the tight spaces like the area between the bench and kitchen unit. It's about the length and width of a yard stick. With areas like this, they -- you guessed it -- just used the nail gun to secure those boards in place. No "locking" required.
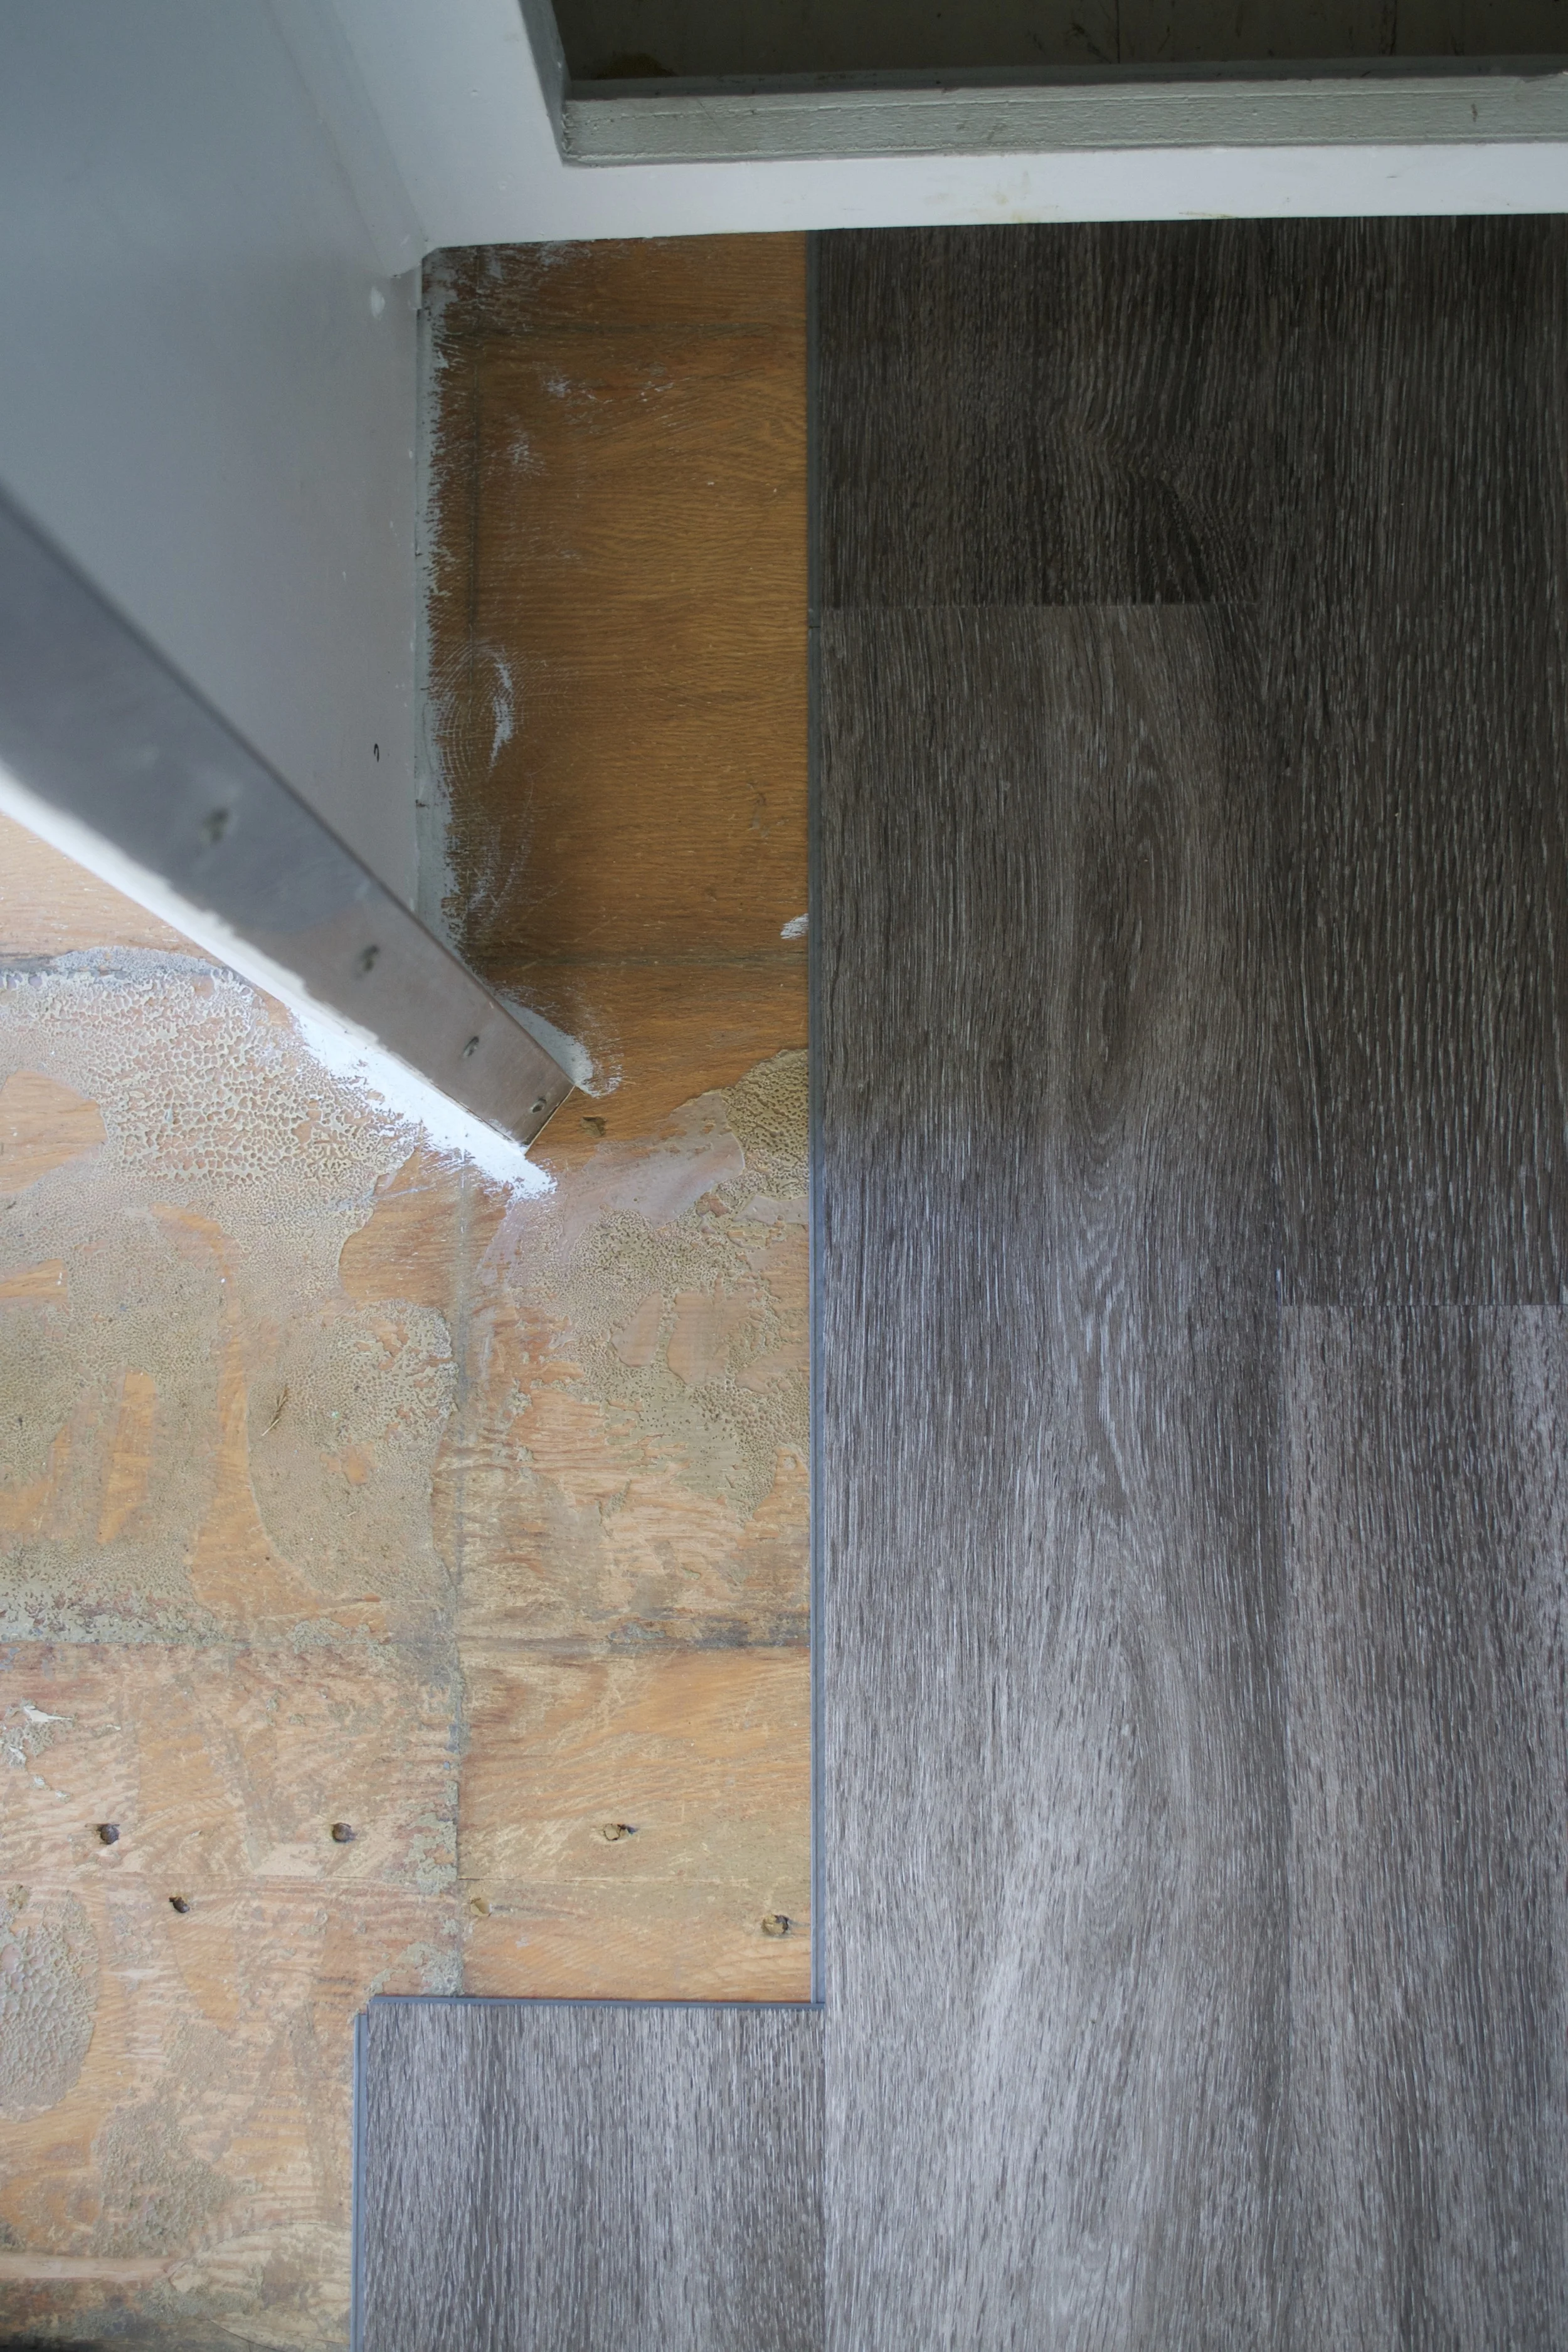
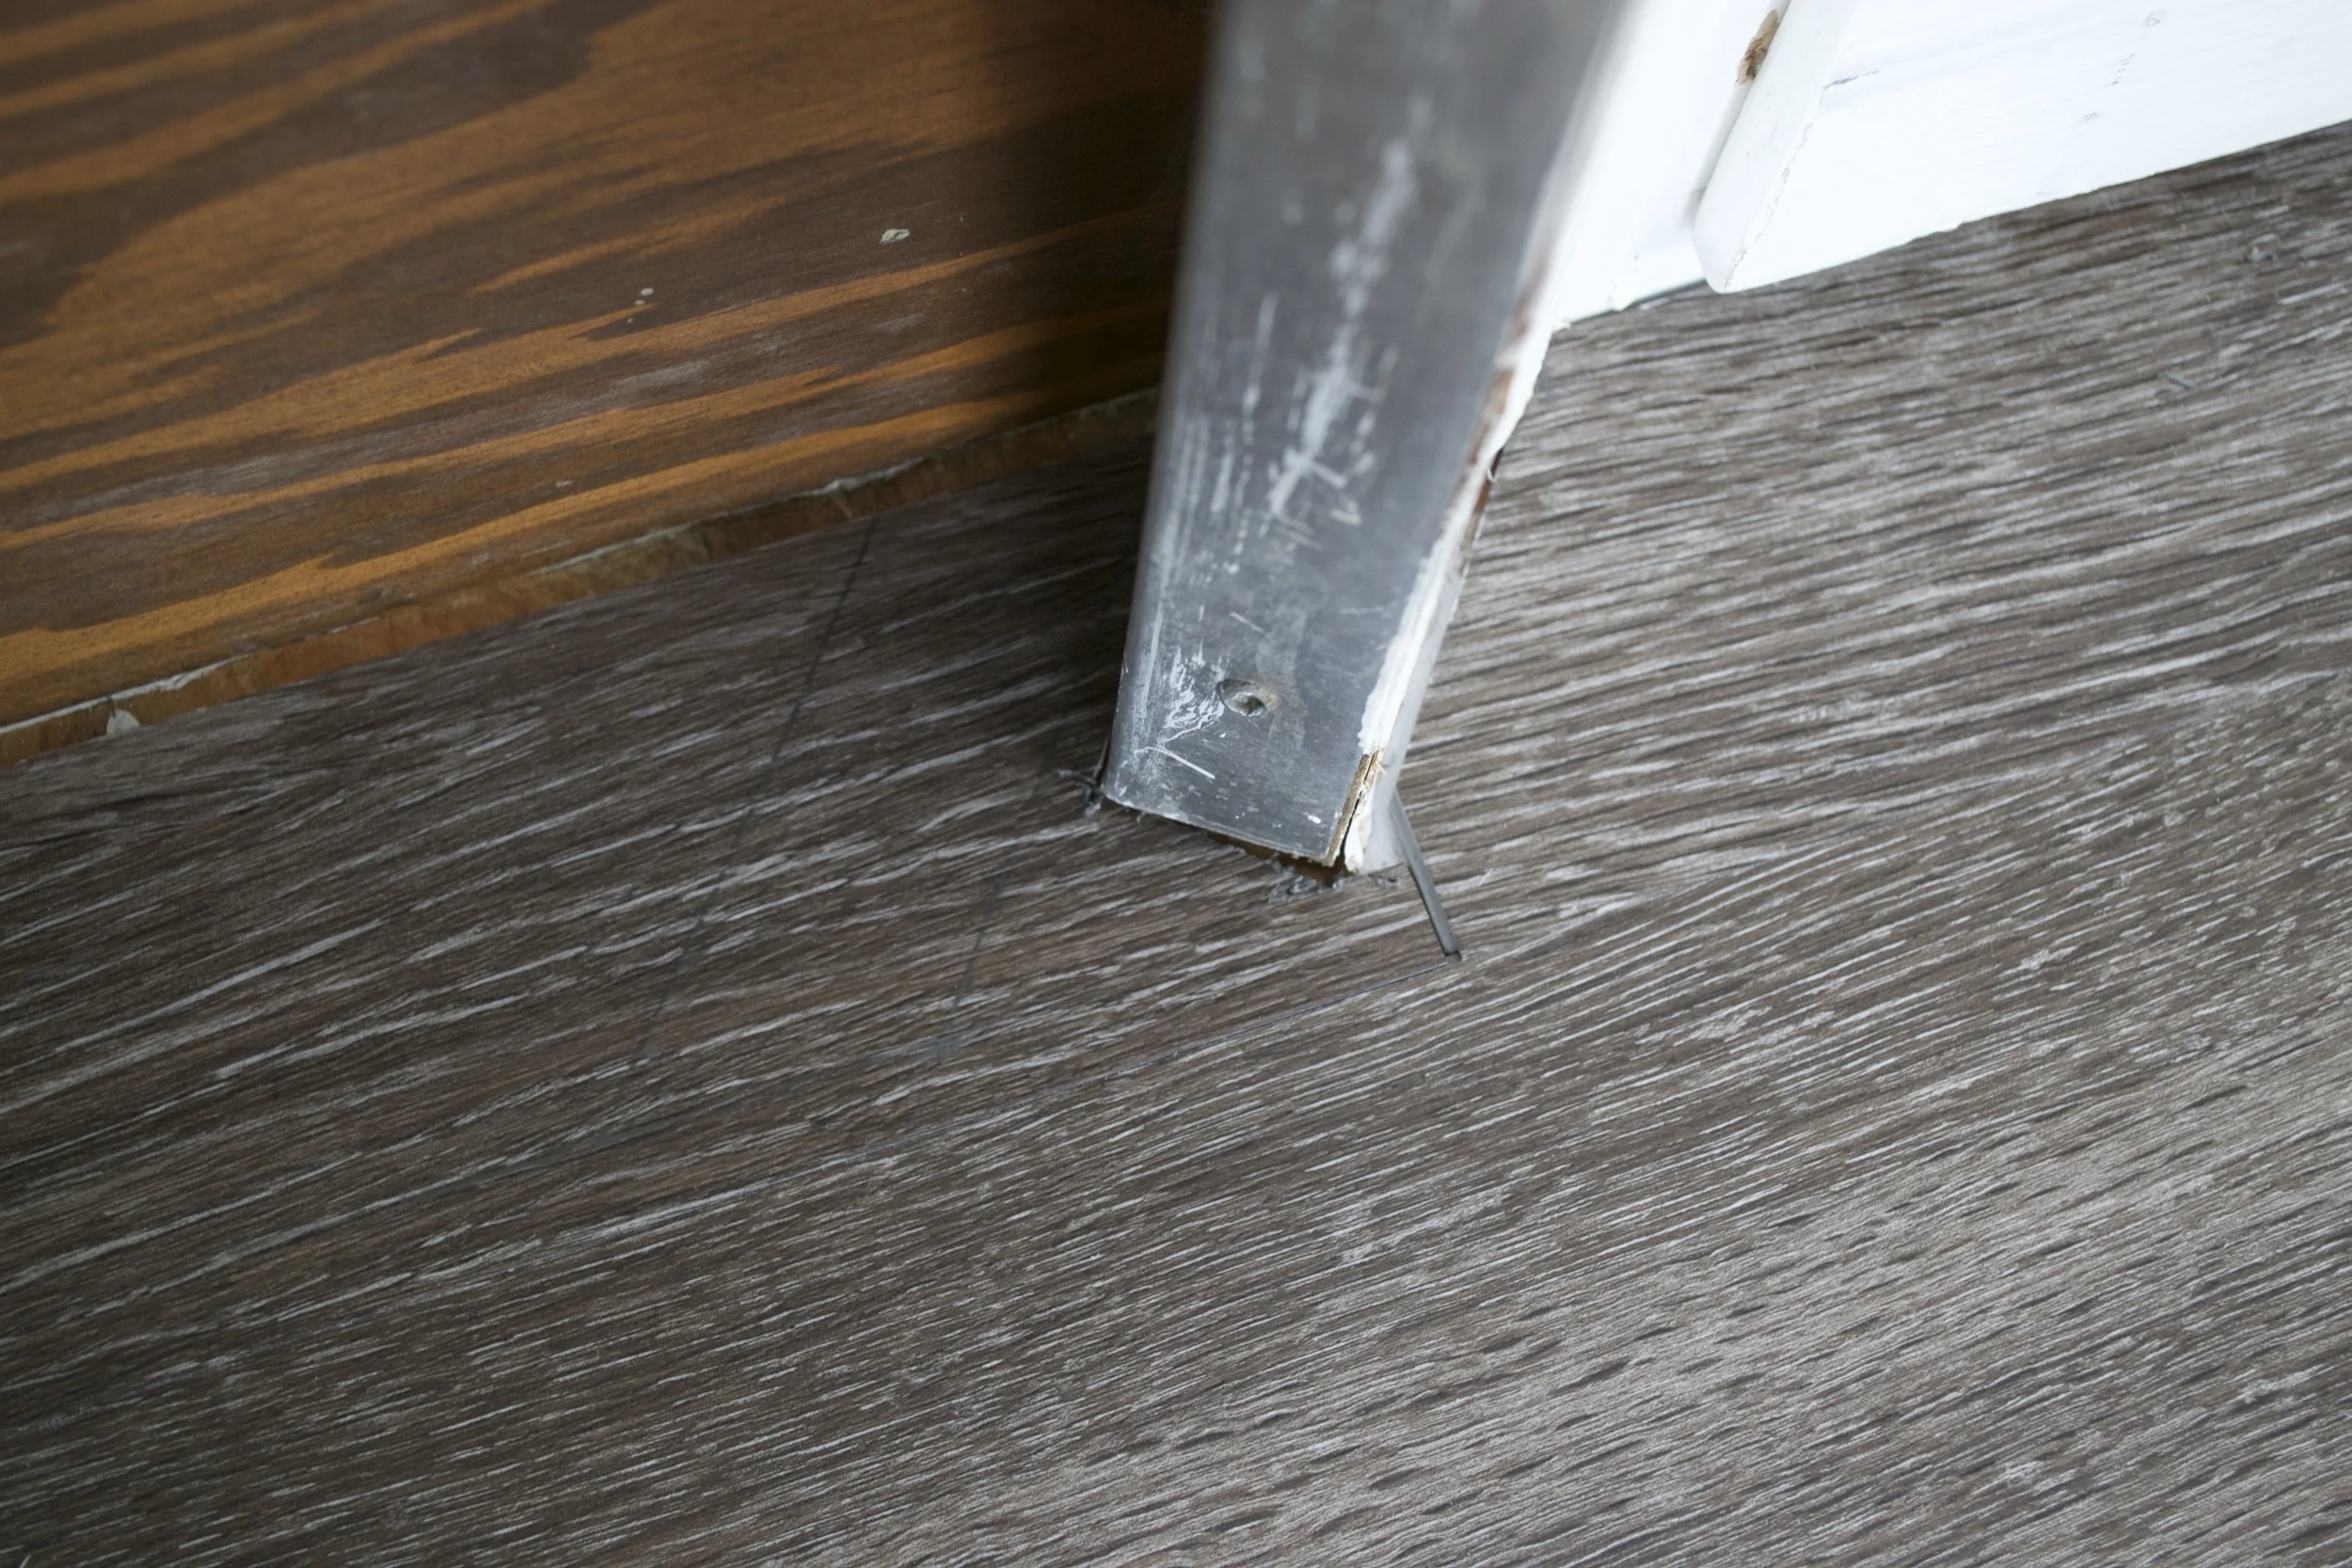
Going around the bathroom doorframe was the hardest part of the entire install because that door is built at a 45 degree angle to the rest of the camper. On this part they basically just eyeballed it and notched out in the boards where the door frame was.
Measuring vs. eyeballing? Eyeballing it obviously won out.
The great thing about this stuff is there's not much else to it! You don’t have to put anything underneath. No glue or other stuff required. After the flooring was installed we did add floor trim all around to cover up tiny spaces between the end of the planks and the wall. Again, the boys used a pneumatic nailer to secure it all in place. Seeing the pattern here?
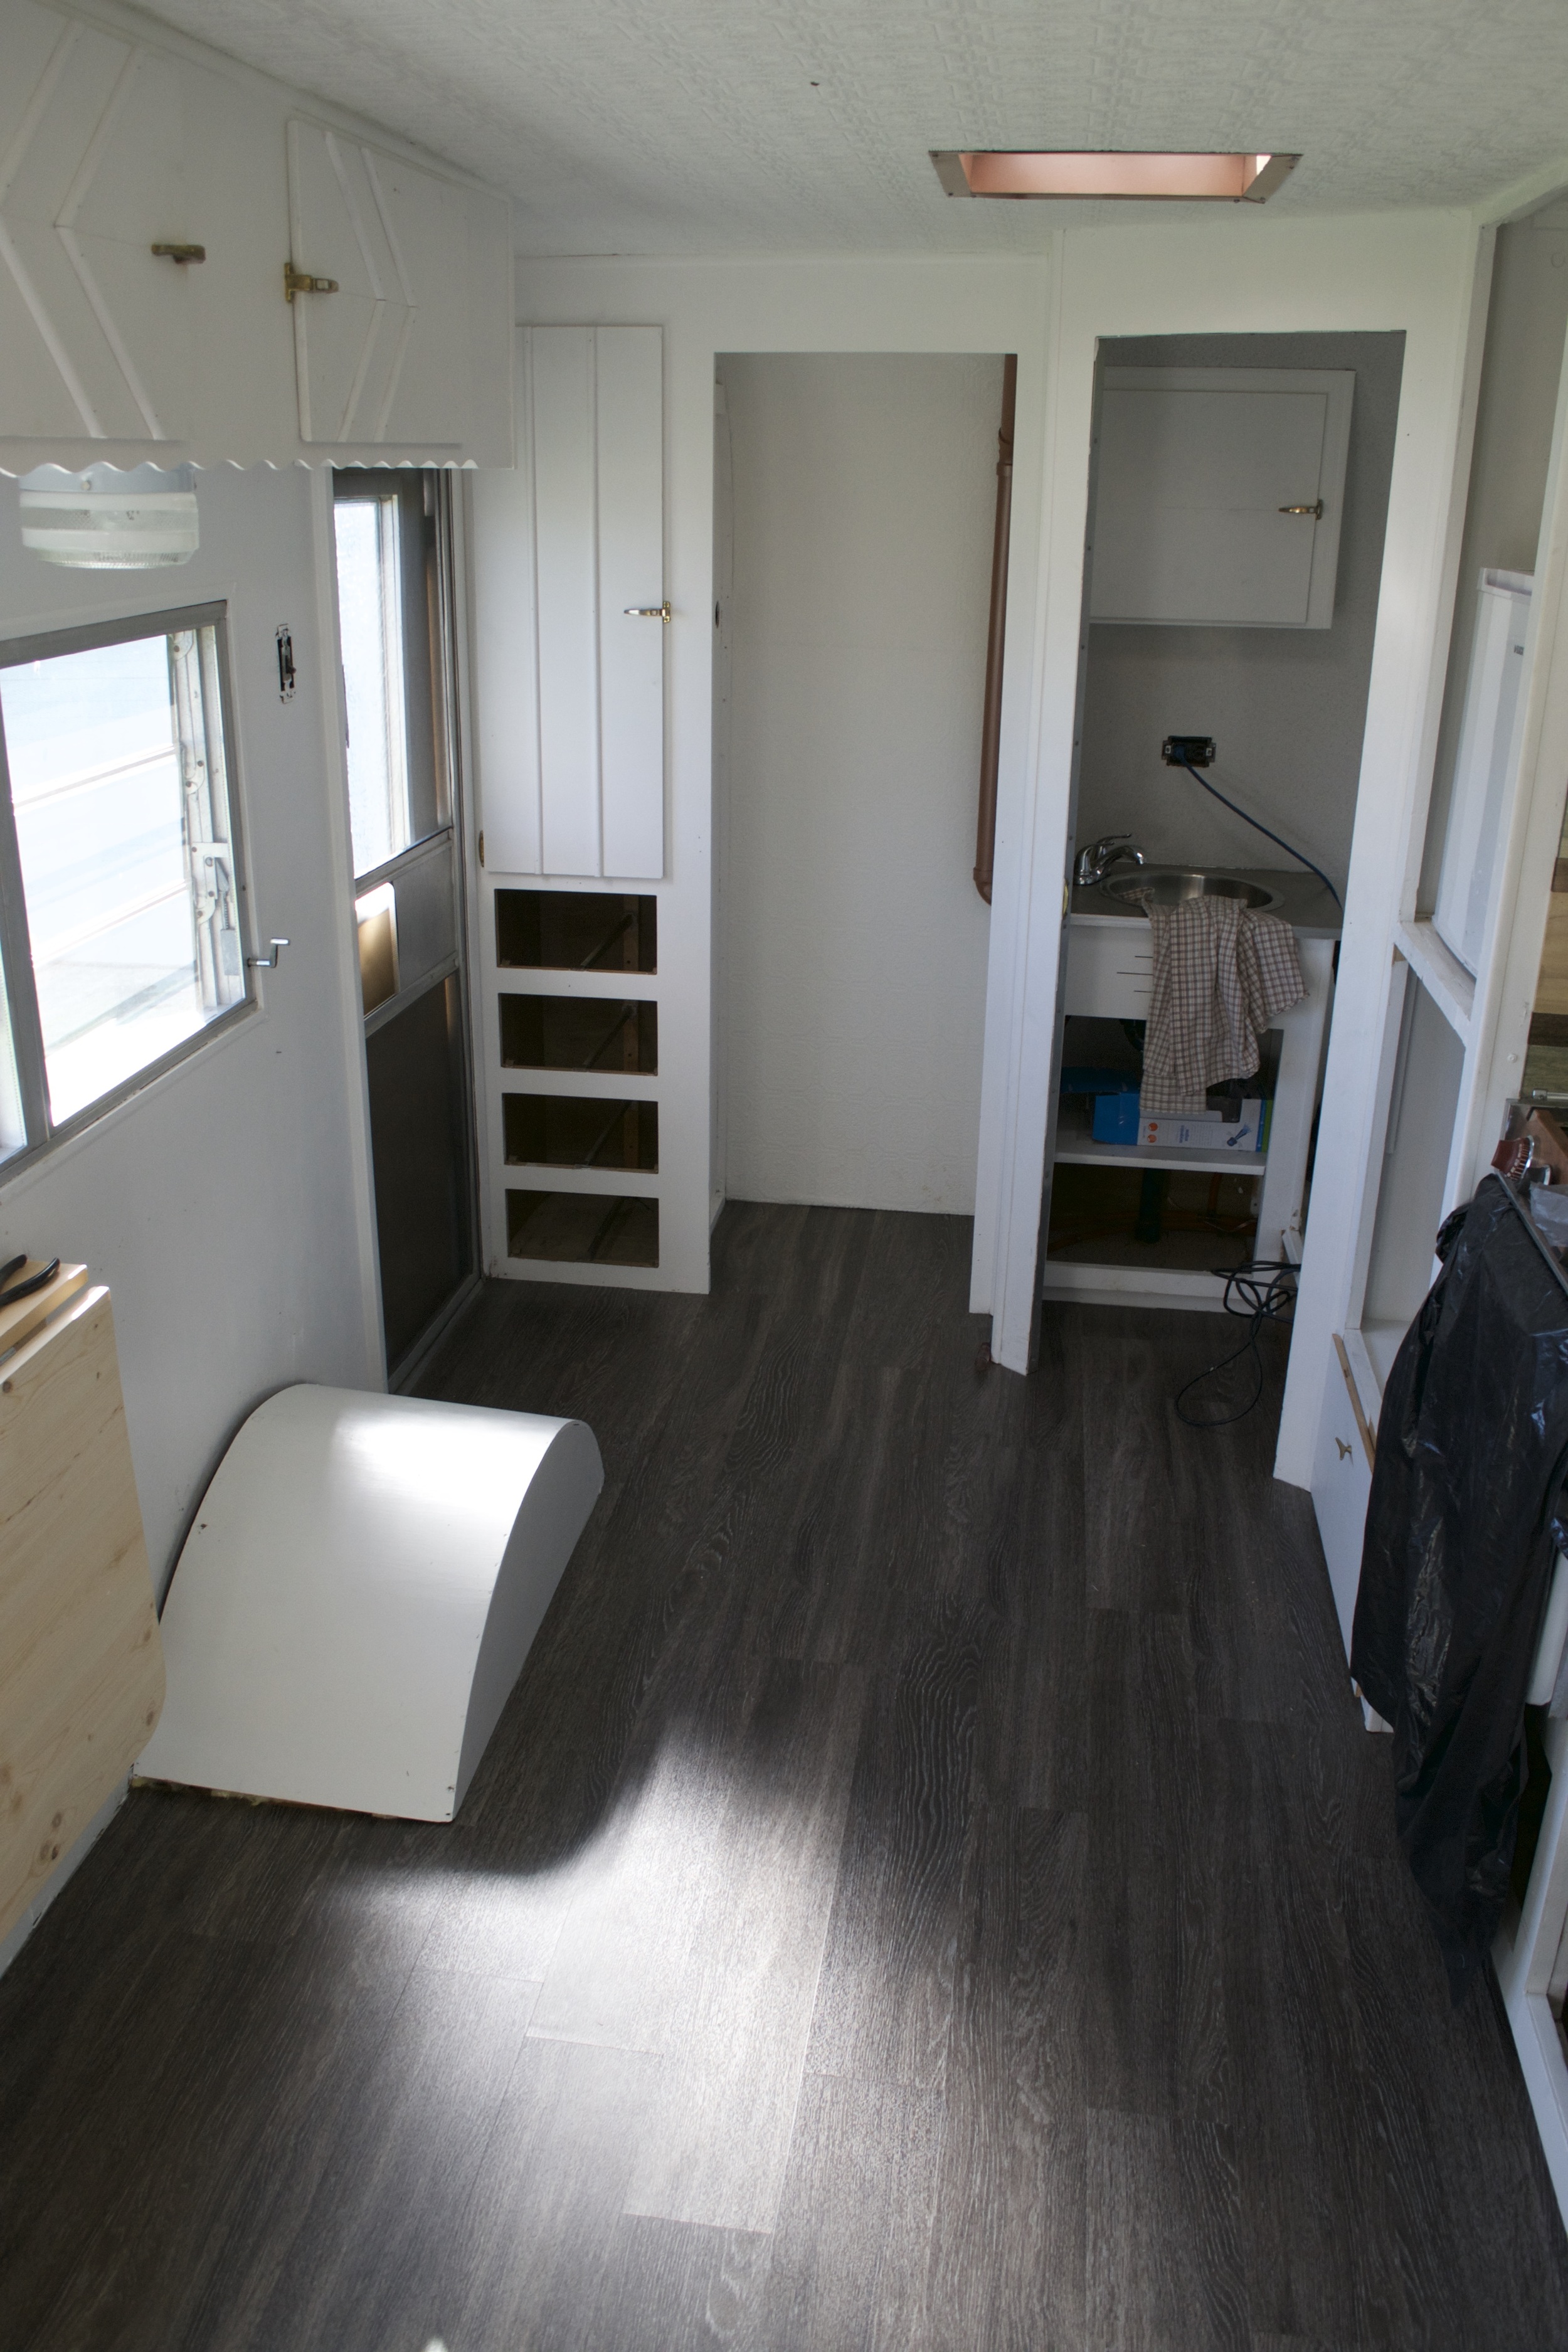
About halfway through the install I came in to inspect -- err, check in. I'll admit: I had a tiny panic. The floor looked really dark to me and I was nervous it wouldn't match the rest of the camper aesthetic. But I decided to wait and see and ended up liking it a lot after the fact. It complemented the cement countertops, matched the newly refurbished grey/brown vinyl bench seats. And the best part is that it really hides the dirt.
Mel giving it a thumbs up.
After a month on the road, this stuff has really held up. If we'd chosen a lighter pattern, I think we'd be cleaning the floors a lot more. With this stuff it's kind of out of sight out of mind. And I'll take that for now :).

