♫ Backsplash Fever ♫
Let’s talk about aesthetic, a word your dad has never used and your uncle has never used correctly (I think you mean "prosthetic," Uncle Pete!); the province of the effete and the cowardly; the concern of draft dodgers and socialists; the whimsy of millennial bloggers and…something about Oscar Wilde? When it came to our dear Elsie, of course we wanted her to work. Functioning brakes are fairly important. Hey-hey electricity, right? Sealed water lines? Sure. Drainage system? Fine, whatever.
Anyway, we wanted Elsie to look fly as hell, you know? Because when you’re living with another full-sized human being in a 16-foot trailer, trim color and faucet design are of paramount importance. Early on, most of the decisions Mel and I made regarding Elsie were pretty straightforward. Paint color could have been a sticking point, but we both prefer a bright, clean look, so white – bistro white, obviously, not that du jour bullshit – seemed like the obvious option. So far, so good.
But a few months into our renovation, we began to encounter scenarios that forced us to more concretely define our personal aesthetics. Mel has always described her style as simply "eclectic," but when pushed to further refine that idea, she says, “I like a mix of vintage, modern and industrial.” I can dig it. But there’s something I find comforting about the cabin vibe, too, lots of exposed natural wood, a little outdoorsy. I also dig that vibe where you only own three pairs of pants, and that vibe where your mom just sighs when you ask her to sew your Goodwill flannel back together. I’m making a statement, Mom! I digress. Anyway, renovating the kitchen – a major focal point in our trailer – gave us our first real opportunity to fuse our different styles.
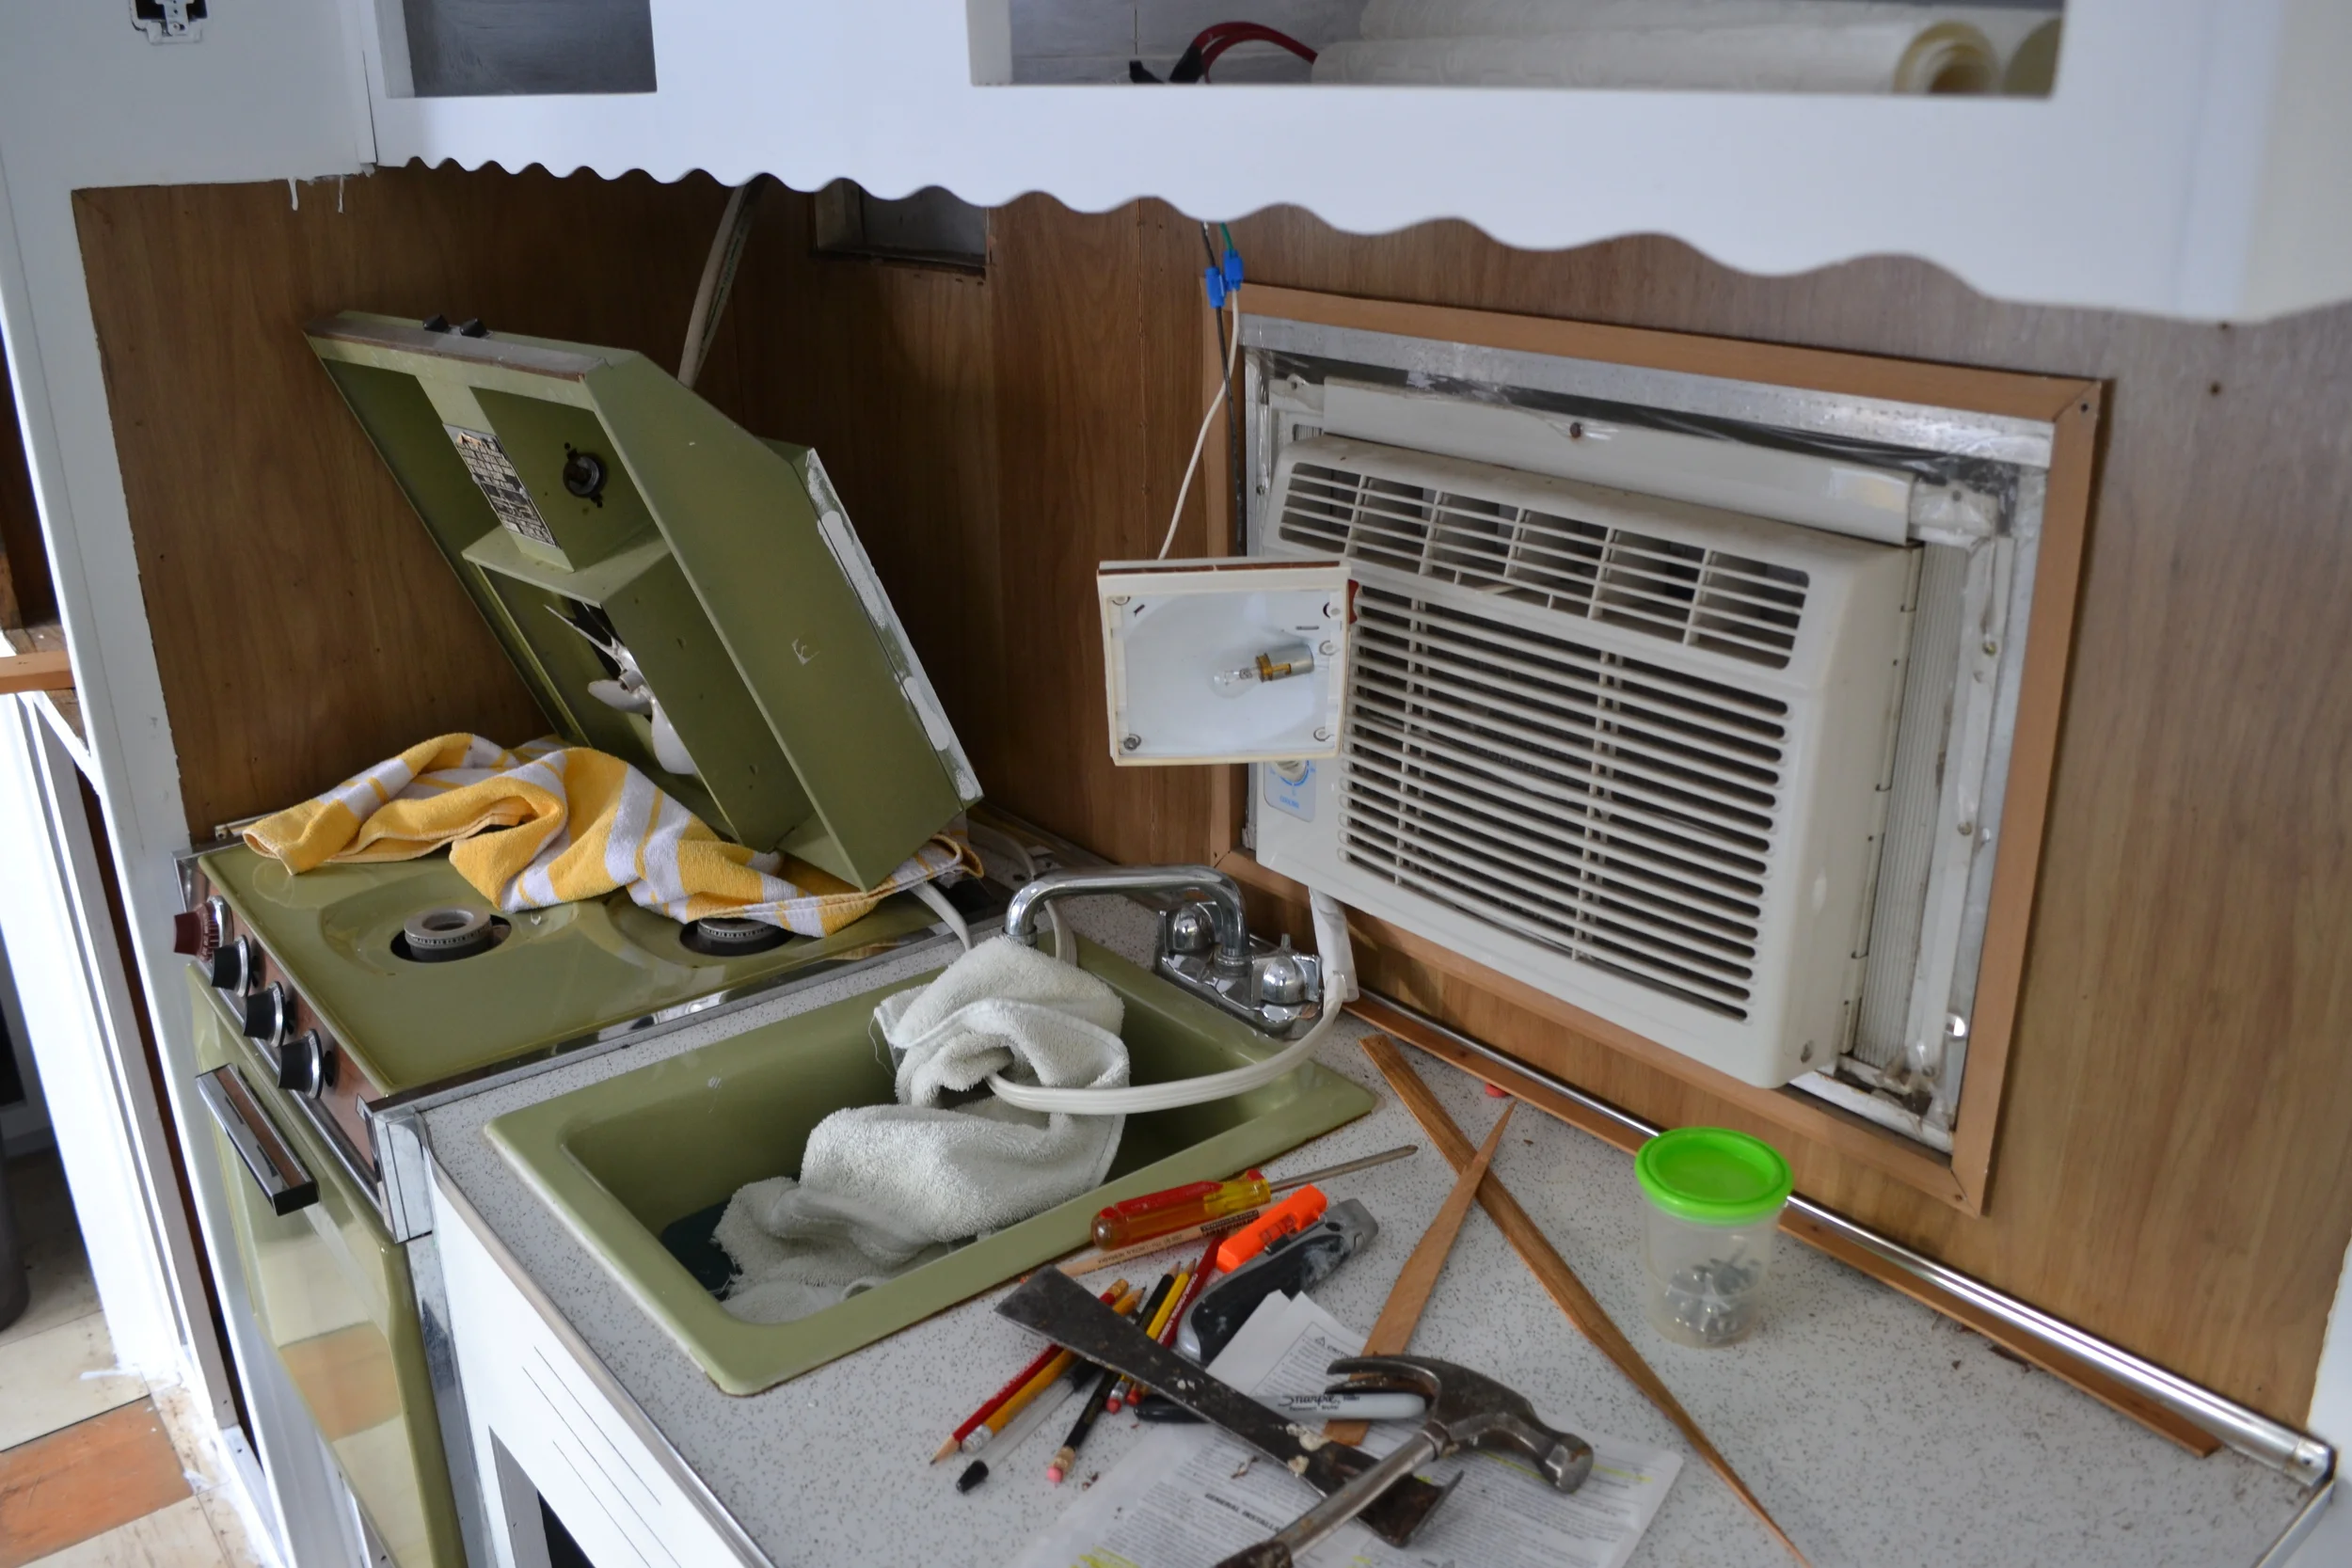
With all white walls, and our textured white ceiling, we were already well on our way towards achieving the modern portion of Mel’s grand vision. In the coming weeks, we planned on installing concrete countertops, as well, so industrial was on the way [more on that in a future DIY post]. For the backsplash, we considered multiple options: tin tile, corrugated steel, penny tile, subway tile, etc. But so far, there wasn’t much in Elsie in the way of my cabin ideal, no exposed wood—purposely exposed, anyway. Online, I’d seen several cool reclaimed wood backsplashes, and after some deliberation over color and whether or not it could withstand trailer life, Mel and Jerry gave it the greenlight. All we had to do now was figure out how to make it!
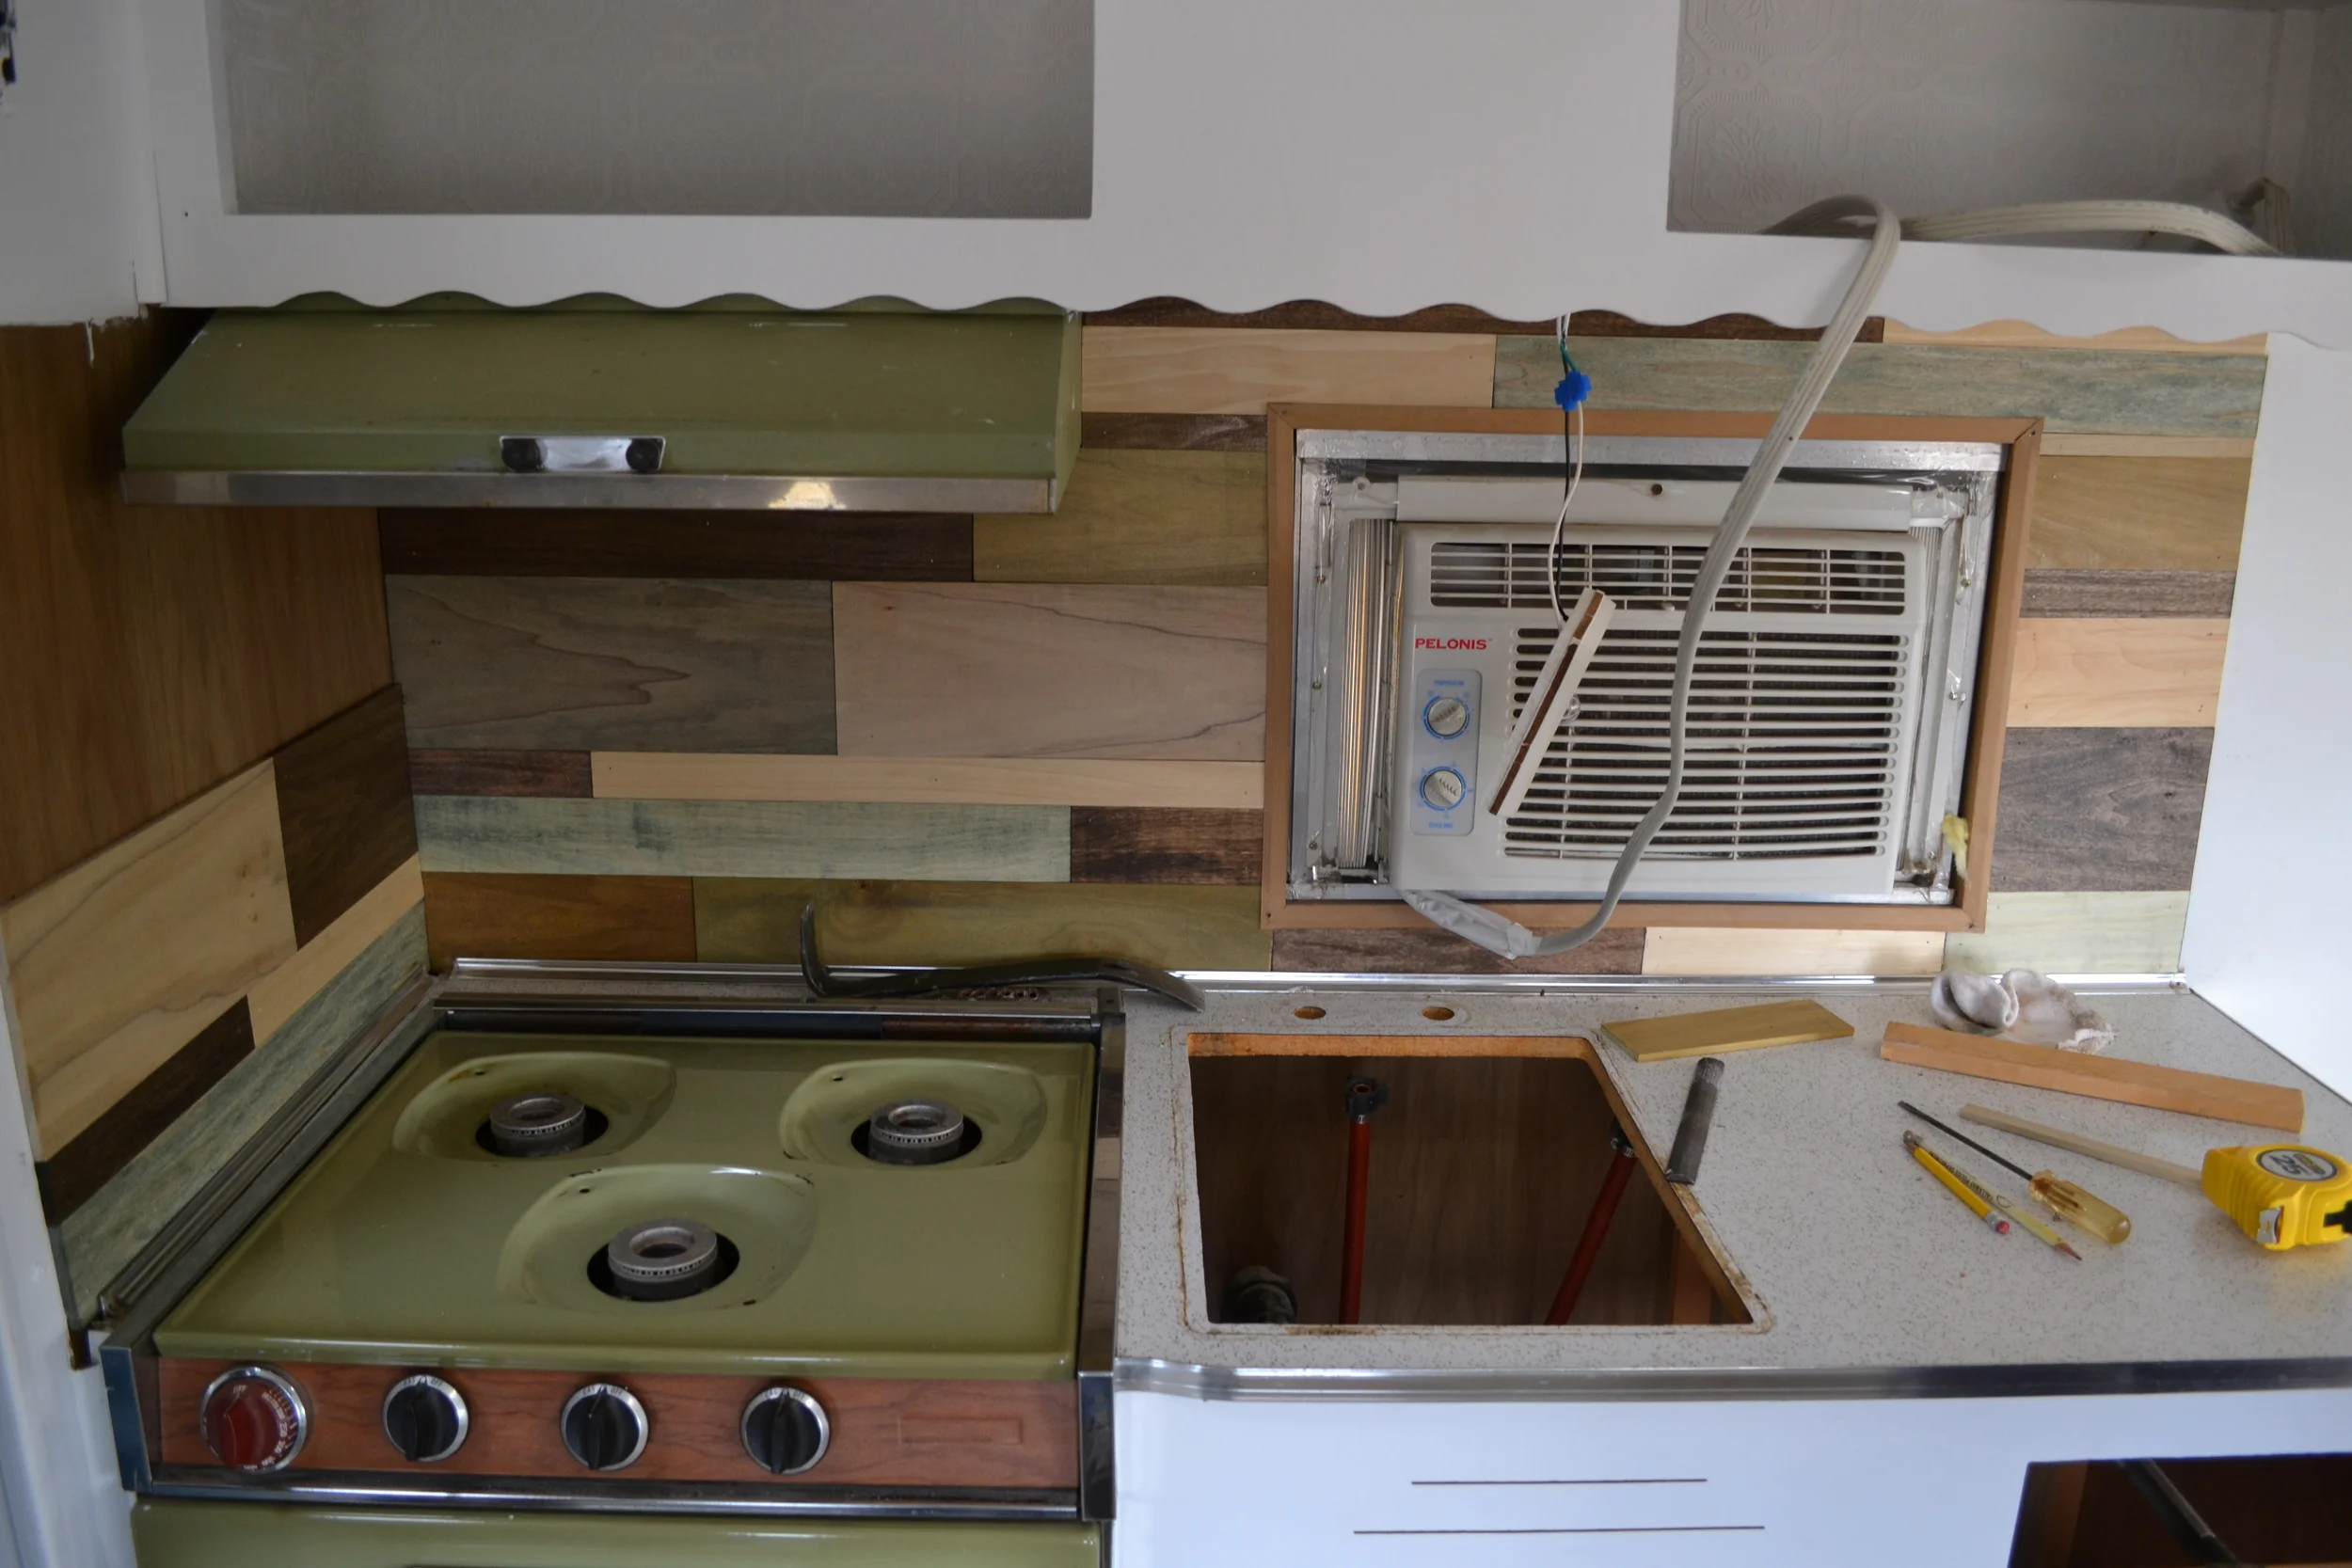
We wanted to piece it together like a jigsaw puzzle, using different sizes and types of wood to give it a more random, informal feel. So, in pursuit of that random feel, we planned out every tiny detail to a T. [Note: For more on scheduling your spontaneity, visit www.HillaryClinton.com.] Because finding a large variety of 3/16-inch planks at Lowe’s proved difficult, we ended up with mostly cedar and pine, hardly the most colorful wood varieties. So in addition to mapping out the different plank sizes, we would have to map out stain colors, too.
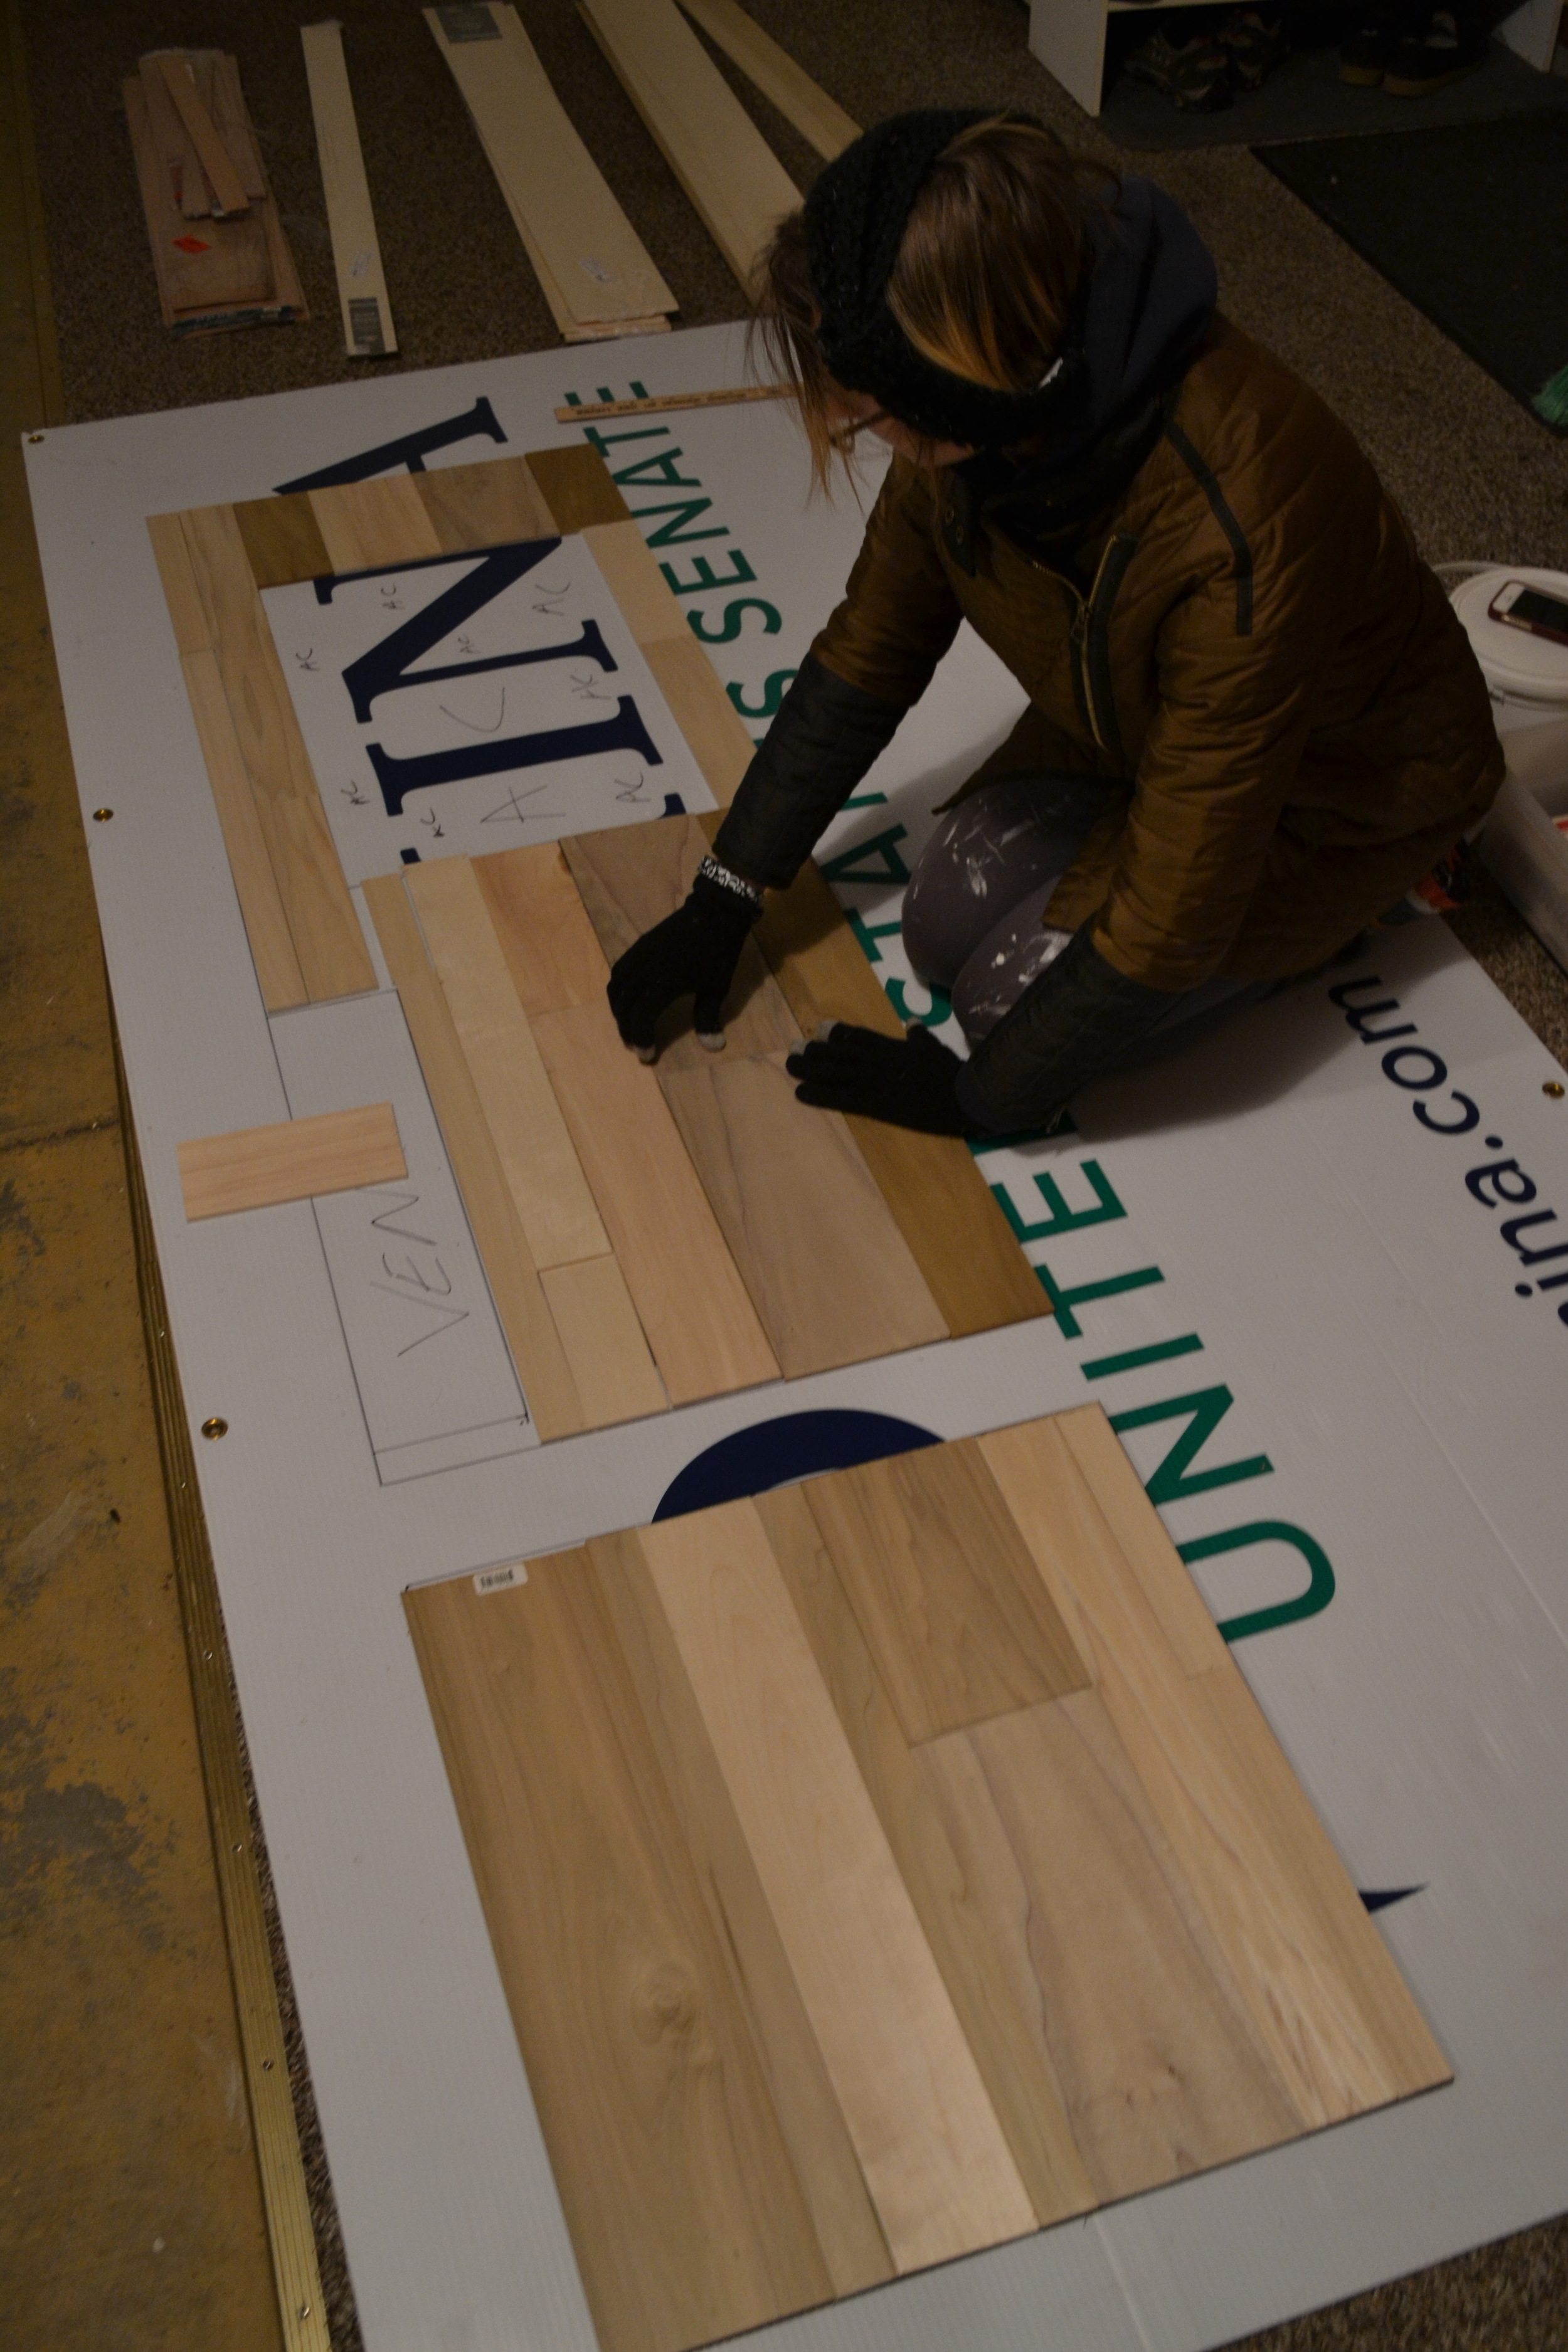
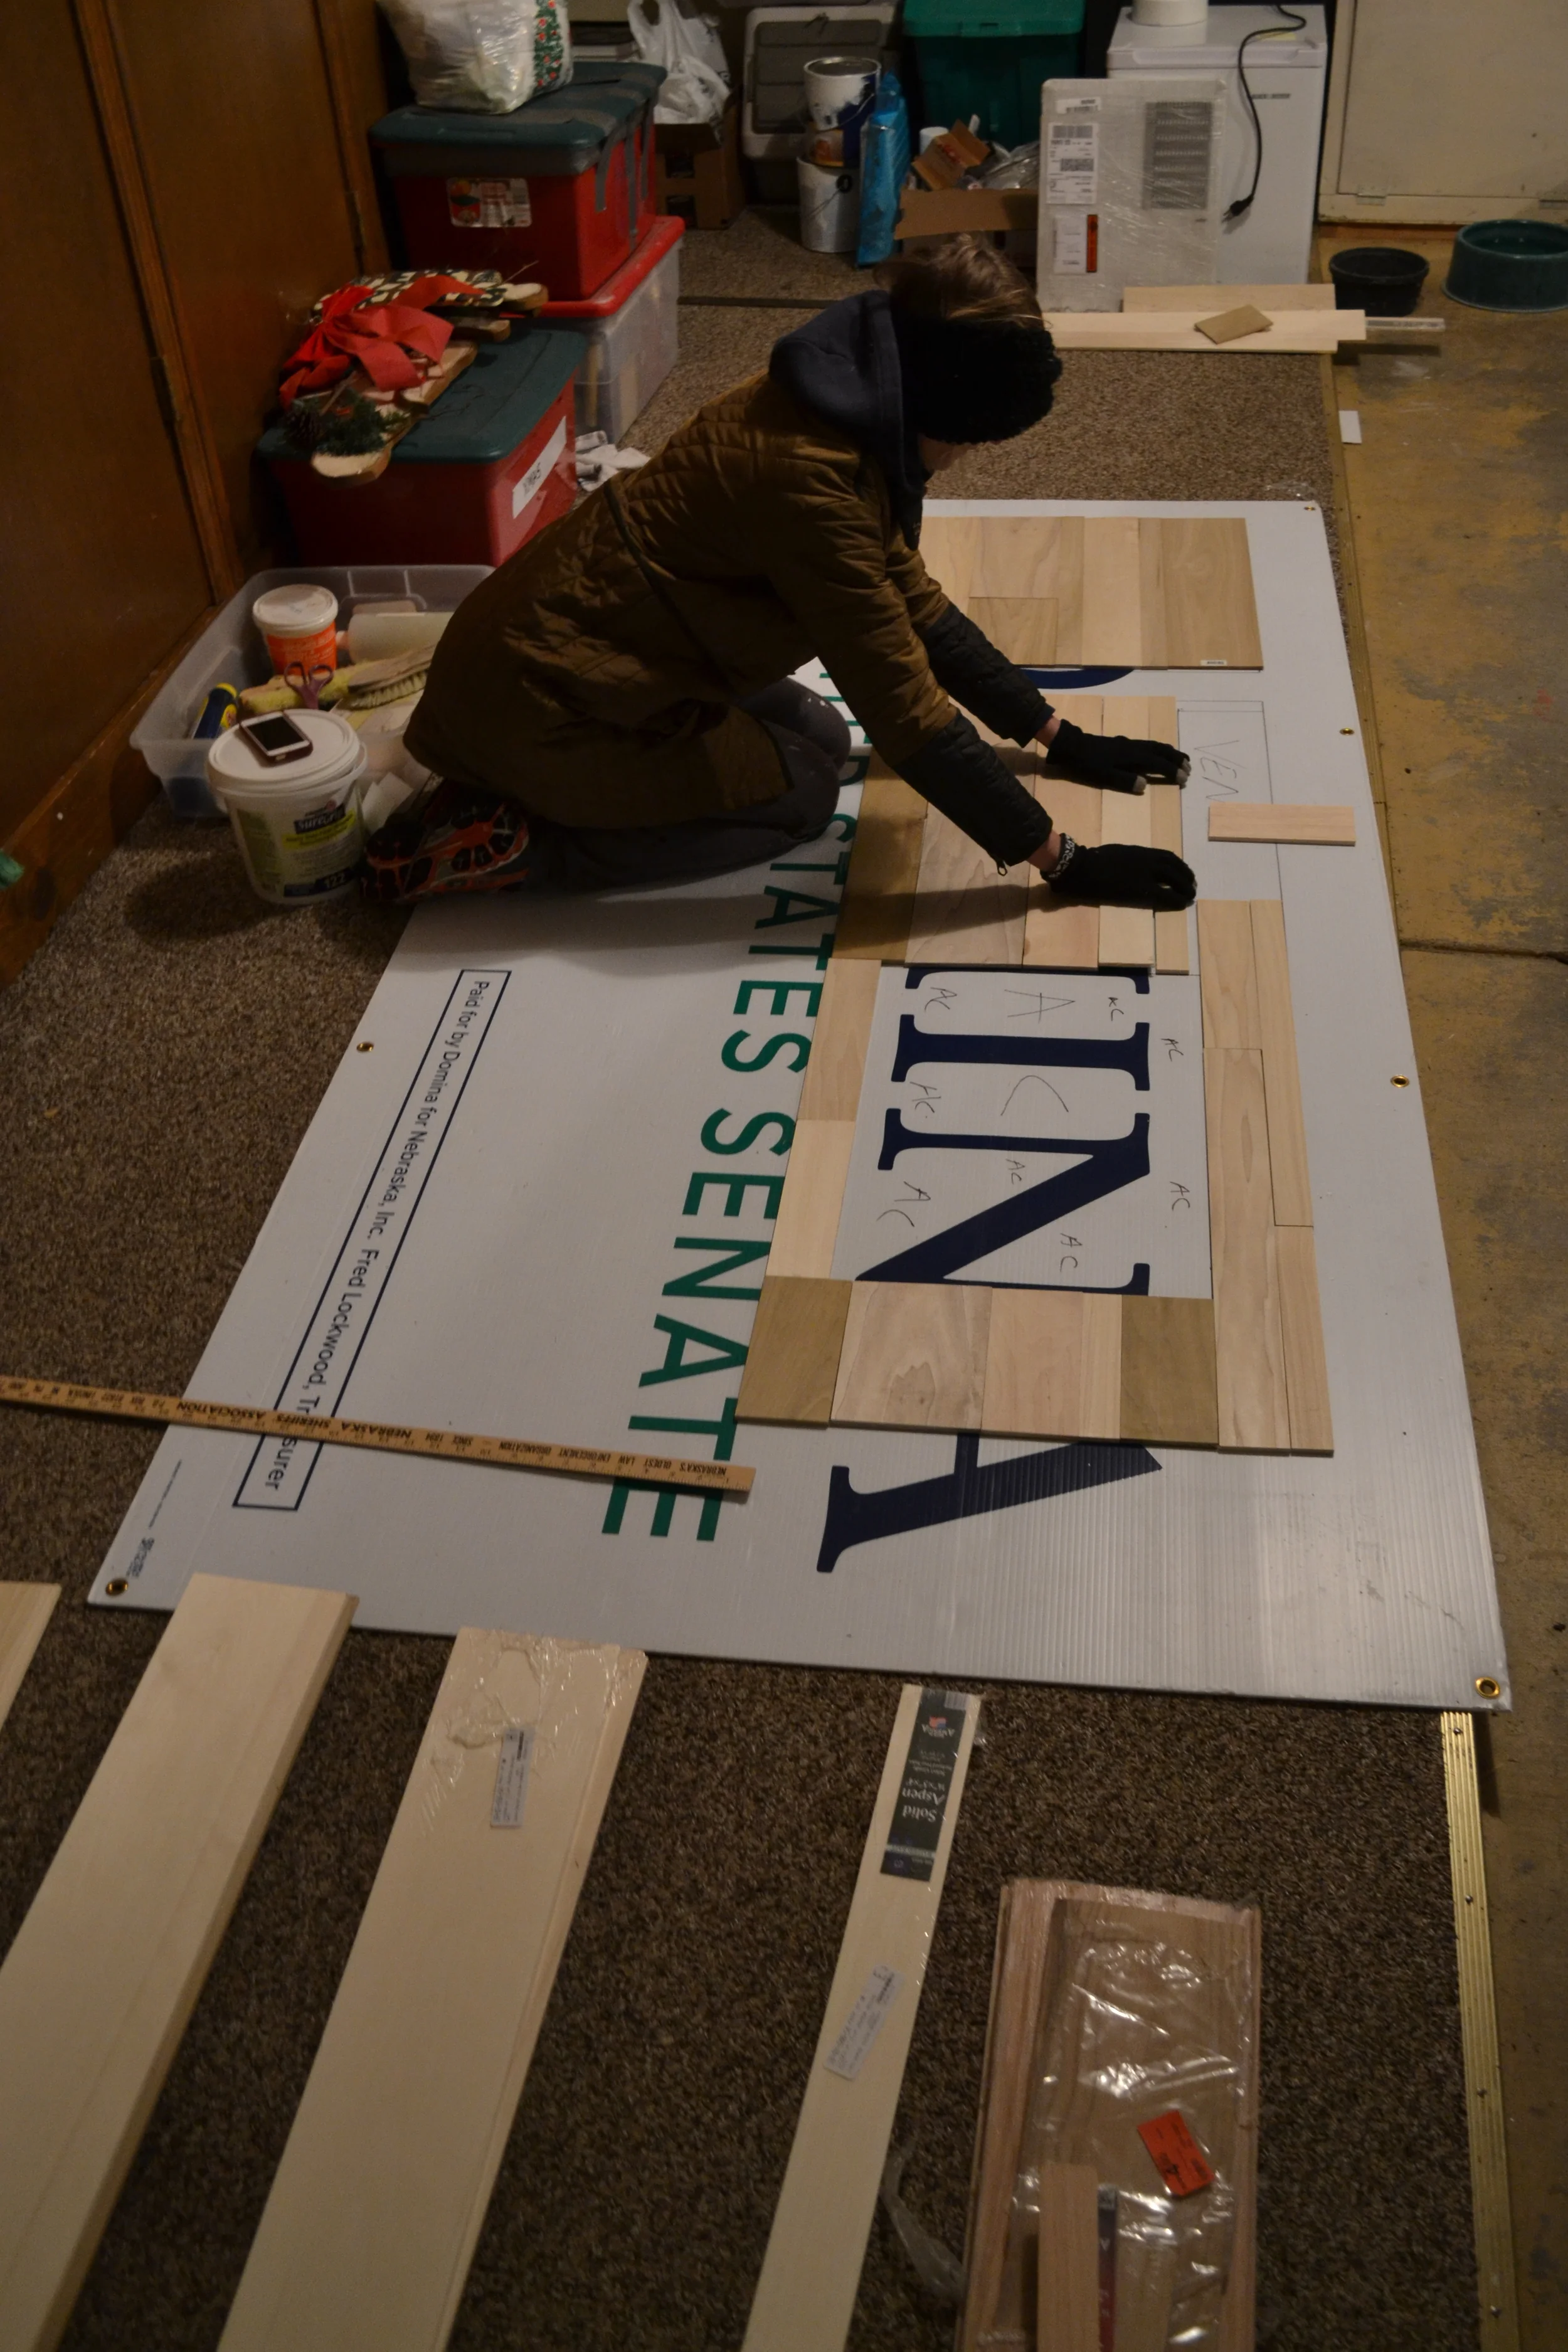
To make the final product easier to envision, and to avoid any costly mistakes along the way, we first made a replica to scale of the backsplash in my parents’ garage. We outlined the area using the old plastic backsplash pieces as our guide. We traced the pattern on a sheet of cardboard (actually, an old political advertisement—Vote Domina!), and laid down boards of various sizes, making sure never to place two boards of the same size beside each other.
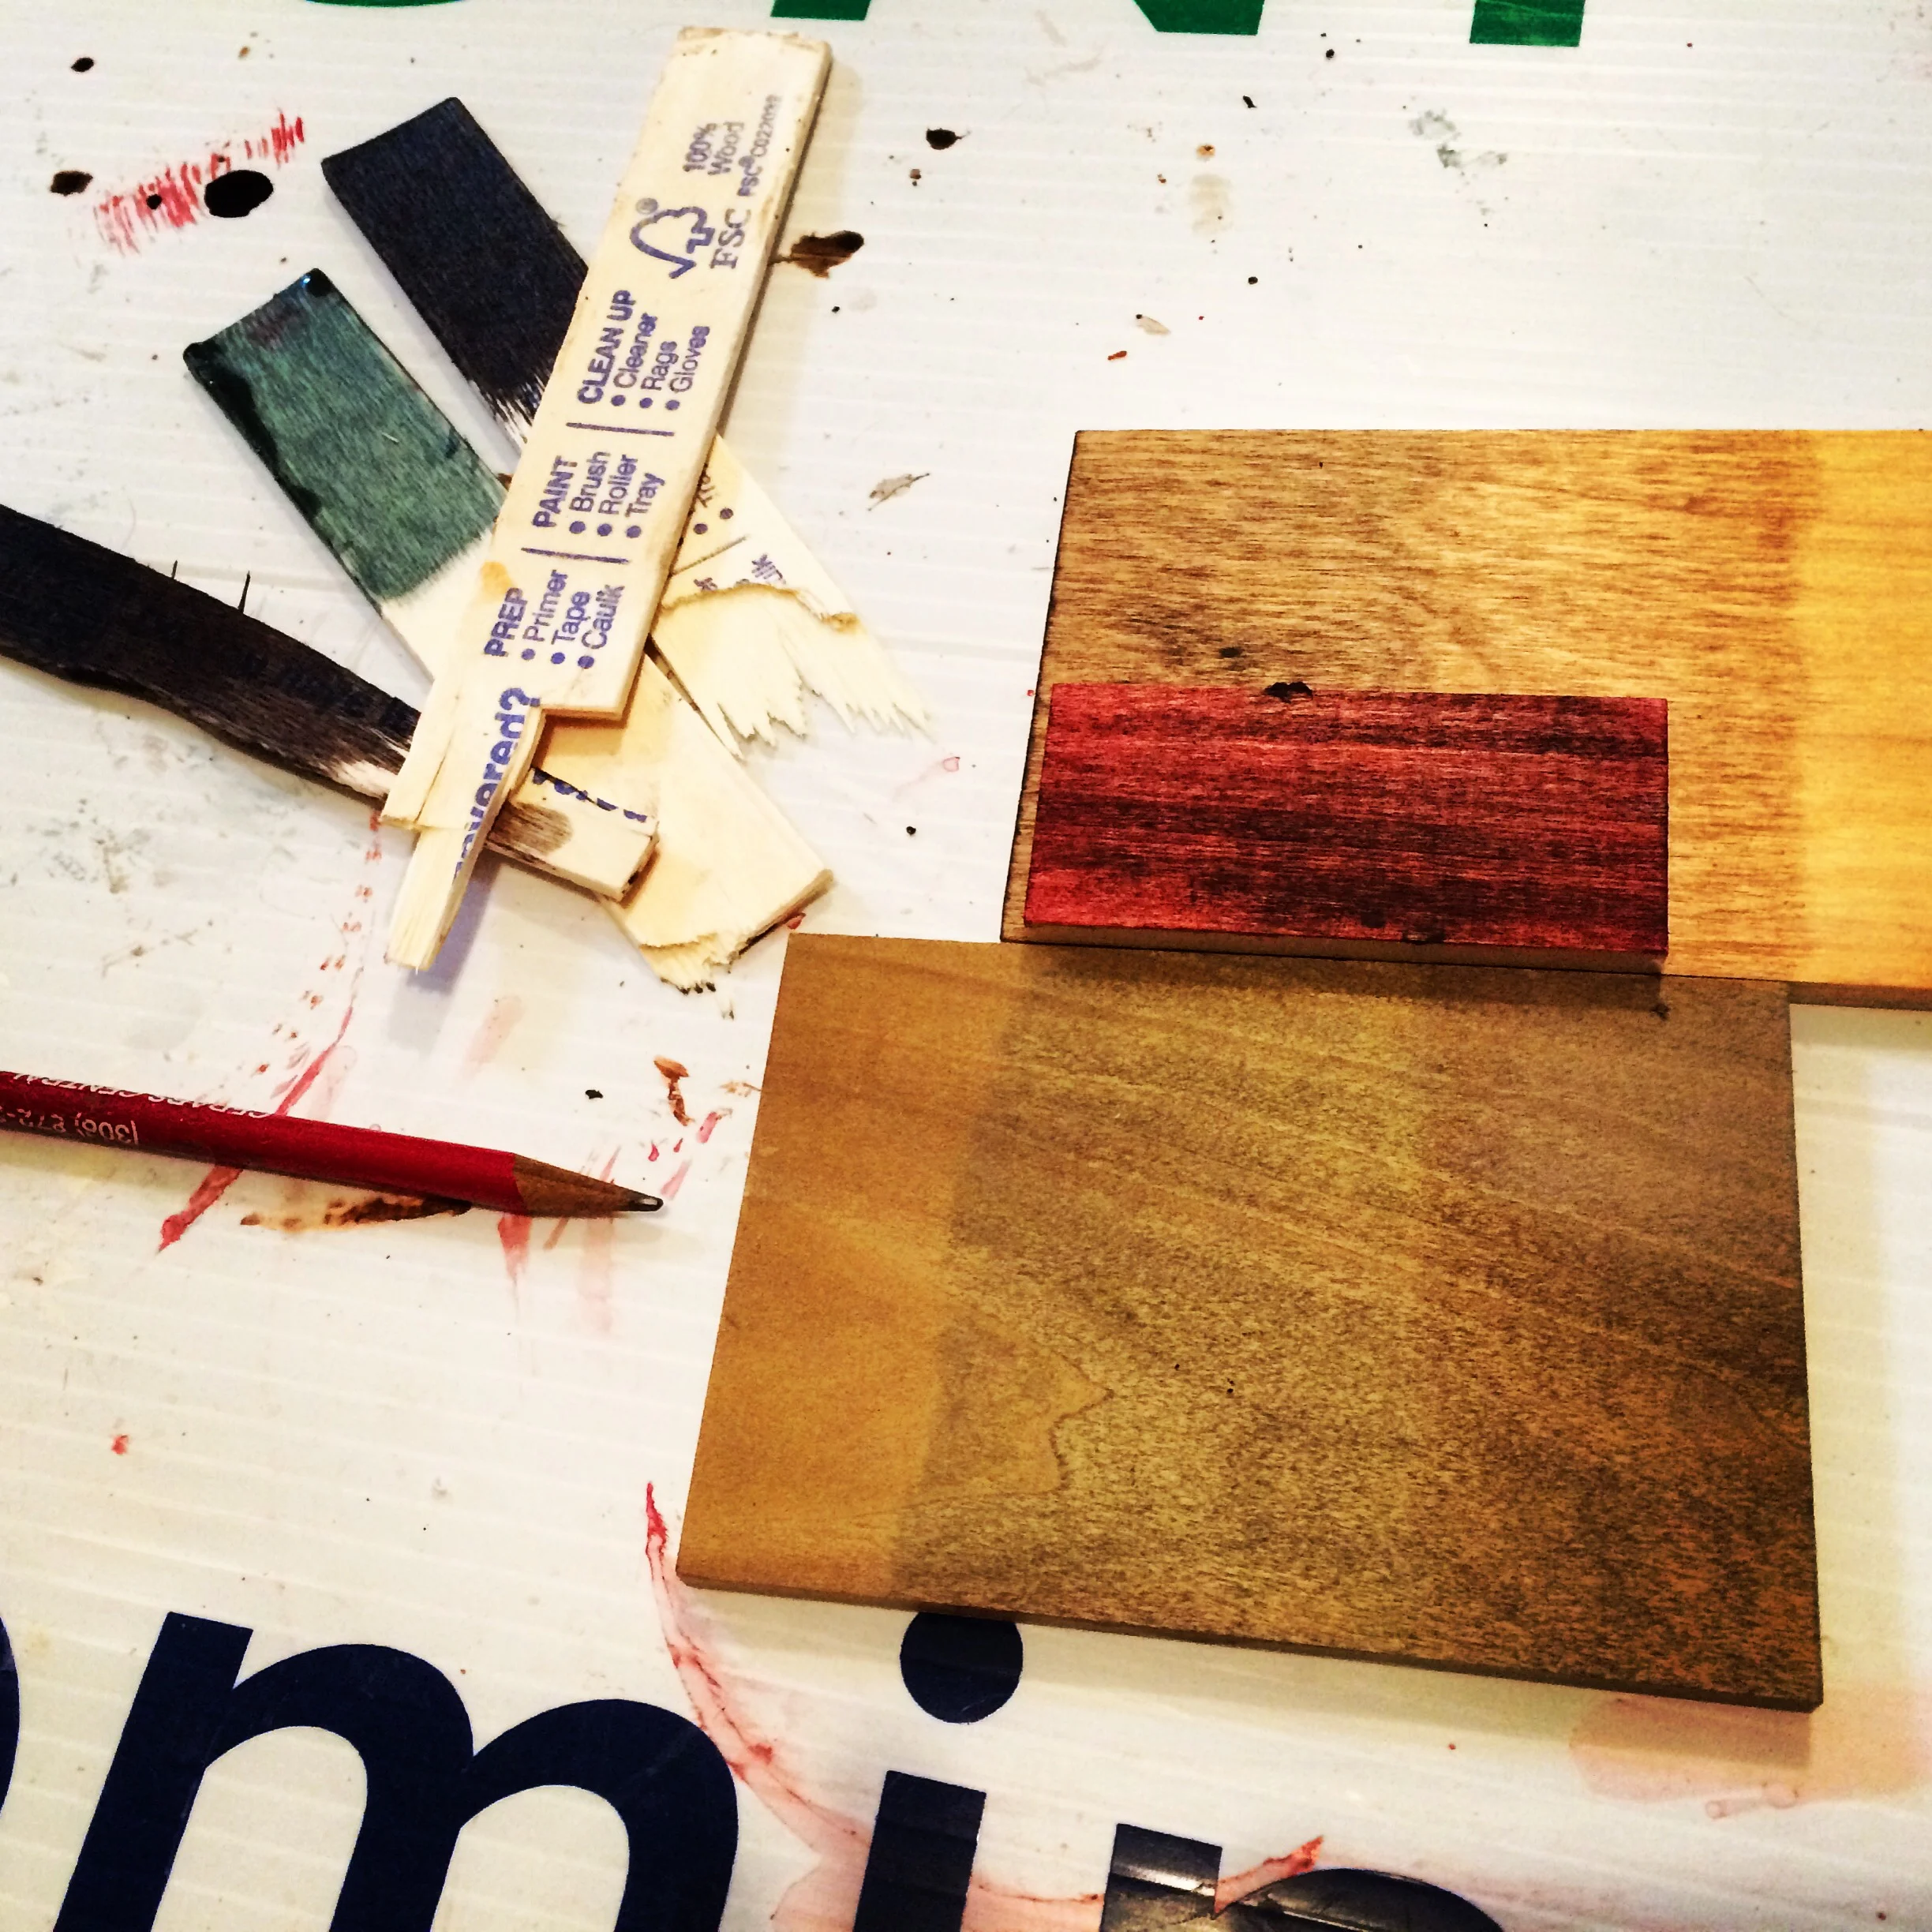
Once we’d mapped the whole thing, we pulled out the box of stains Jerry had apparently been collecting since The Precambrian Era and chose our colors. While the mahogany shades were interesting, they were just too red. Instead, we chose a shady green (Mel thinks it's blue, a serious point of contention between us), tungsten oil and some darker pine shades. We labeled each board with the matching stain color, making sure they were evenly distributed and again, avoiding the abutment of similar-colored boards.
We then trimmed the excess from the planks, stained them using Jerry’s old socks [CAUTION: FLAMMABLE] and - okay - some of my old boxers, and prepared to reinstall the puzzle in Elsie.
To secure the boards vertically we spread several beads of wood glue on the back of each board, and then nailed them to the wall using the pneumatic nailer. Fitting the bottom row of boards behind the pre-existing metal trim pieces proved somewhat difficult, and working around the oven hood was a real pain in the ass, but a few hours later we’d fit the last piece into place, and it looked – if I’m allowed to say so – pretty damn good. The next morning, we wiped away any remaining sawdust and stain residue, and coated the whole backsplash with a low-gloss polyurethane to keep it water resistant.
Then I made Mel coat it three more times. You know, just to be safe.
