Arguing Aesthetics: Concrete Countertops and a White Sink
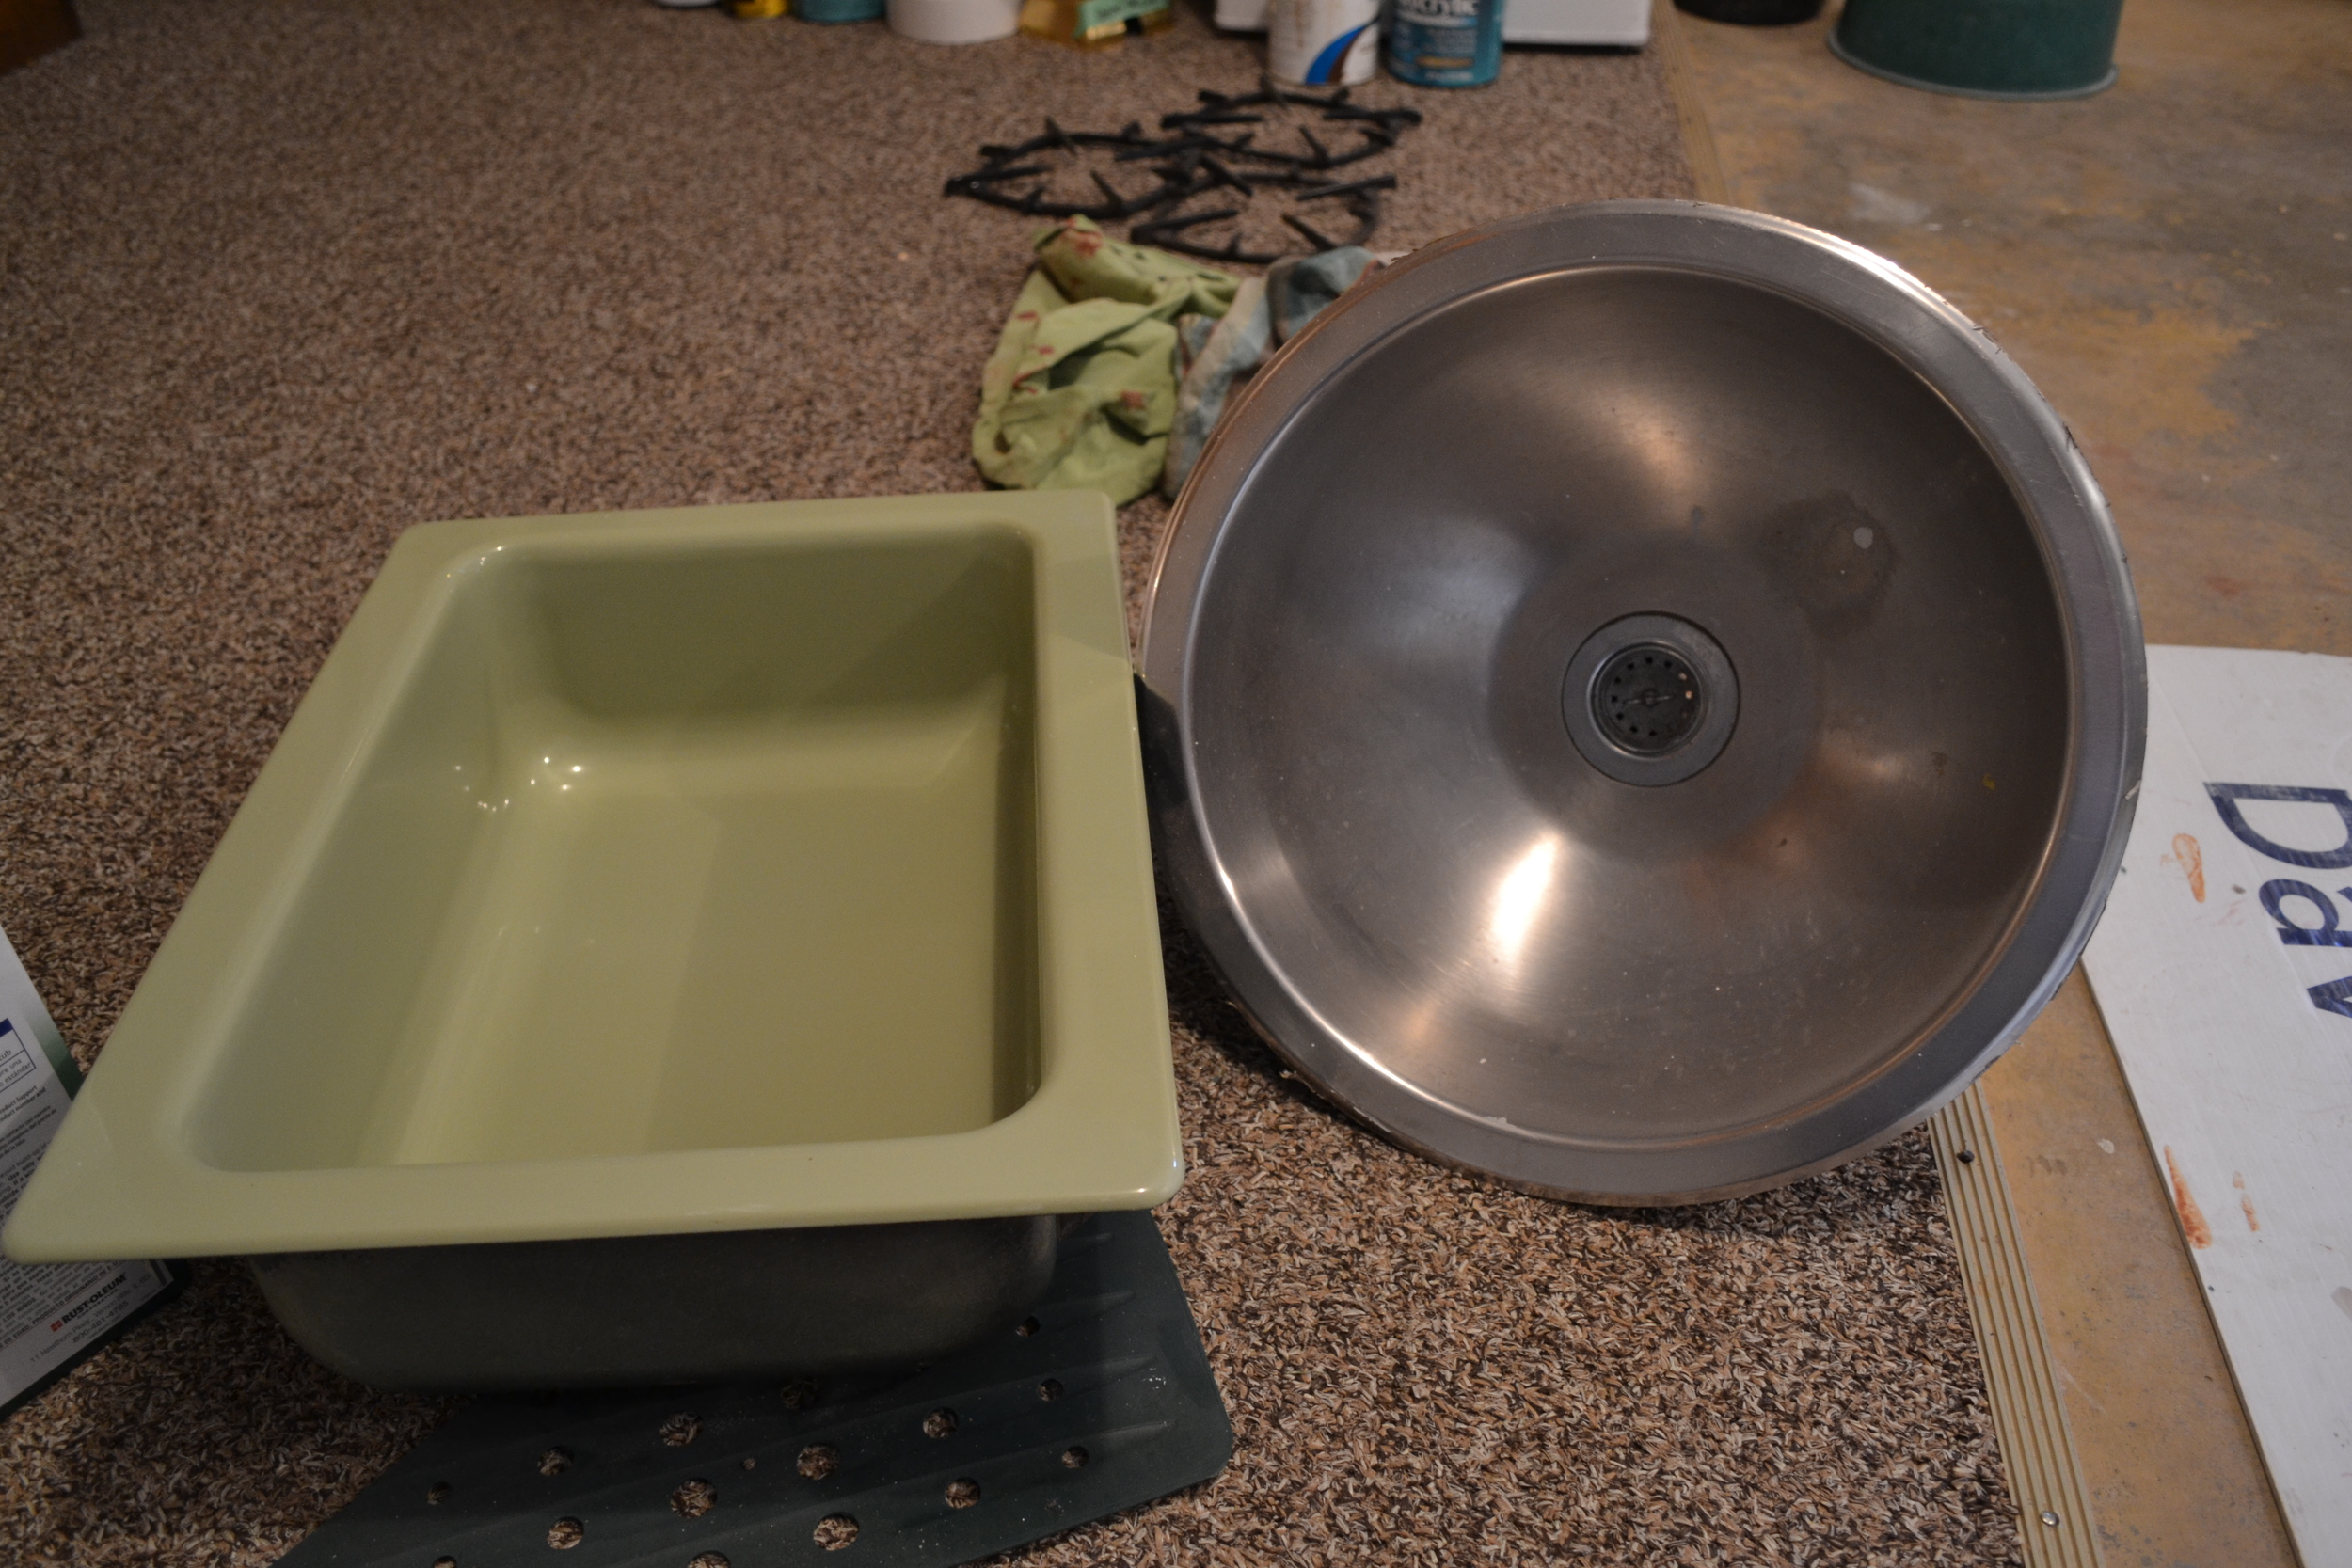
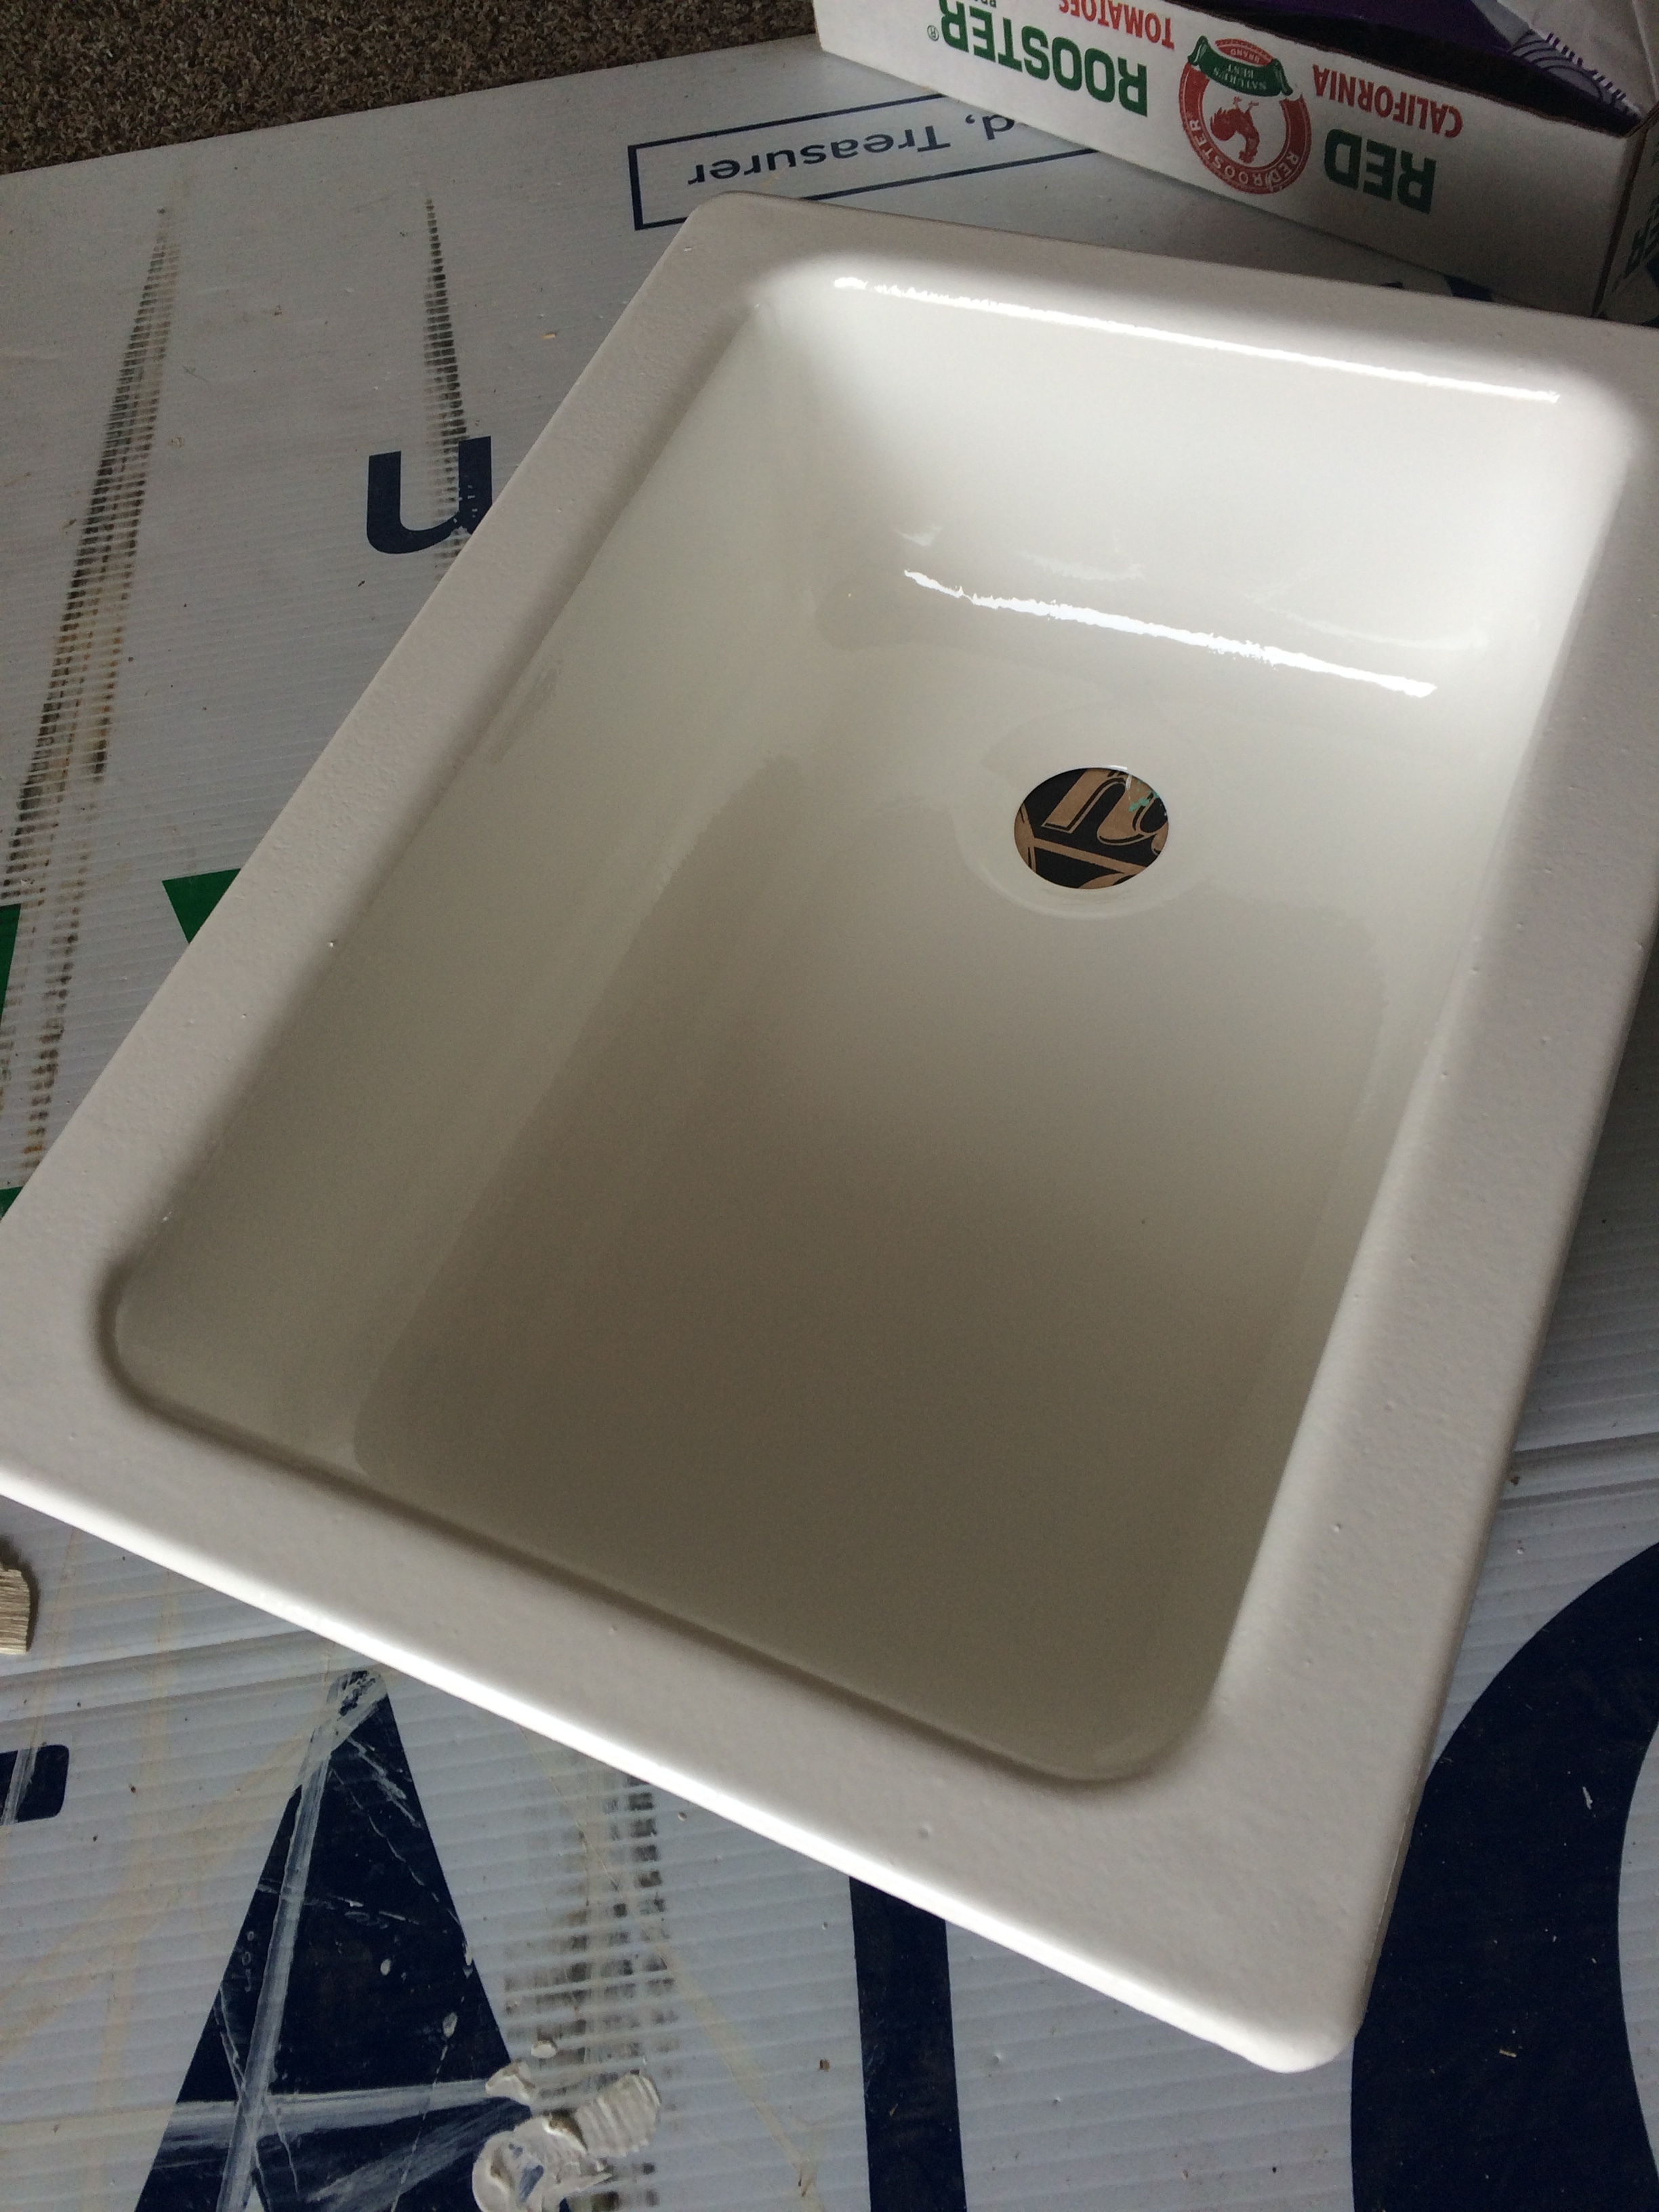
At first, the avocado green didn't seem so bad. I even remember a time when I thought "that's probably one thing we actually won't change in the trailer." After coating the walls and cabinets in bistro white, however, the green sink led to the first of many "aesthetics arguments" that Jerry, Carson and myself would have over the course of the renovation.
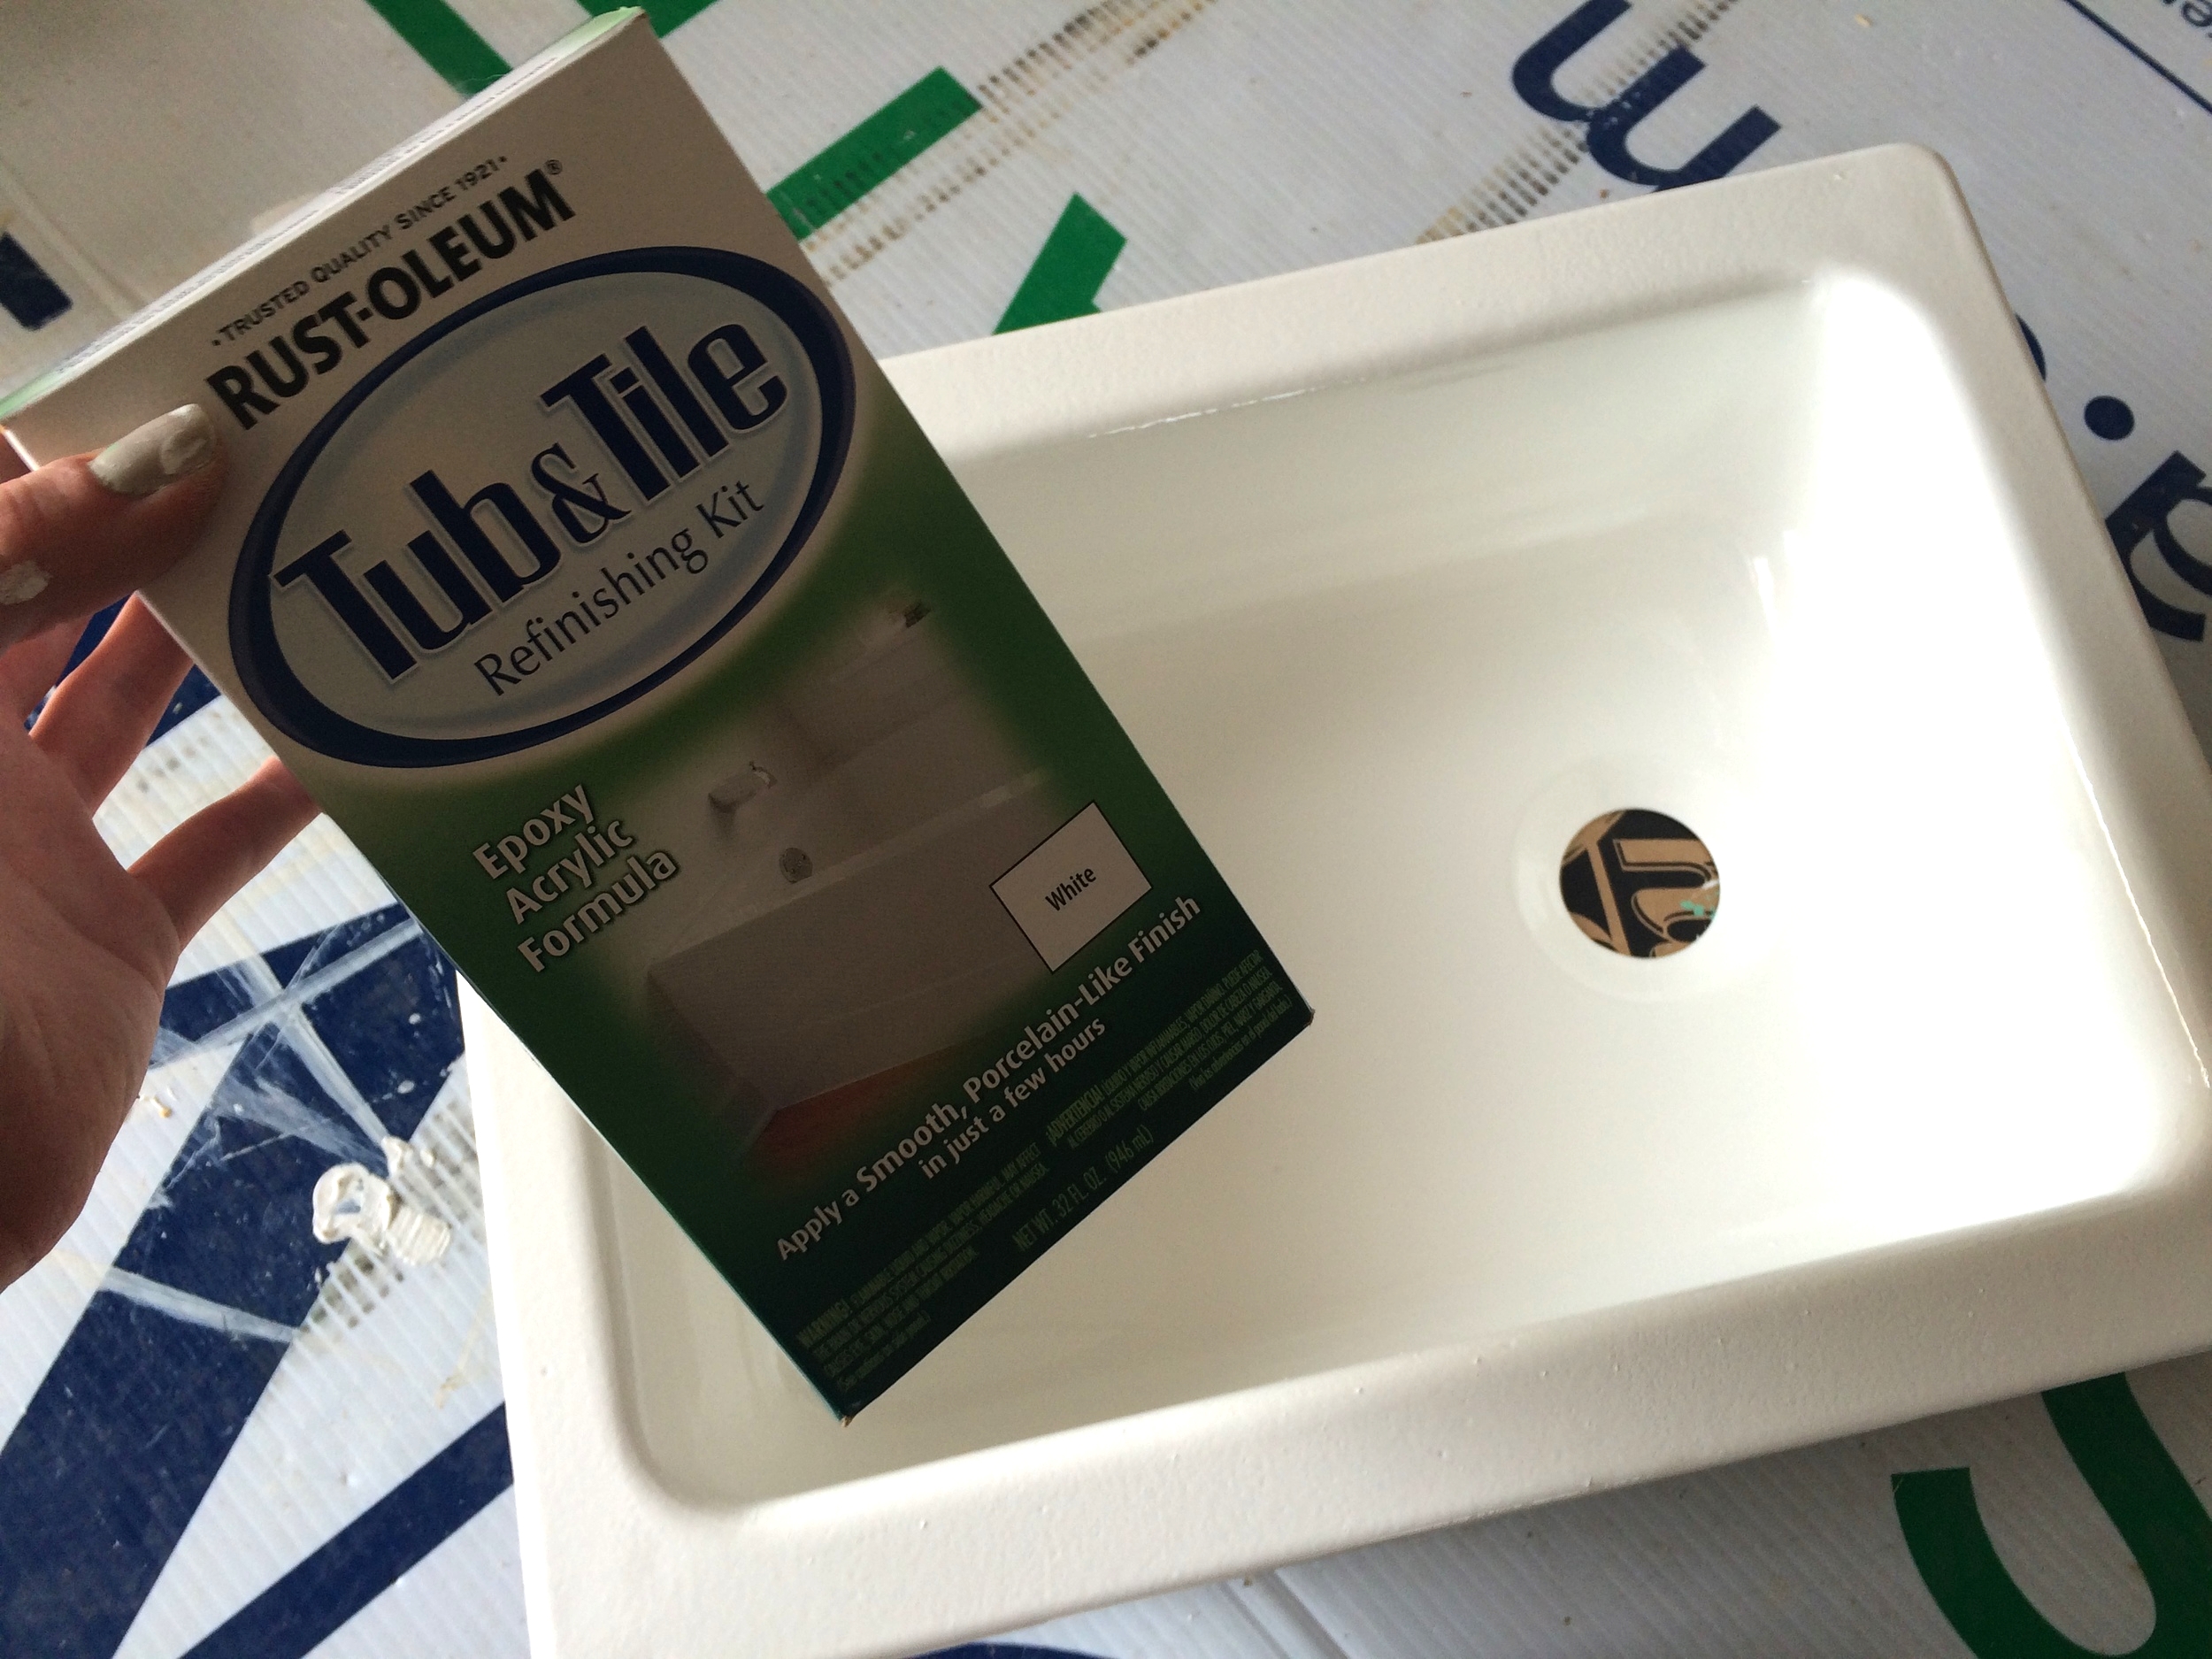
Jerry thought that painting the sink would create a blemish in our kitchen and did not trust the tub & tile paint I picked up on a whim in in the Grand Island Menards. He also had a point: the sink was perfectly functional. Why risk it?
A: Aesthetics.
Jerry had experience with epoxy paint and warned that the finish would be hard to achieve with a roller. If it were him, he said, he'd be using a spray on version so it wouldn't pool or settle. But after Jerry thought on it for a night and relieved himself of any responsibility, he gave me the go-ahead.
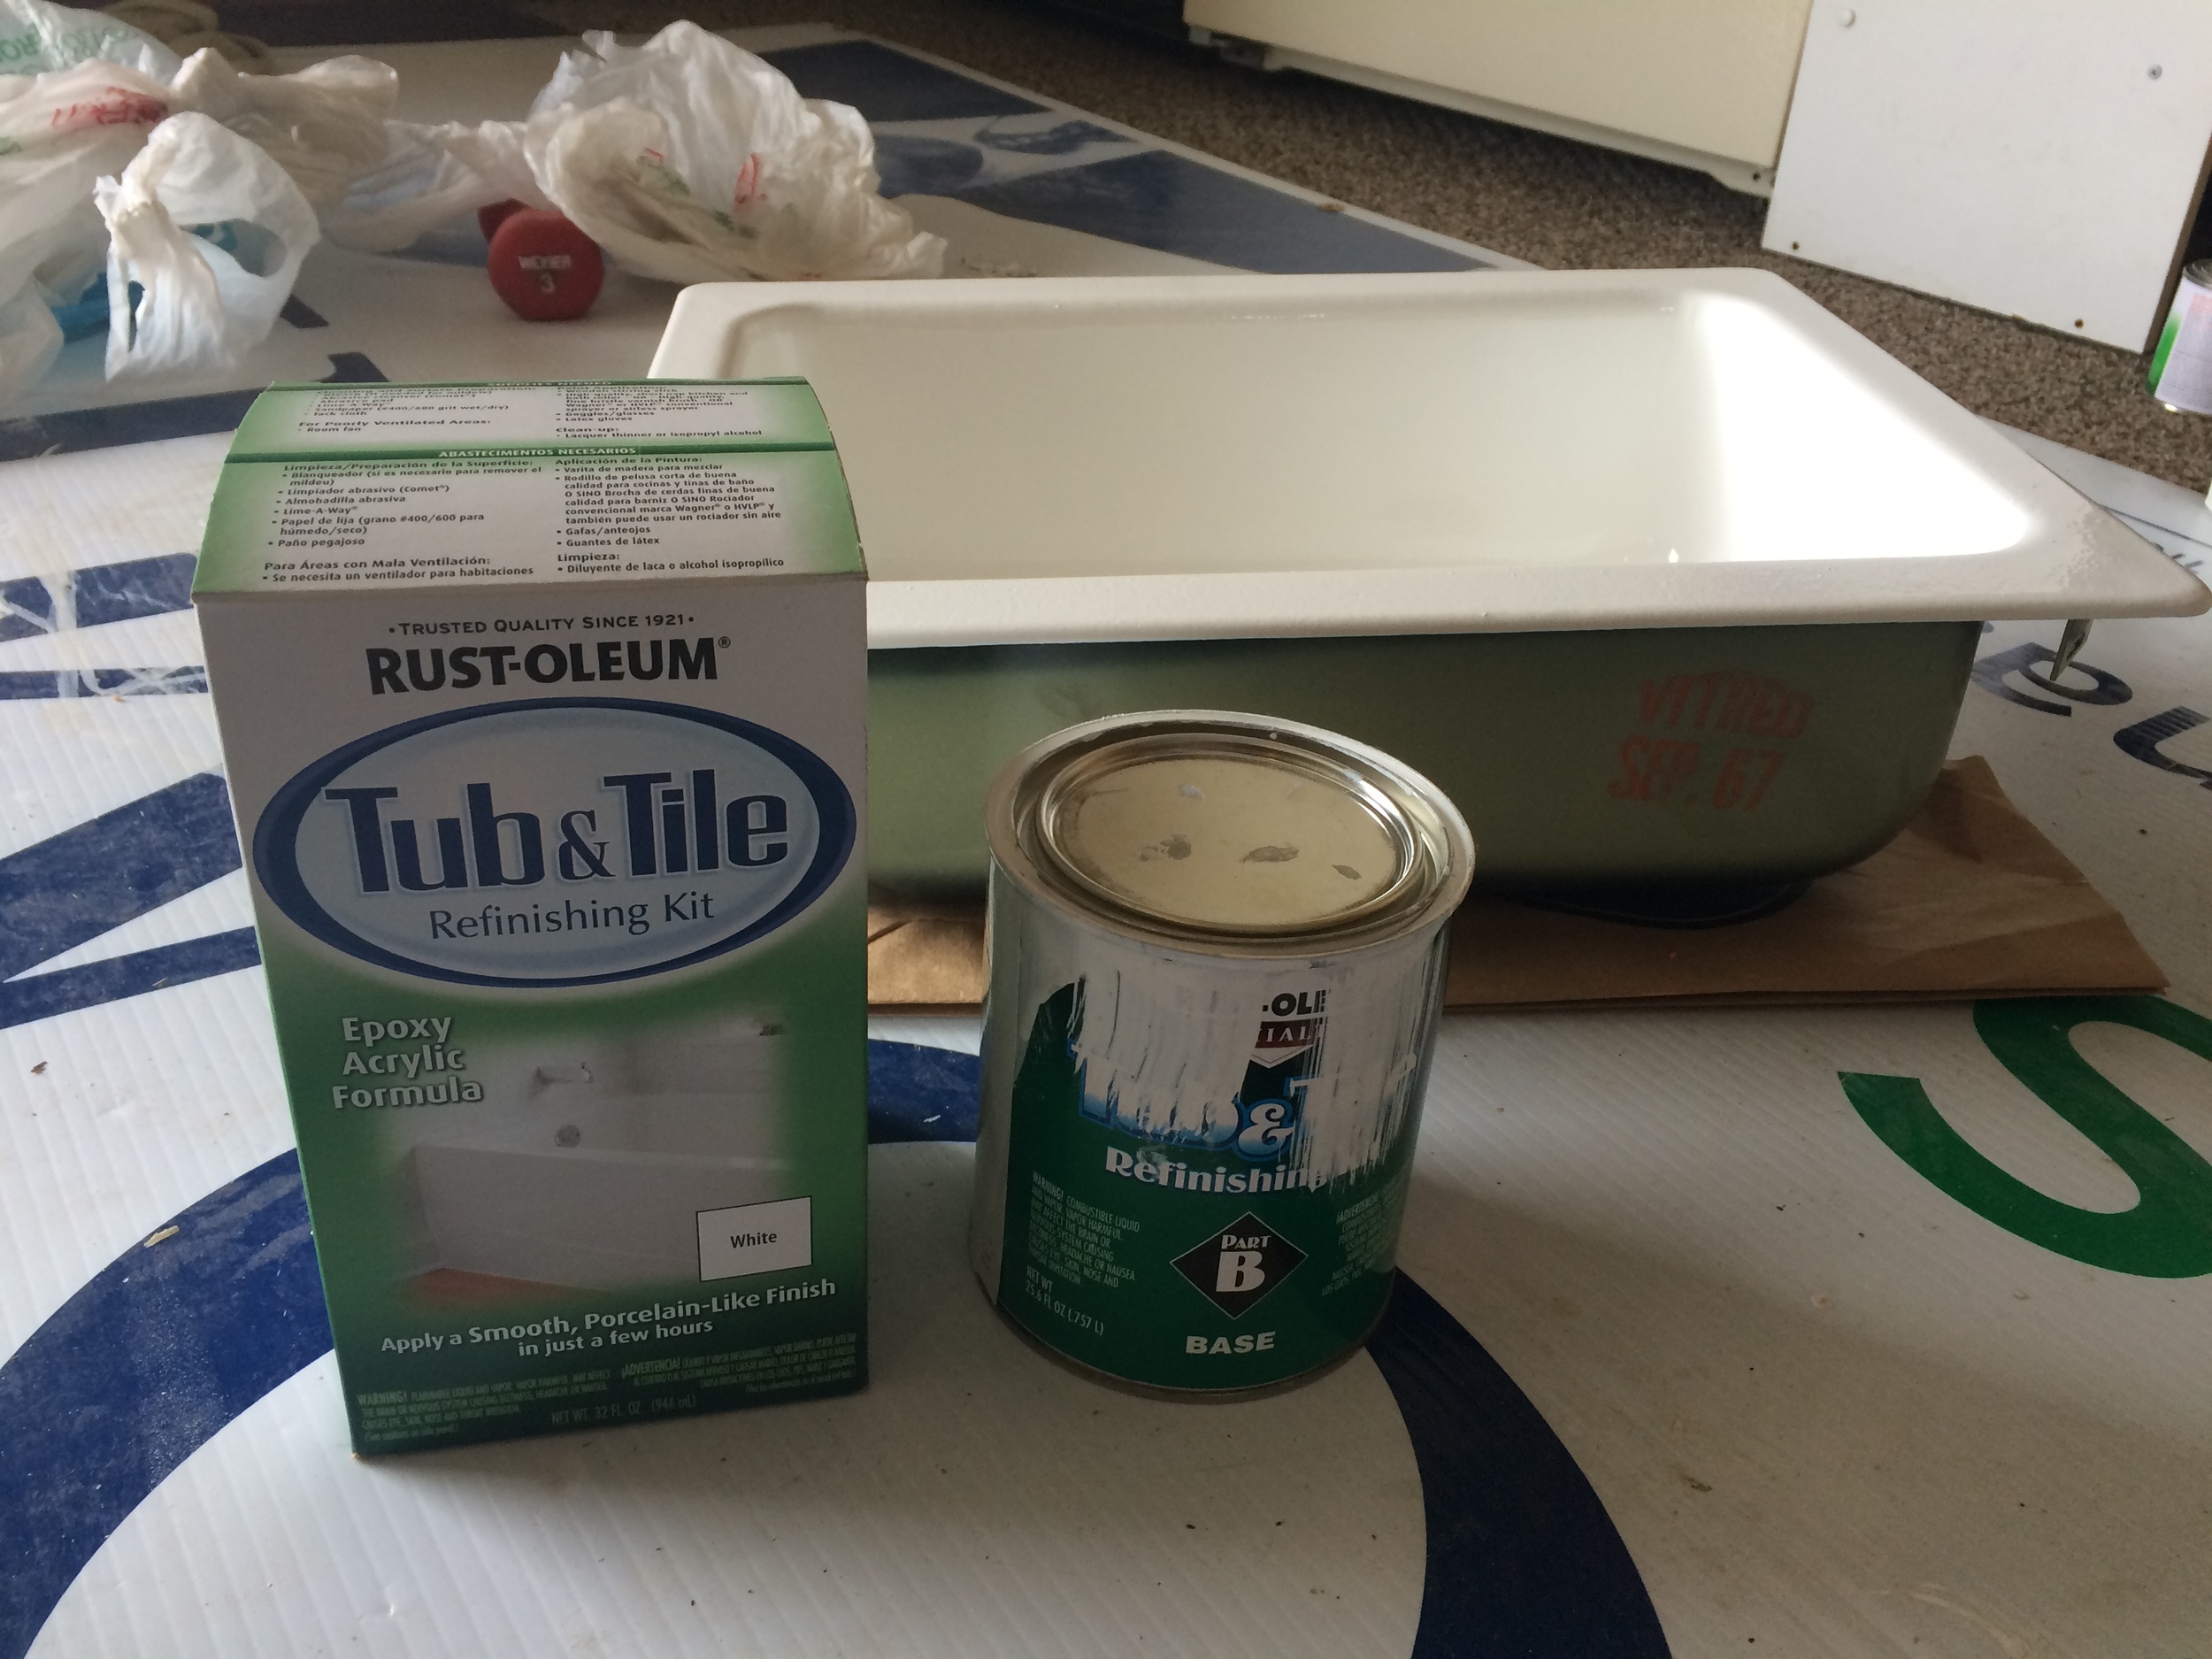
Thank goodness Rust-Oleum's Tub & Tile paint is nothing short of magic. I watched the YouTube video the company put online and read a ton of reviews before I started. It all confirmed what I now know: follow that YouTube video and you can't go wrong. This paint really goes on easy. It's thick, too, which means you do NOT have to worry about lines. The other great thing is that this paint does not "pool". Instead, it kind of gels together when it dries. We applied three coats with a thick nap roller.
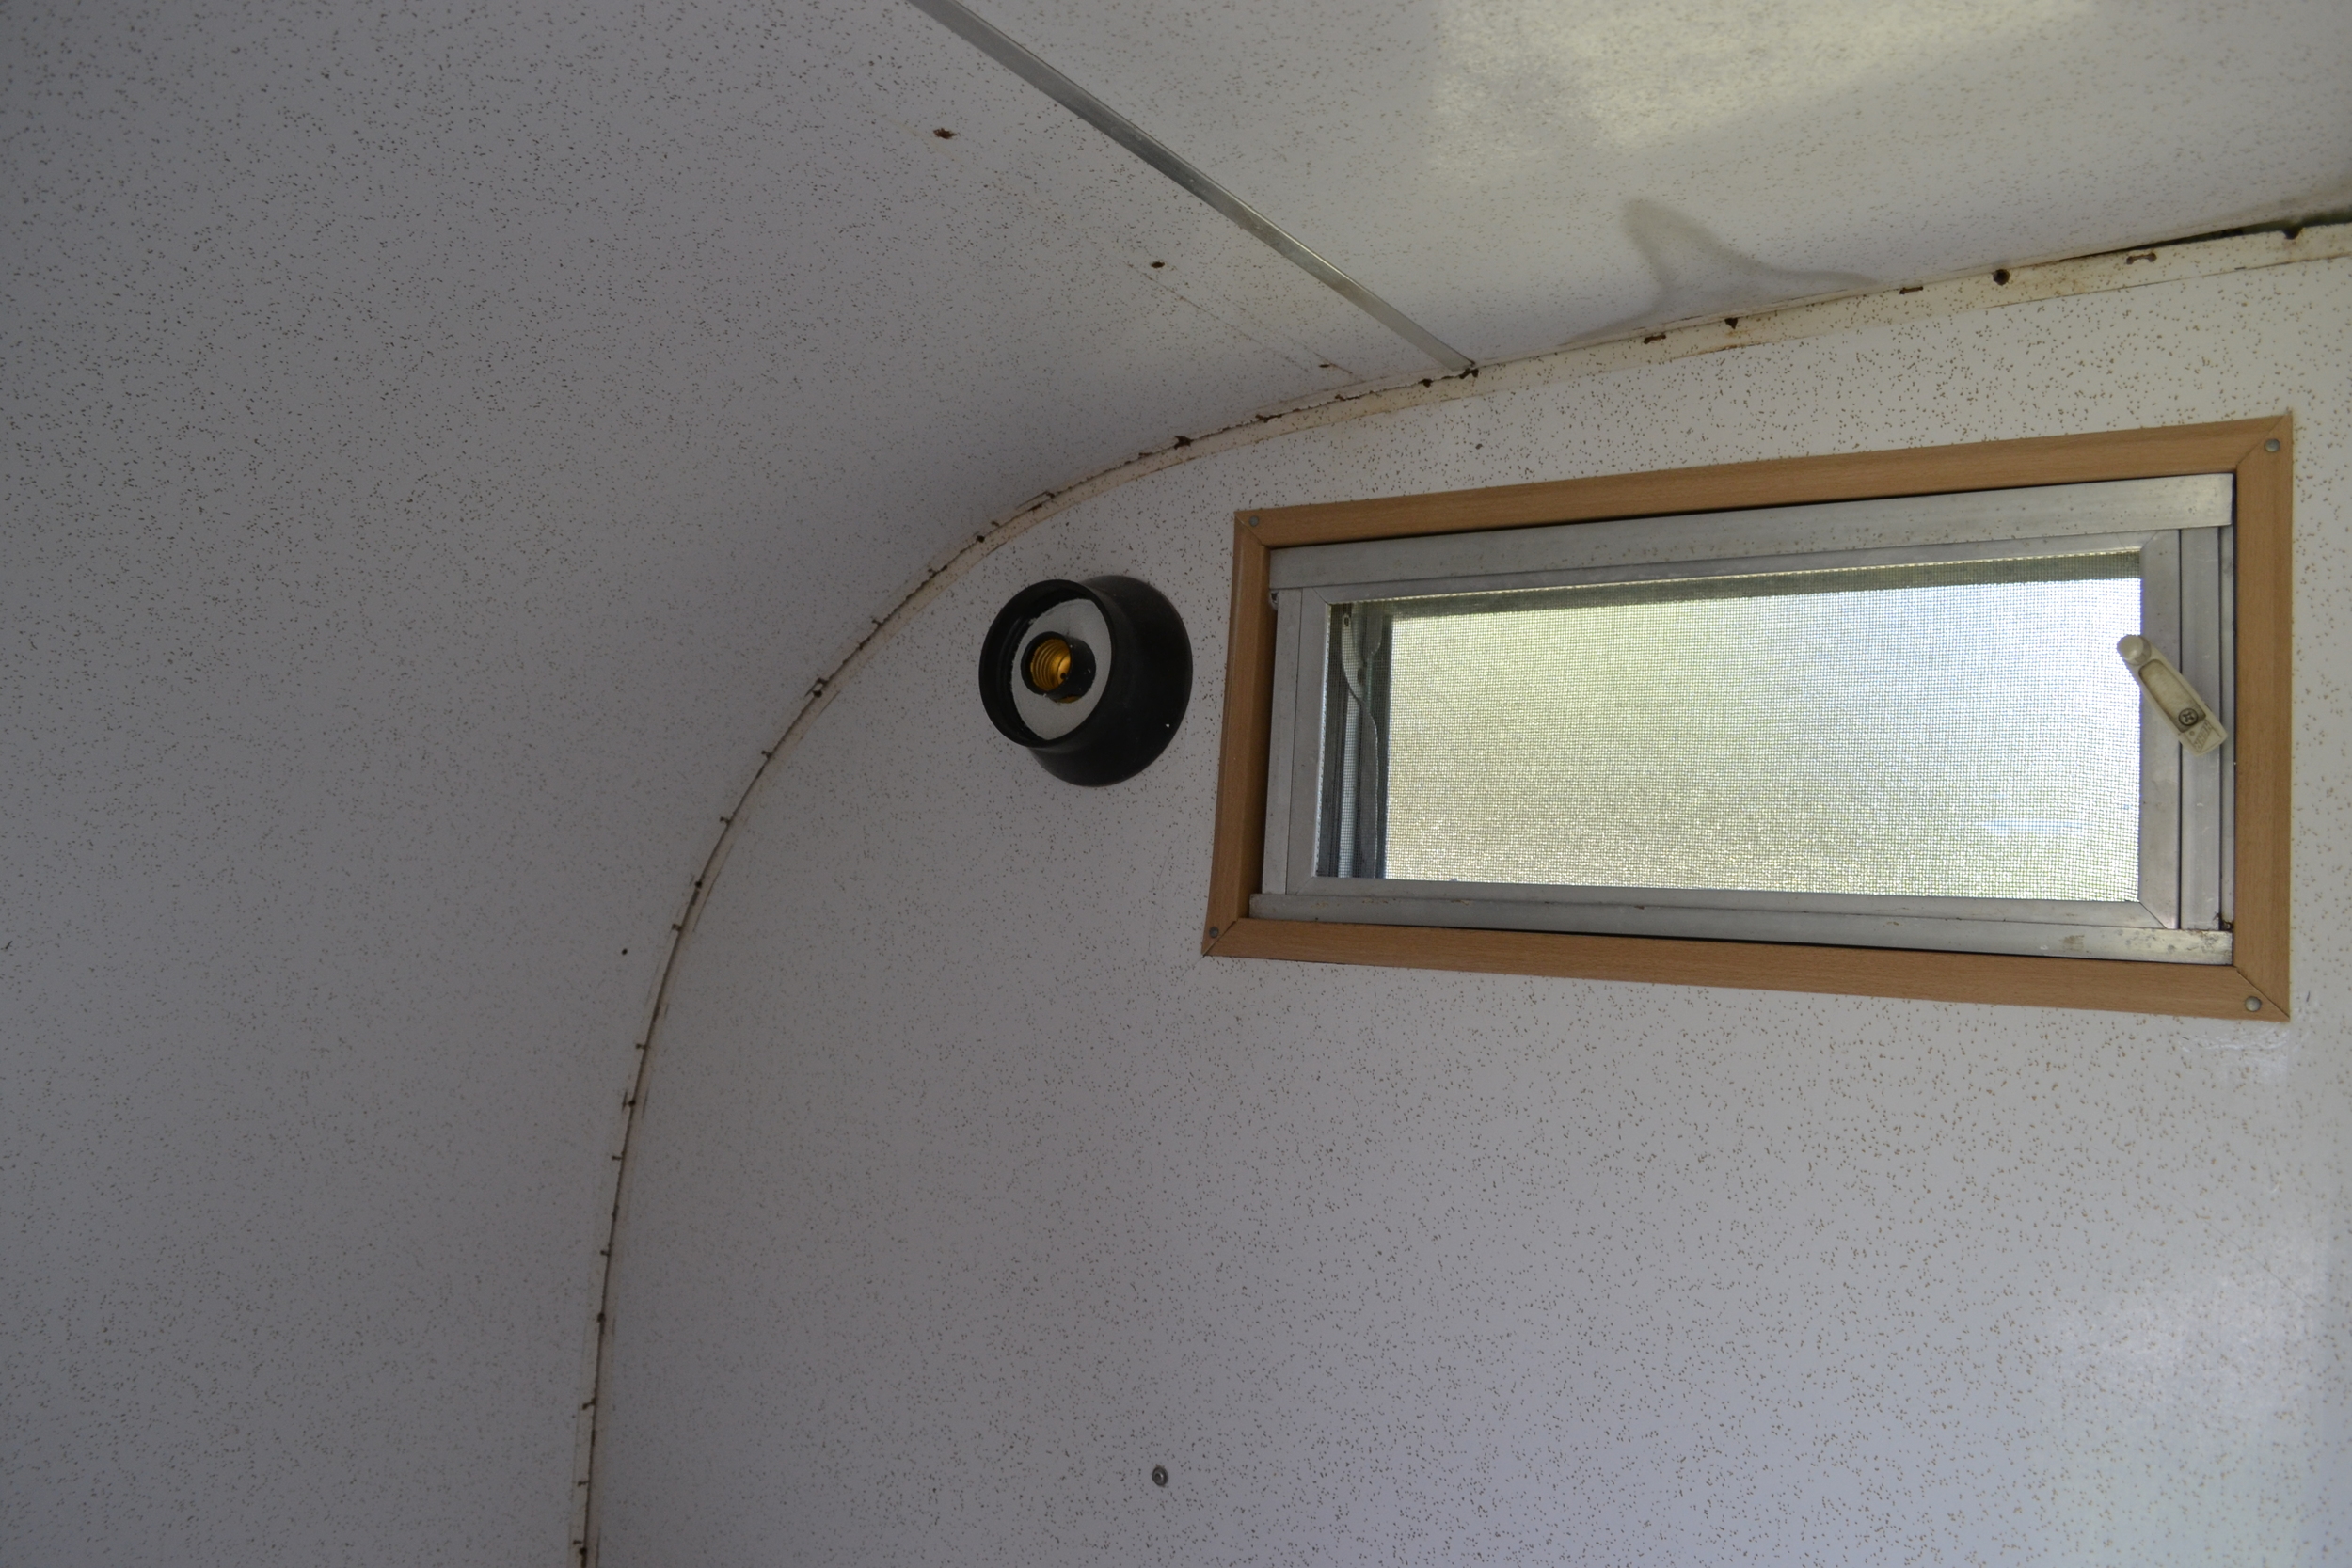
The very successful trial run of this sink gave me confidence to try it on the bathroom walls. This was a much tougher sell; one I had to convince Carson of over weeks of deliberation. I spent 30 minutes in Menards deciding on a bathroom faucet, I argued. It made no sense now to say "oh well" with the bathroom walls after that.
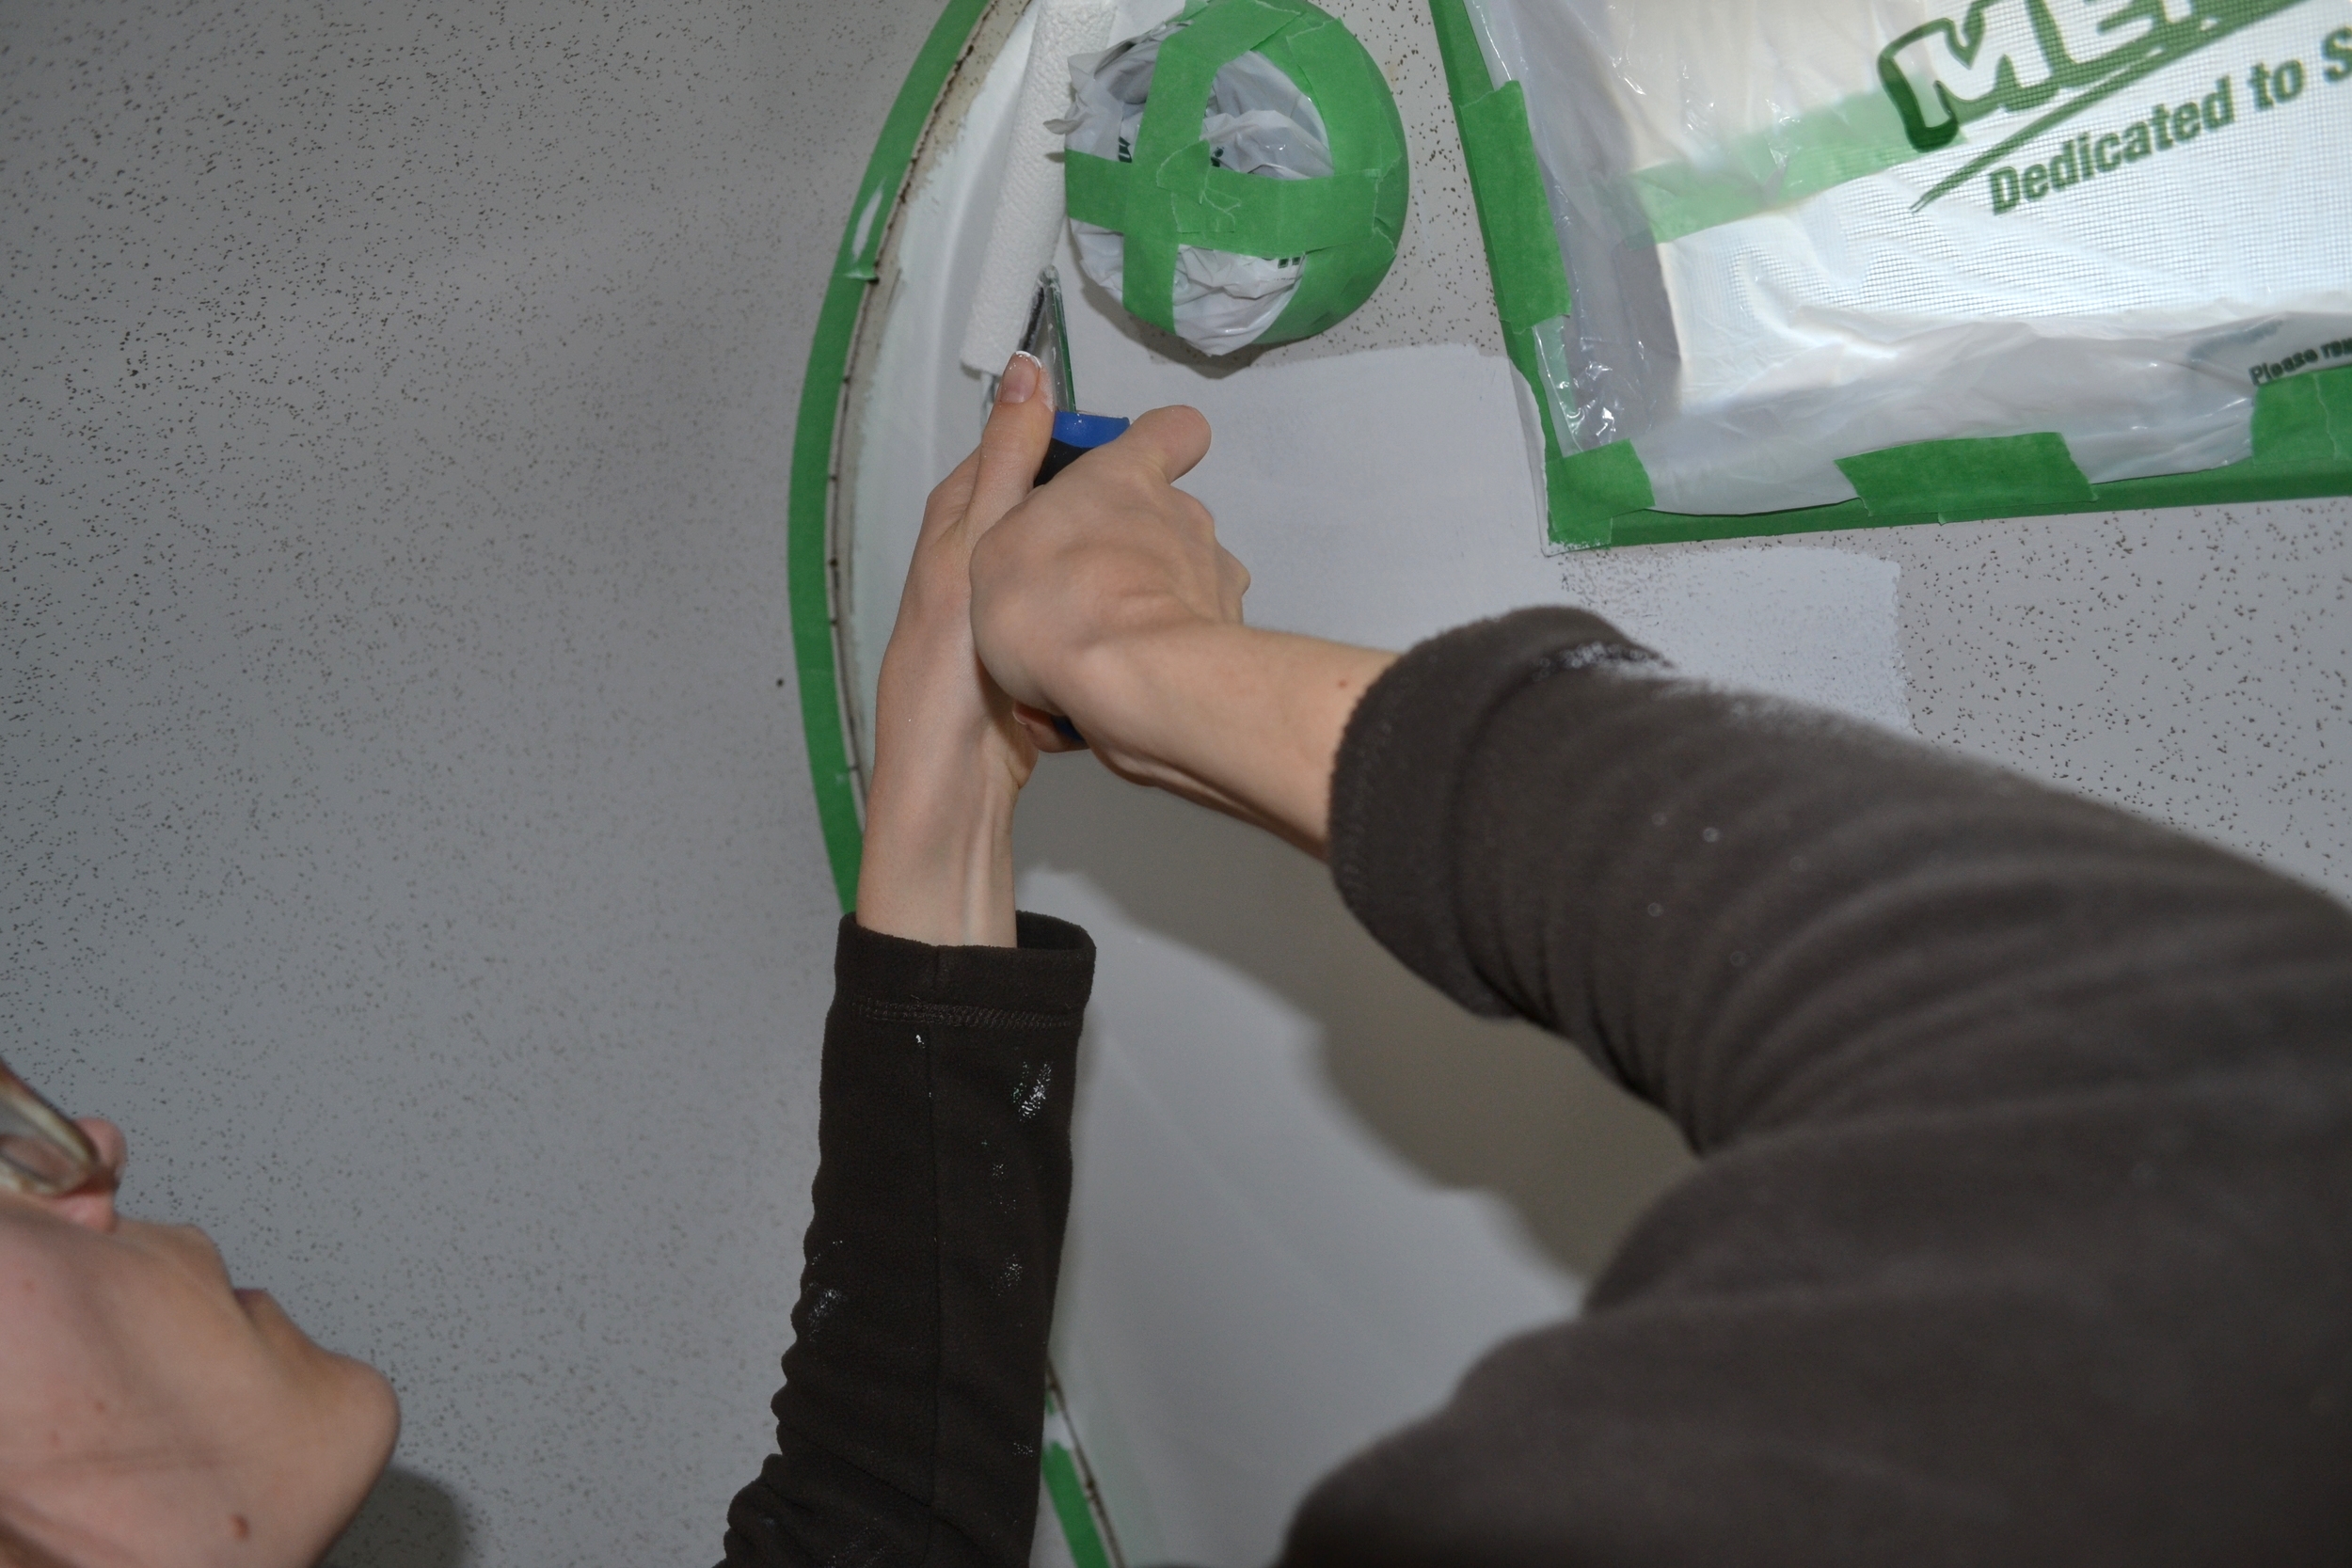
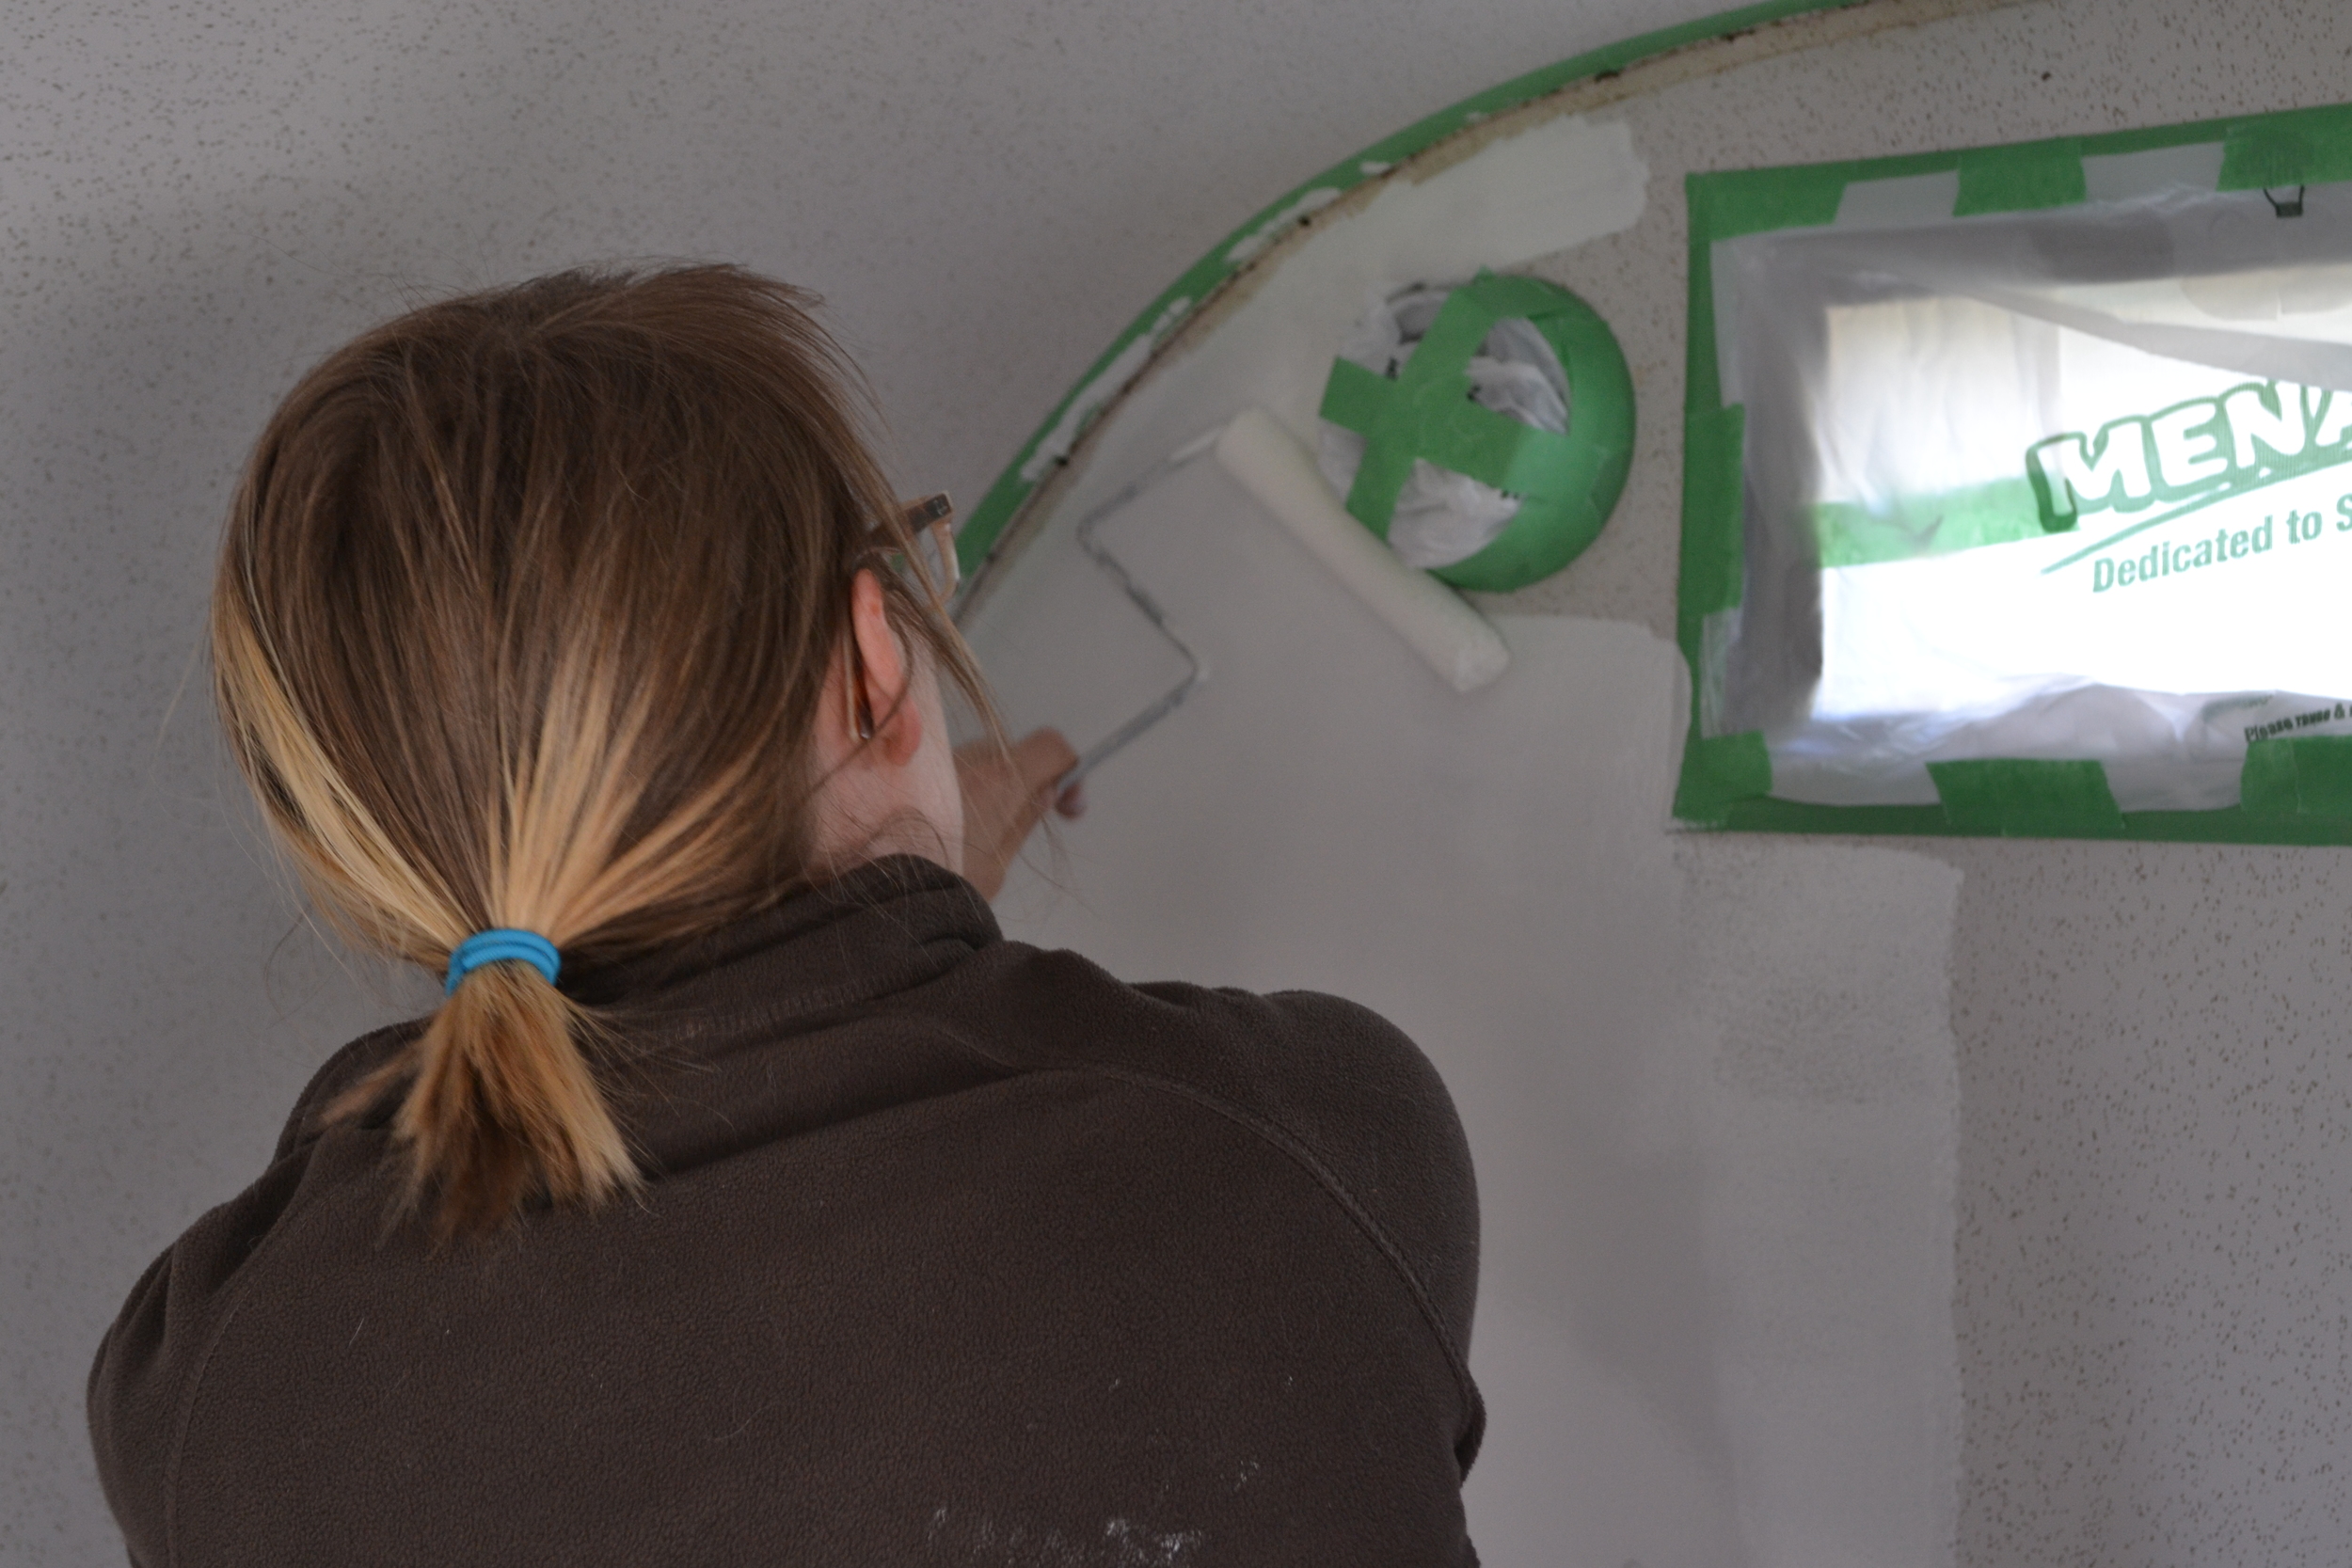
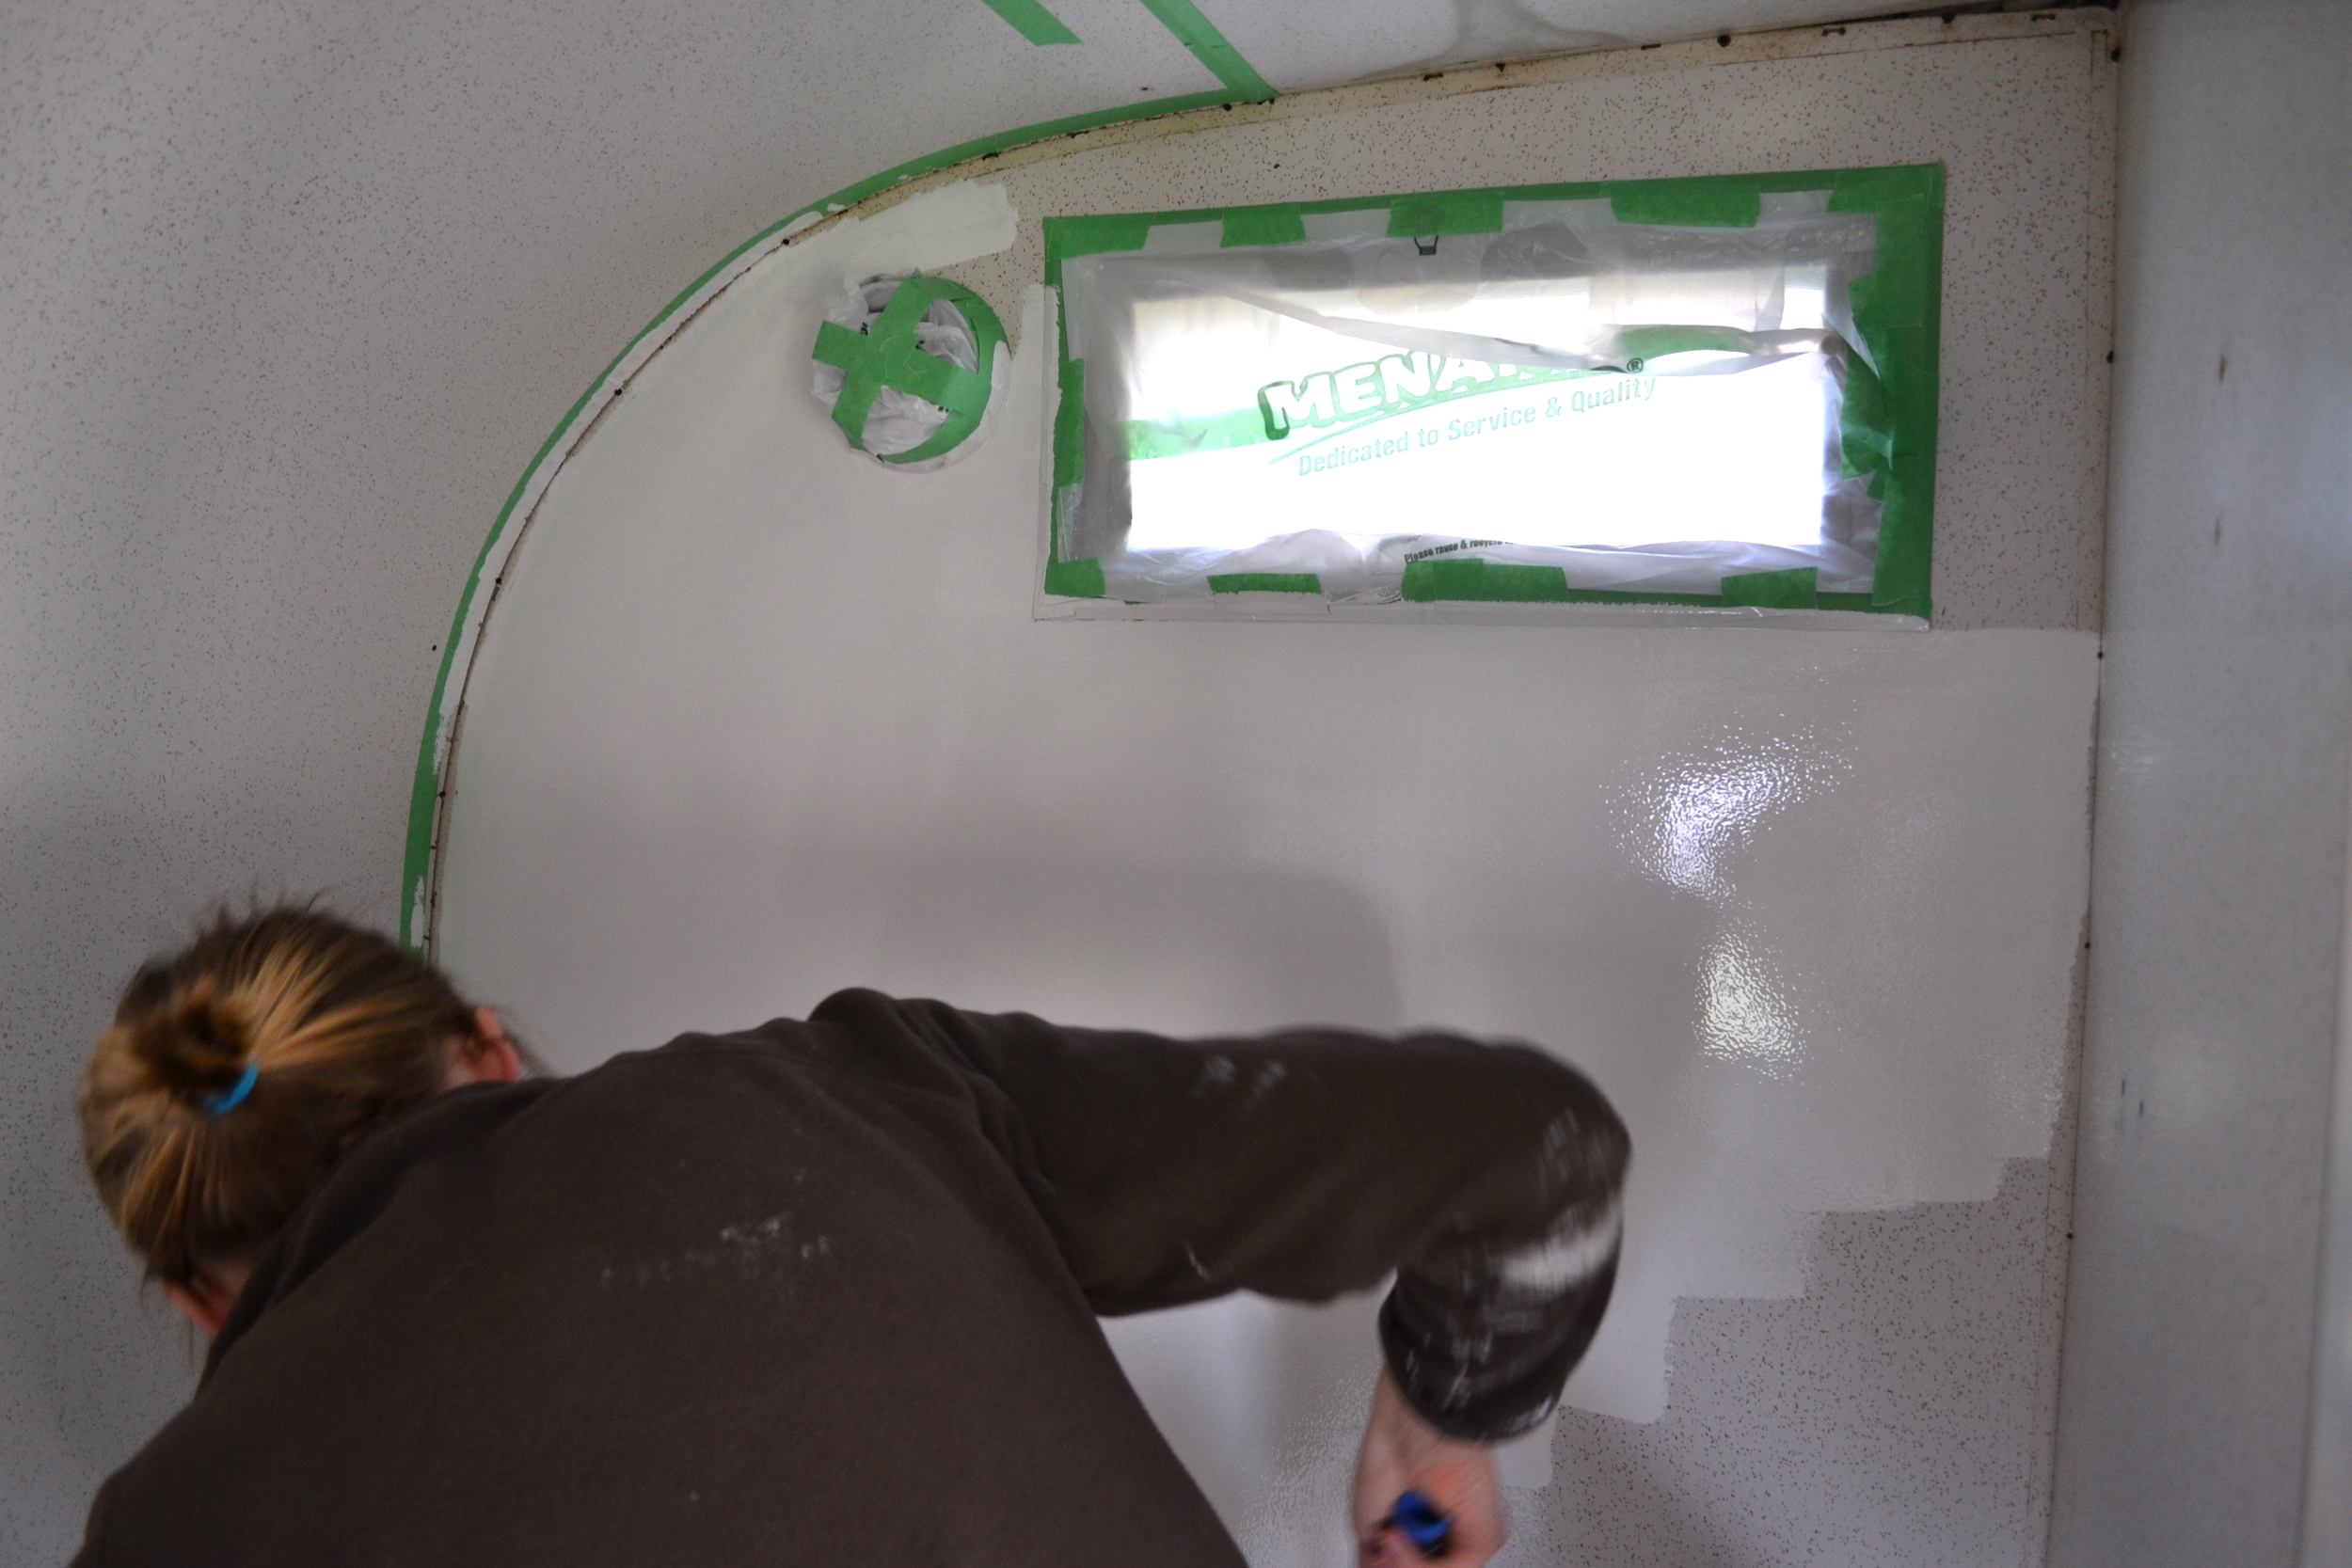
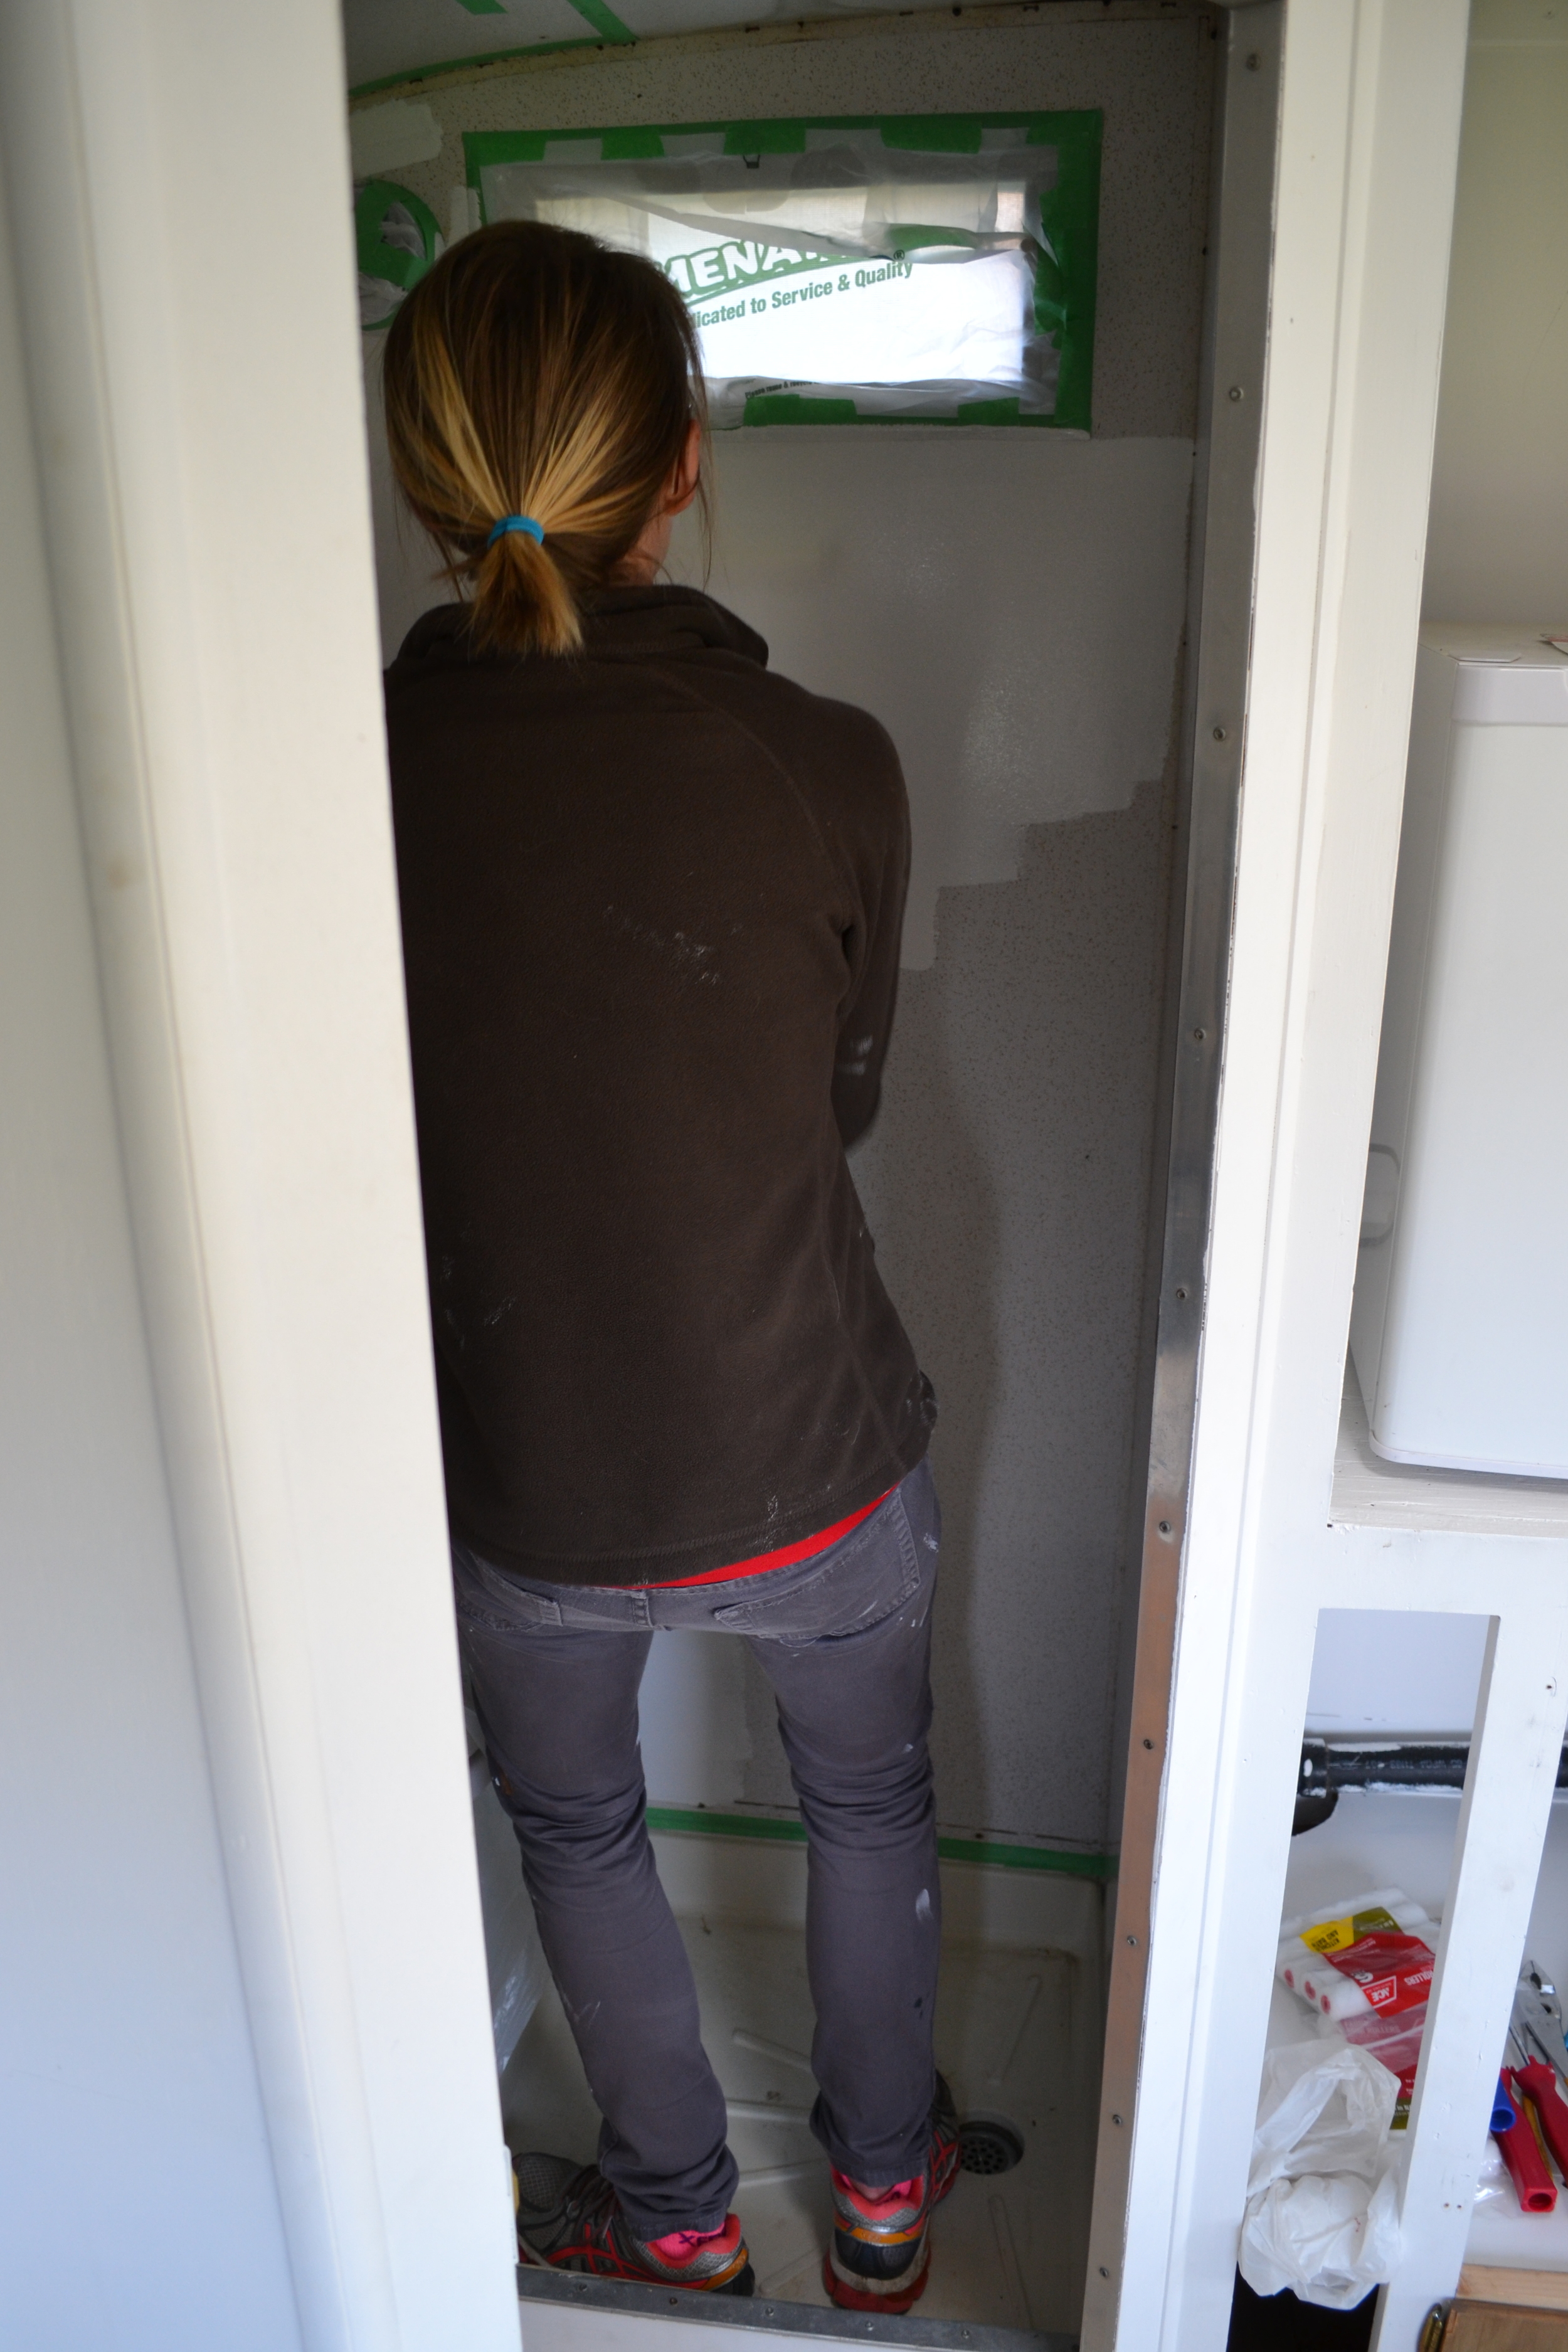
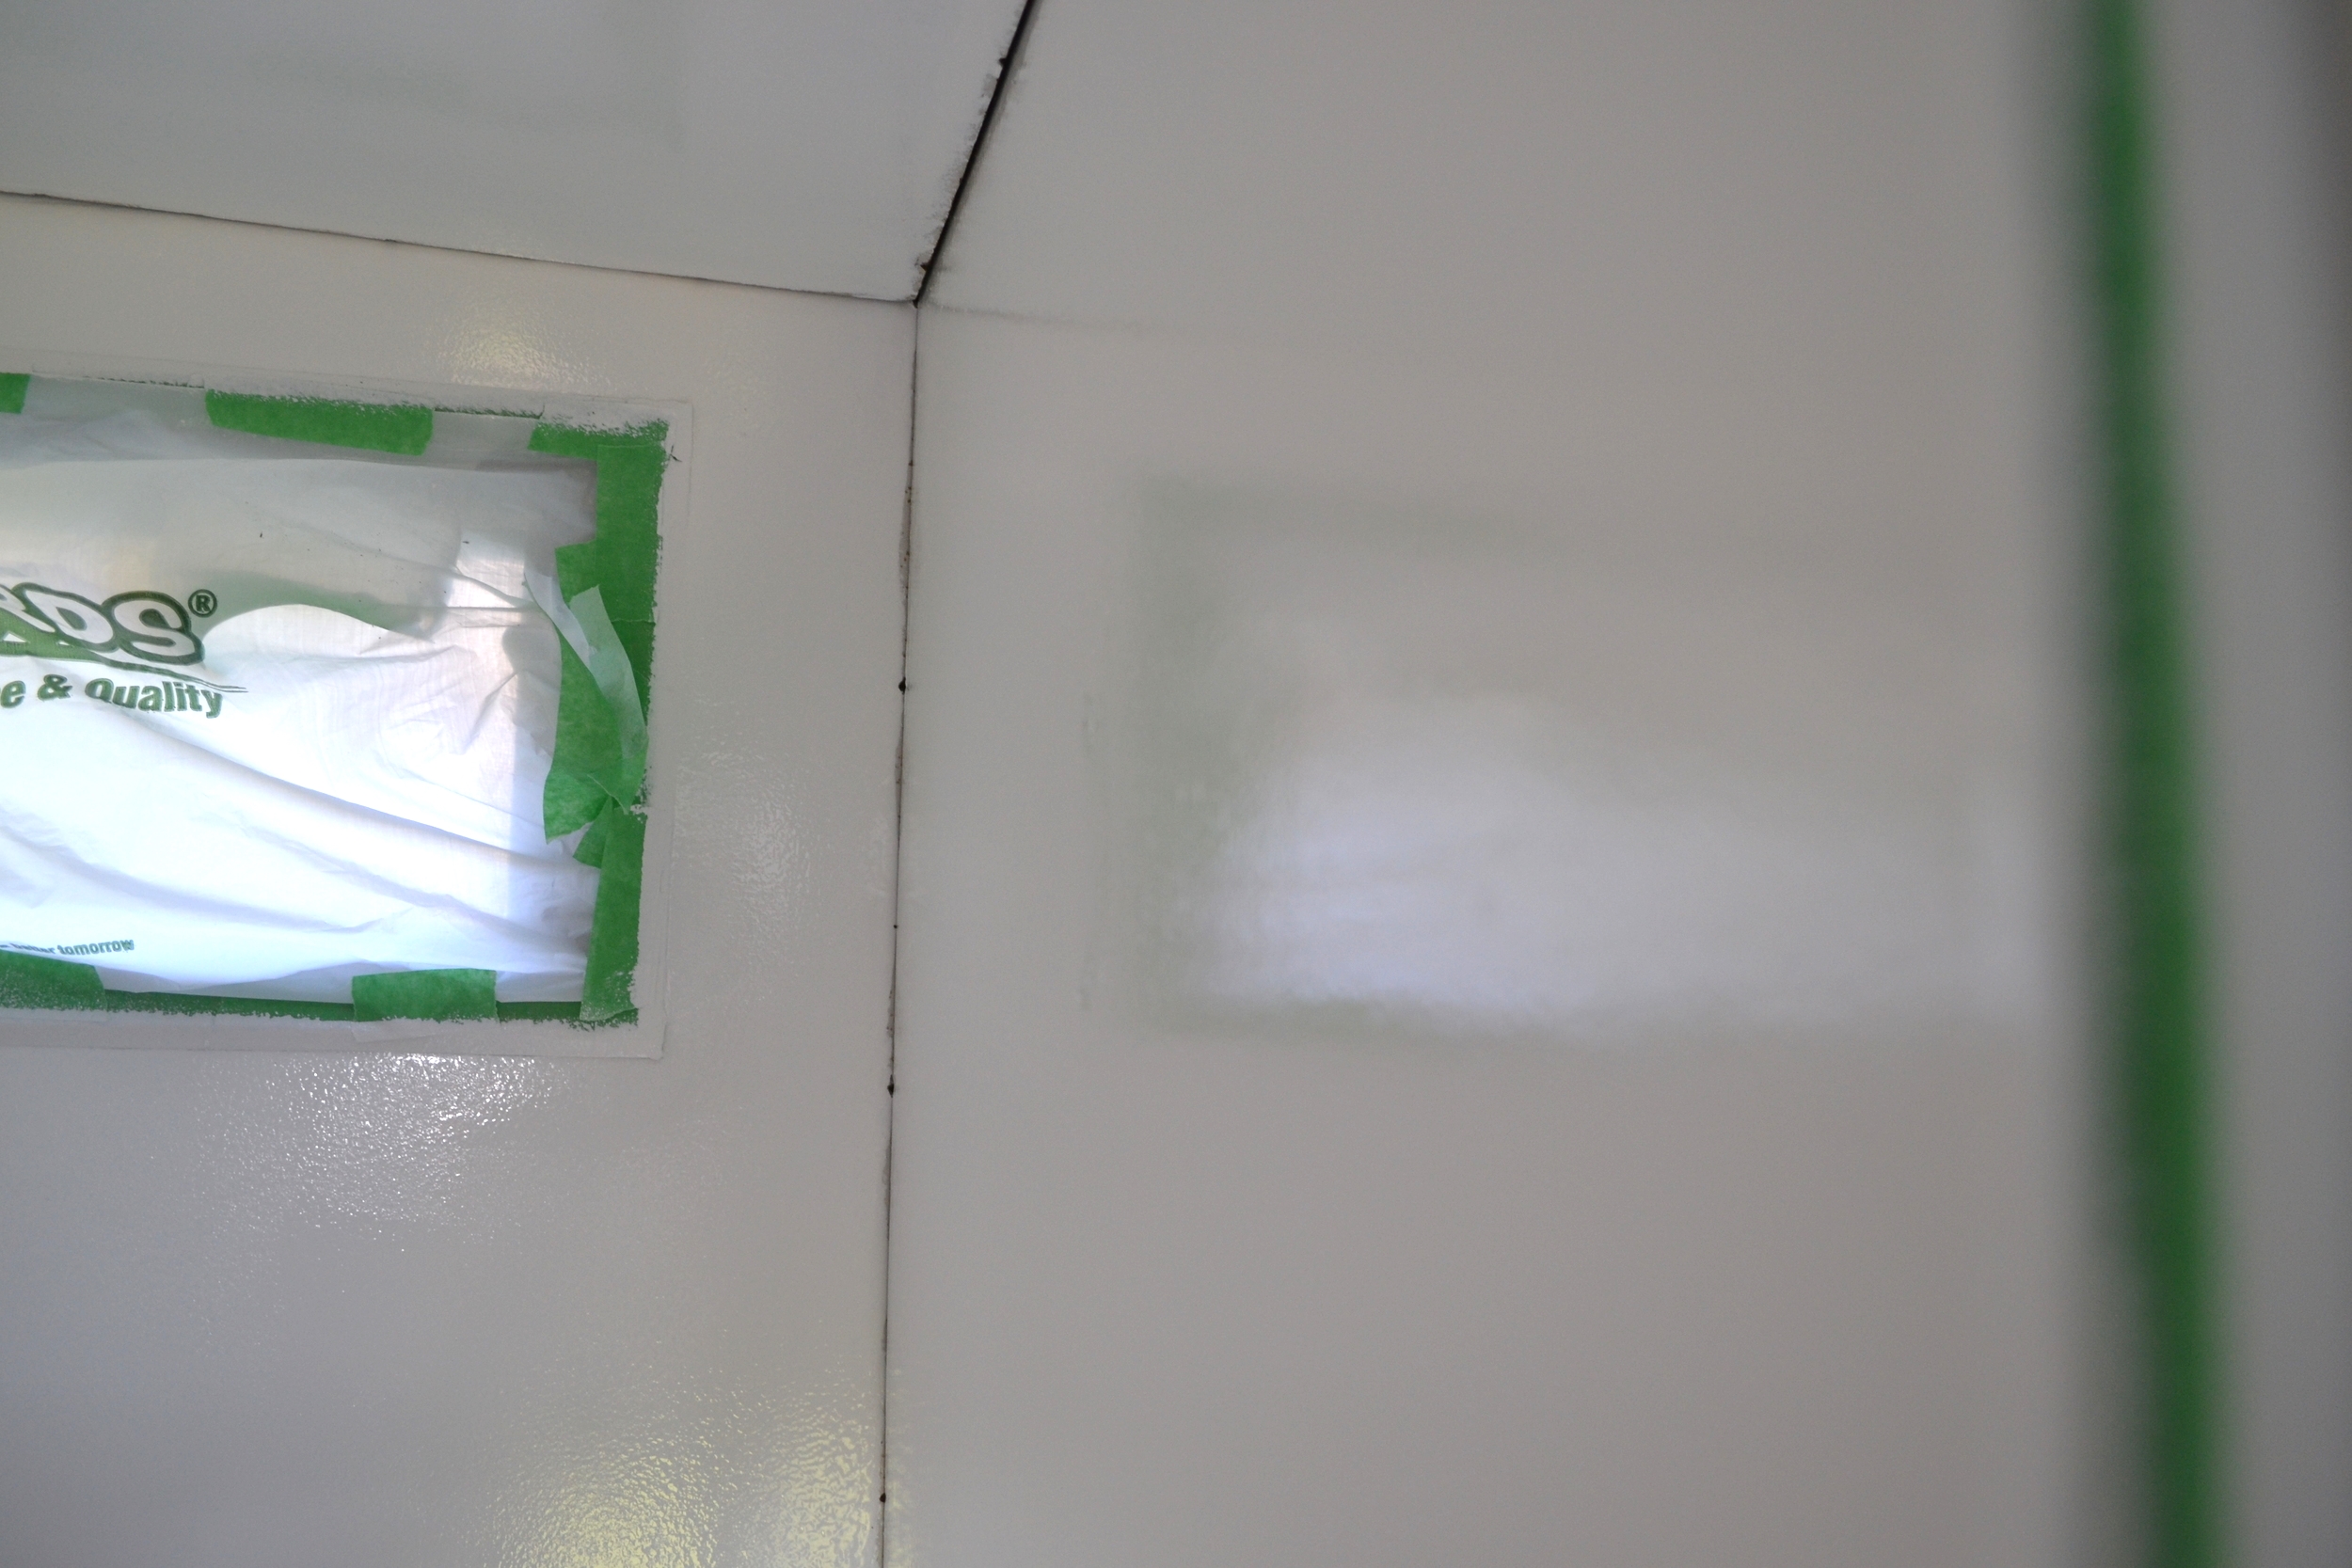
I meticulously taped off all the edges and applied three coats with a foam roller. There was a slight melt down this time around. After the first successful coat, I switched rollers because I'd sliced the foam roller on some metal edging. I didn't want it to leave uneven marks. When I did that, however, some of the "fuzzies" on the new roller came off onto the wall. I tried to get them out and roll over it vigorously. But it only made it worse. I shed a few tears thinking I'd ruined it all. I was also very delirious from the fumes. This stuff is pungent. Being the hypochondriac that I am, I told Carson I was sure the fumes would at the very least give me a brain tumor later in life or something of the like.
Carson, calmed me down, told me to roll it one more time. And he was right. Go buy Rust-Oleum Tub & Tile paint today. It's incredibly sturdy, looks great, seals wonderfully. I have since even considered painting the tub in our apartment with it and we don't even own this place. At $30/box you can't go wrong.
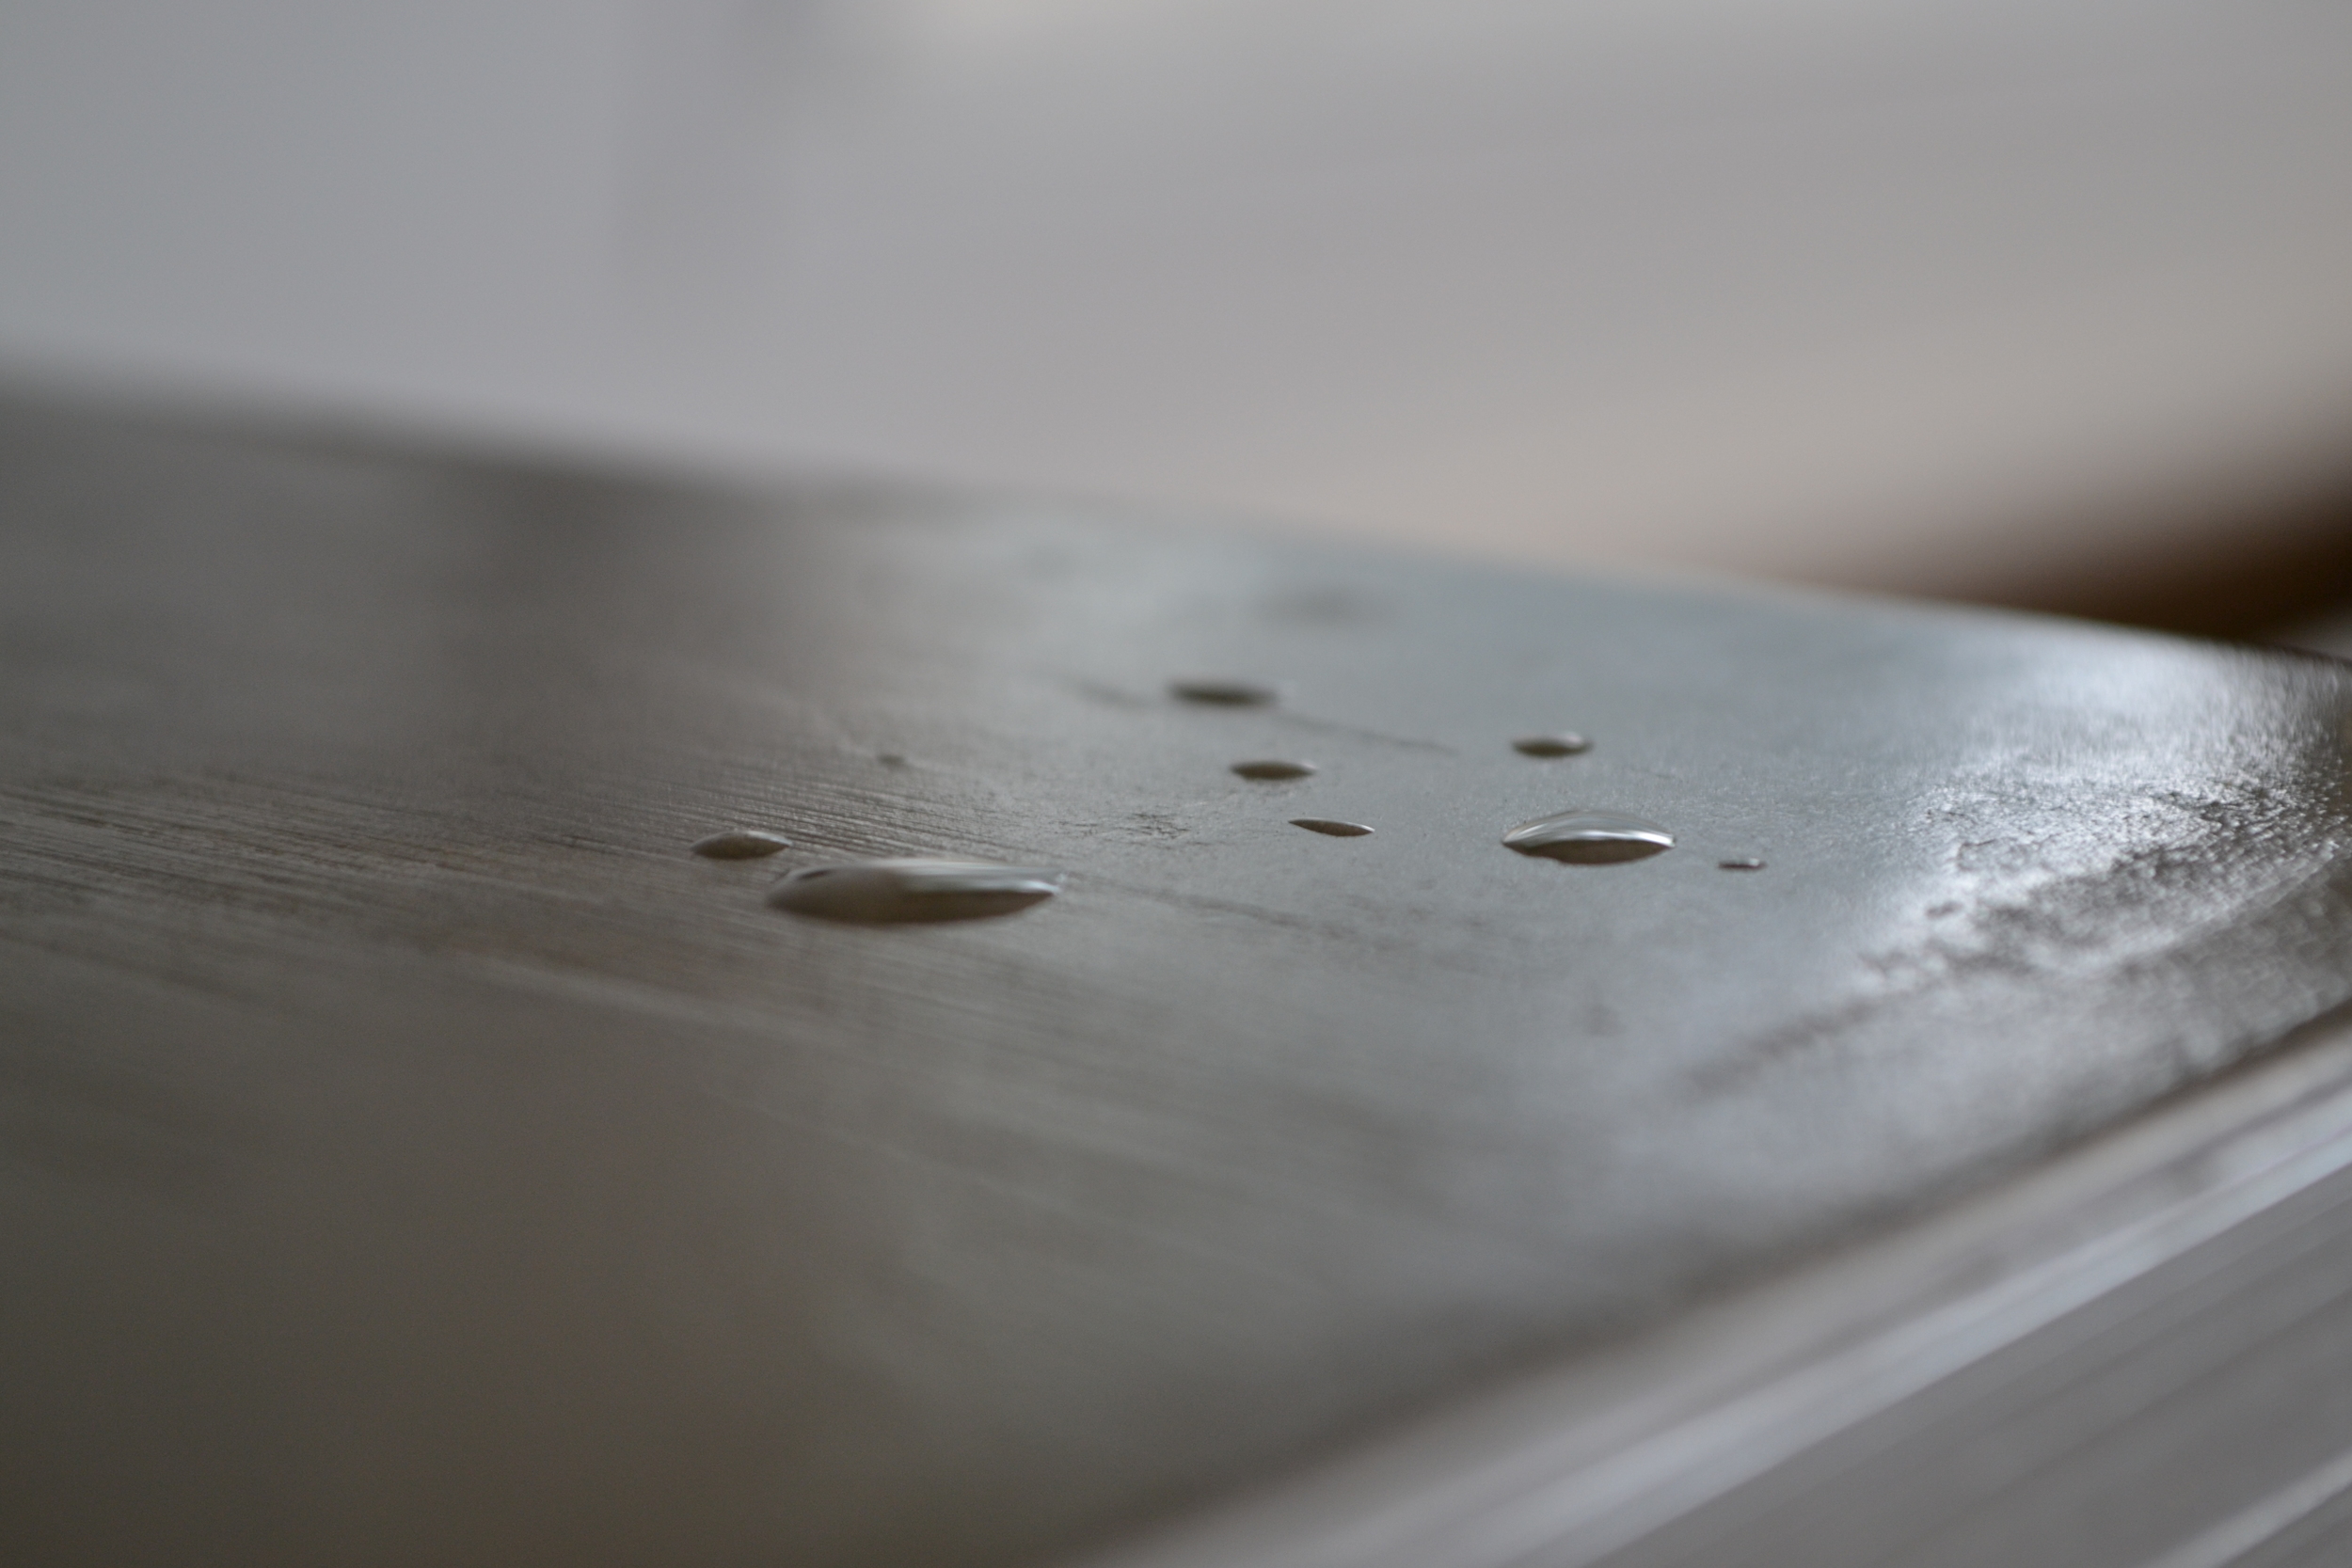
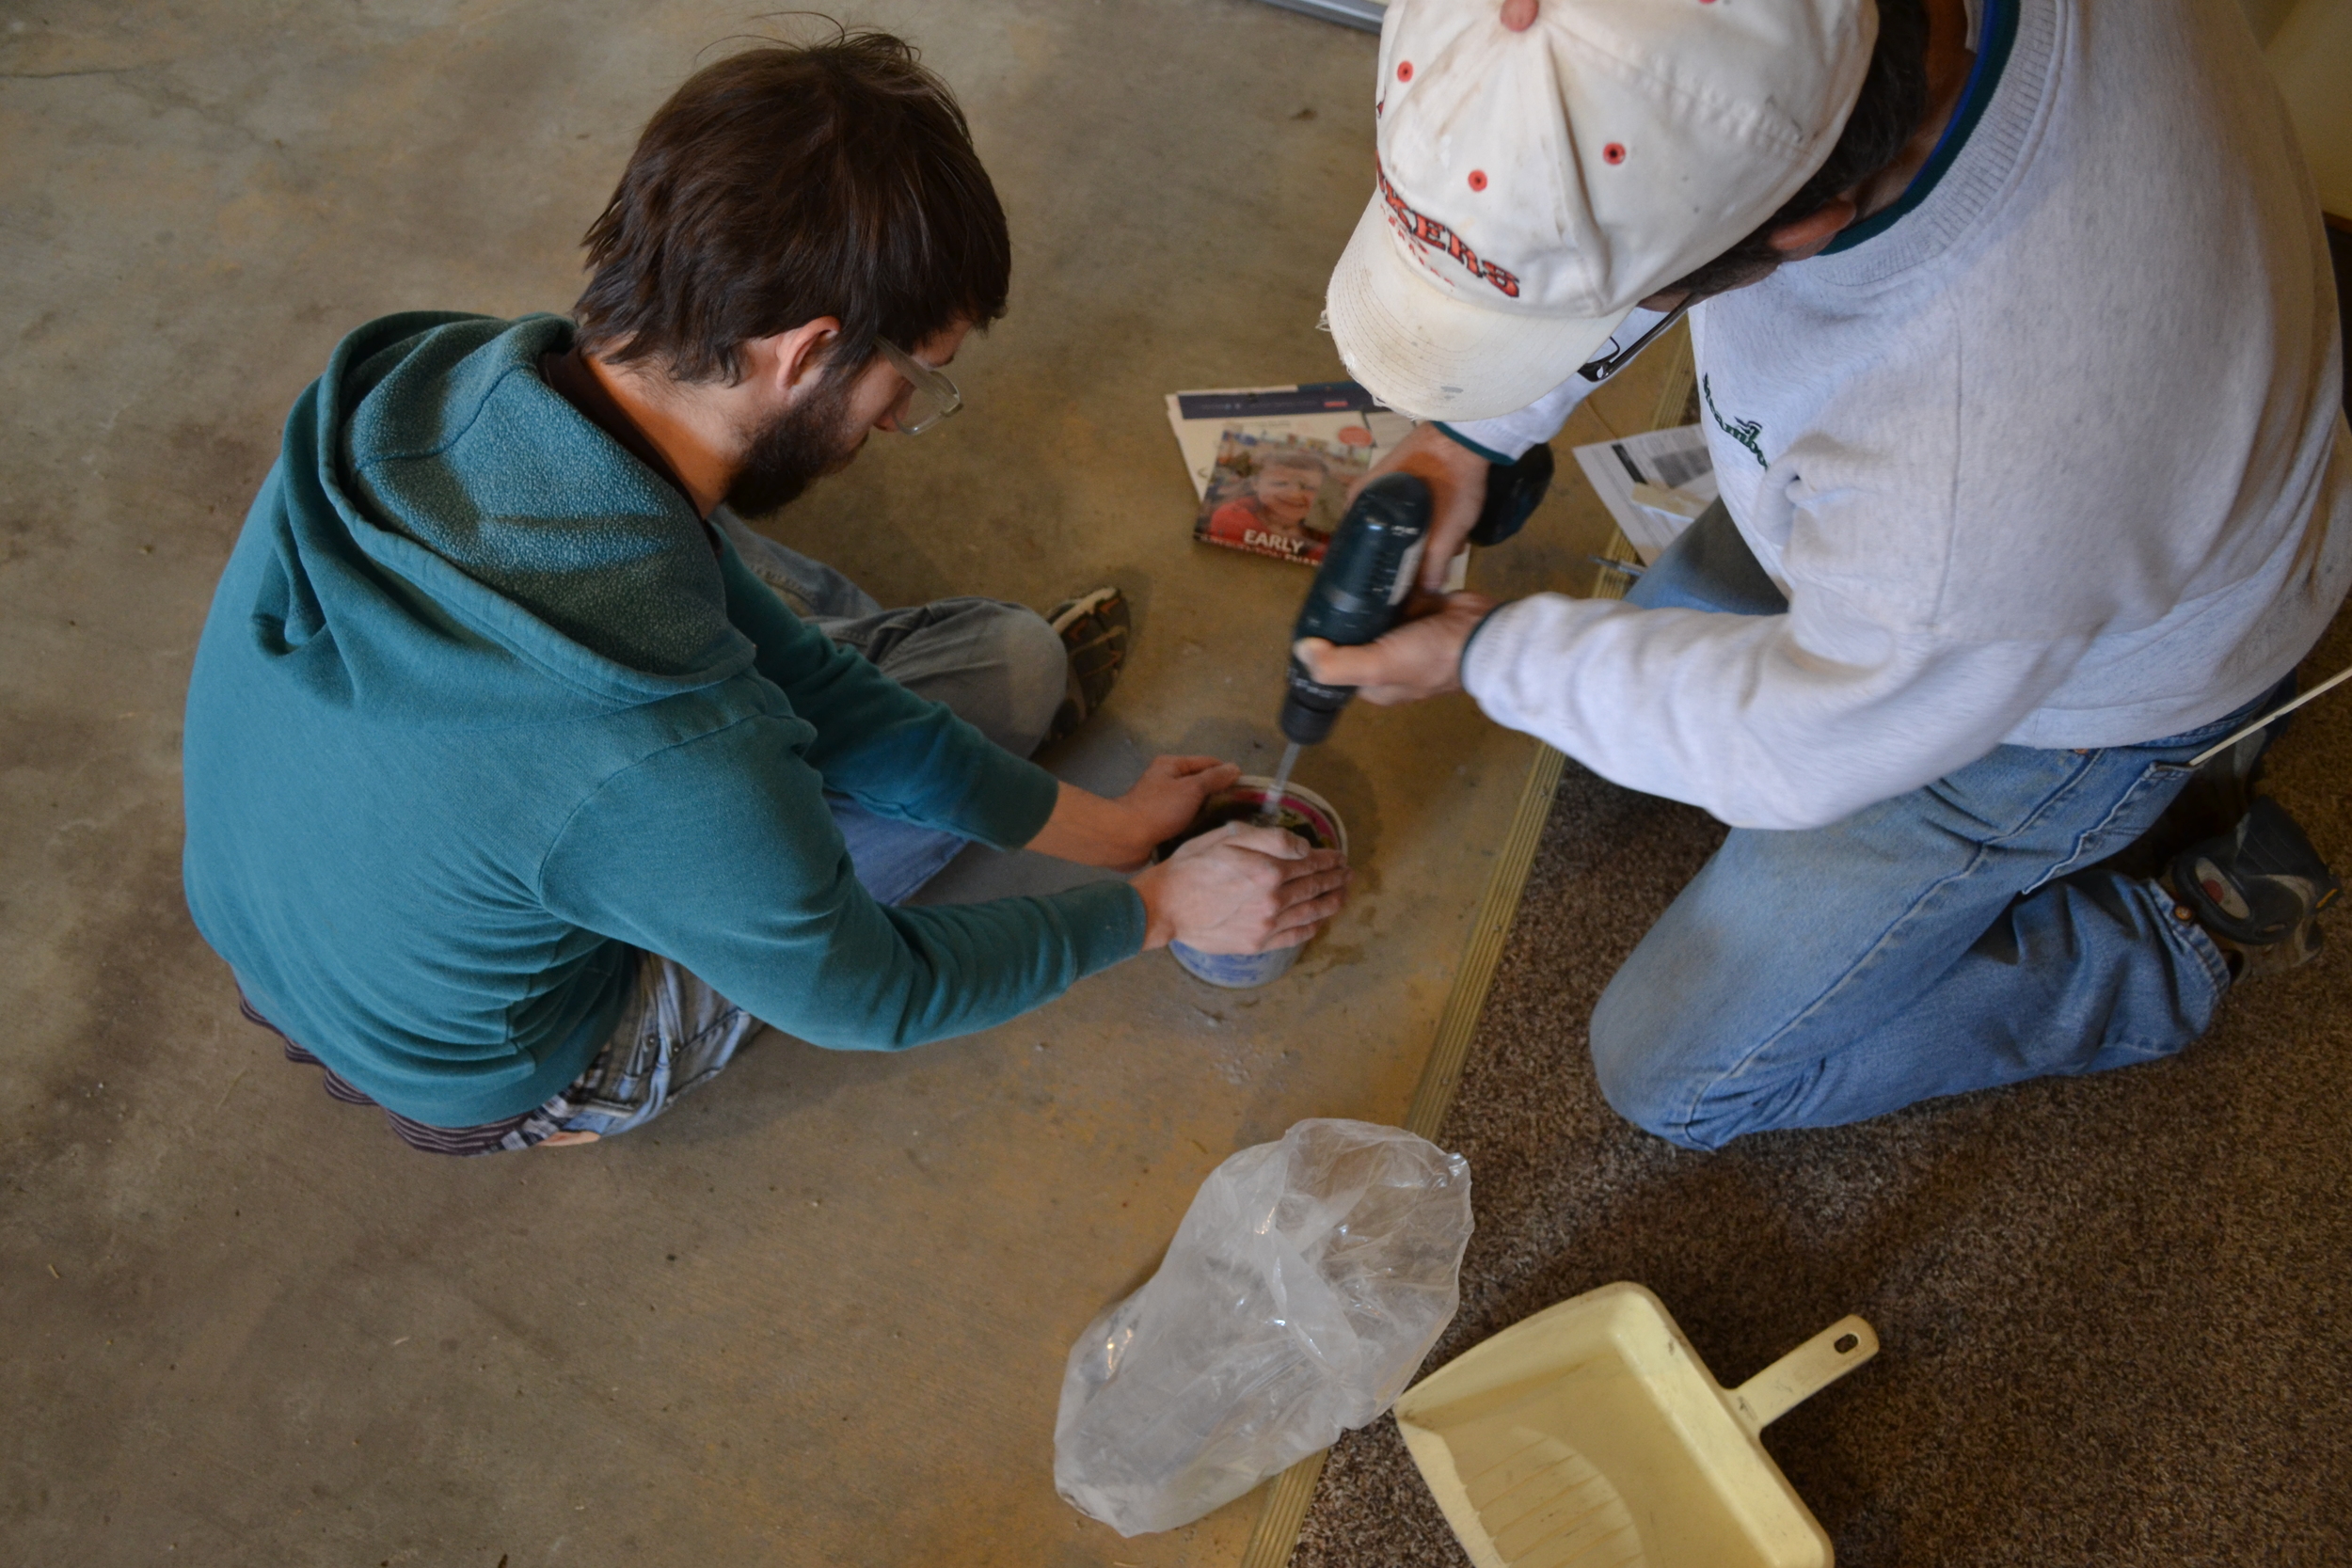
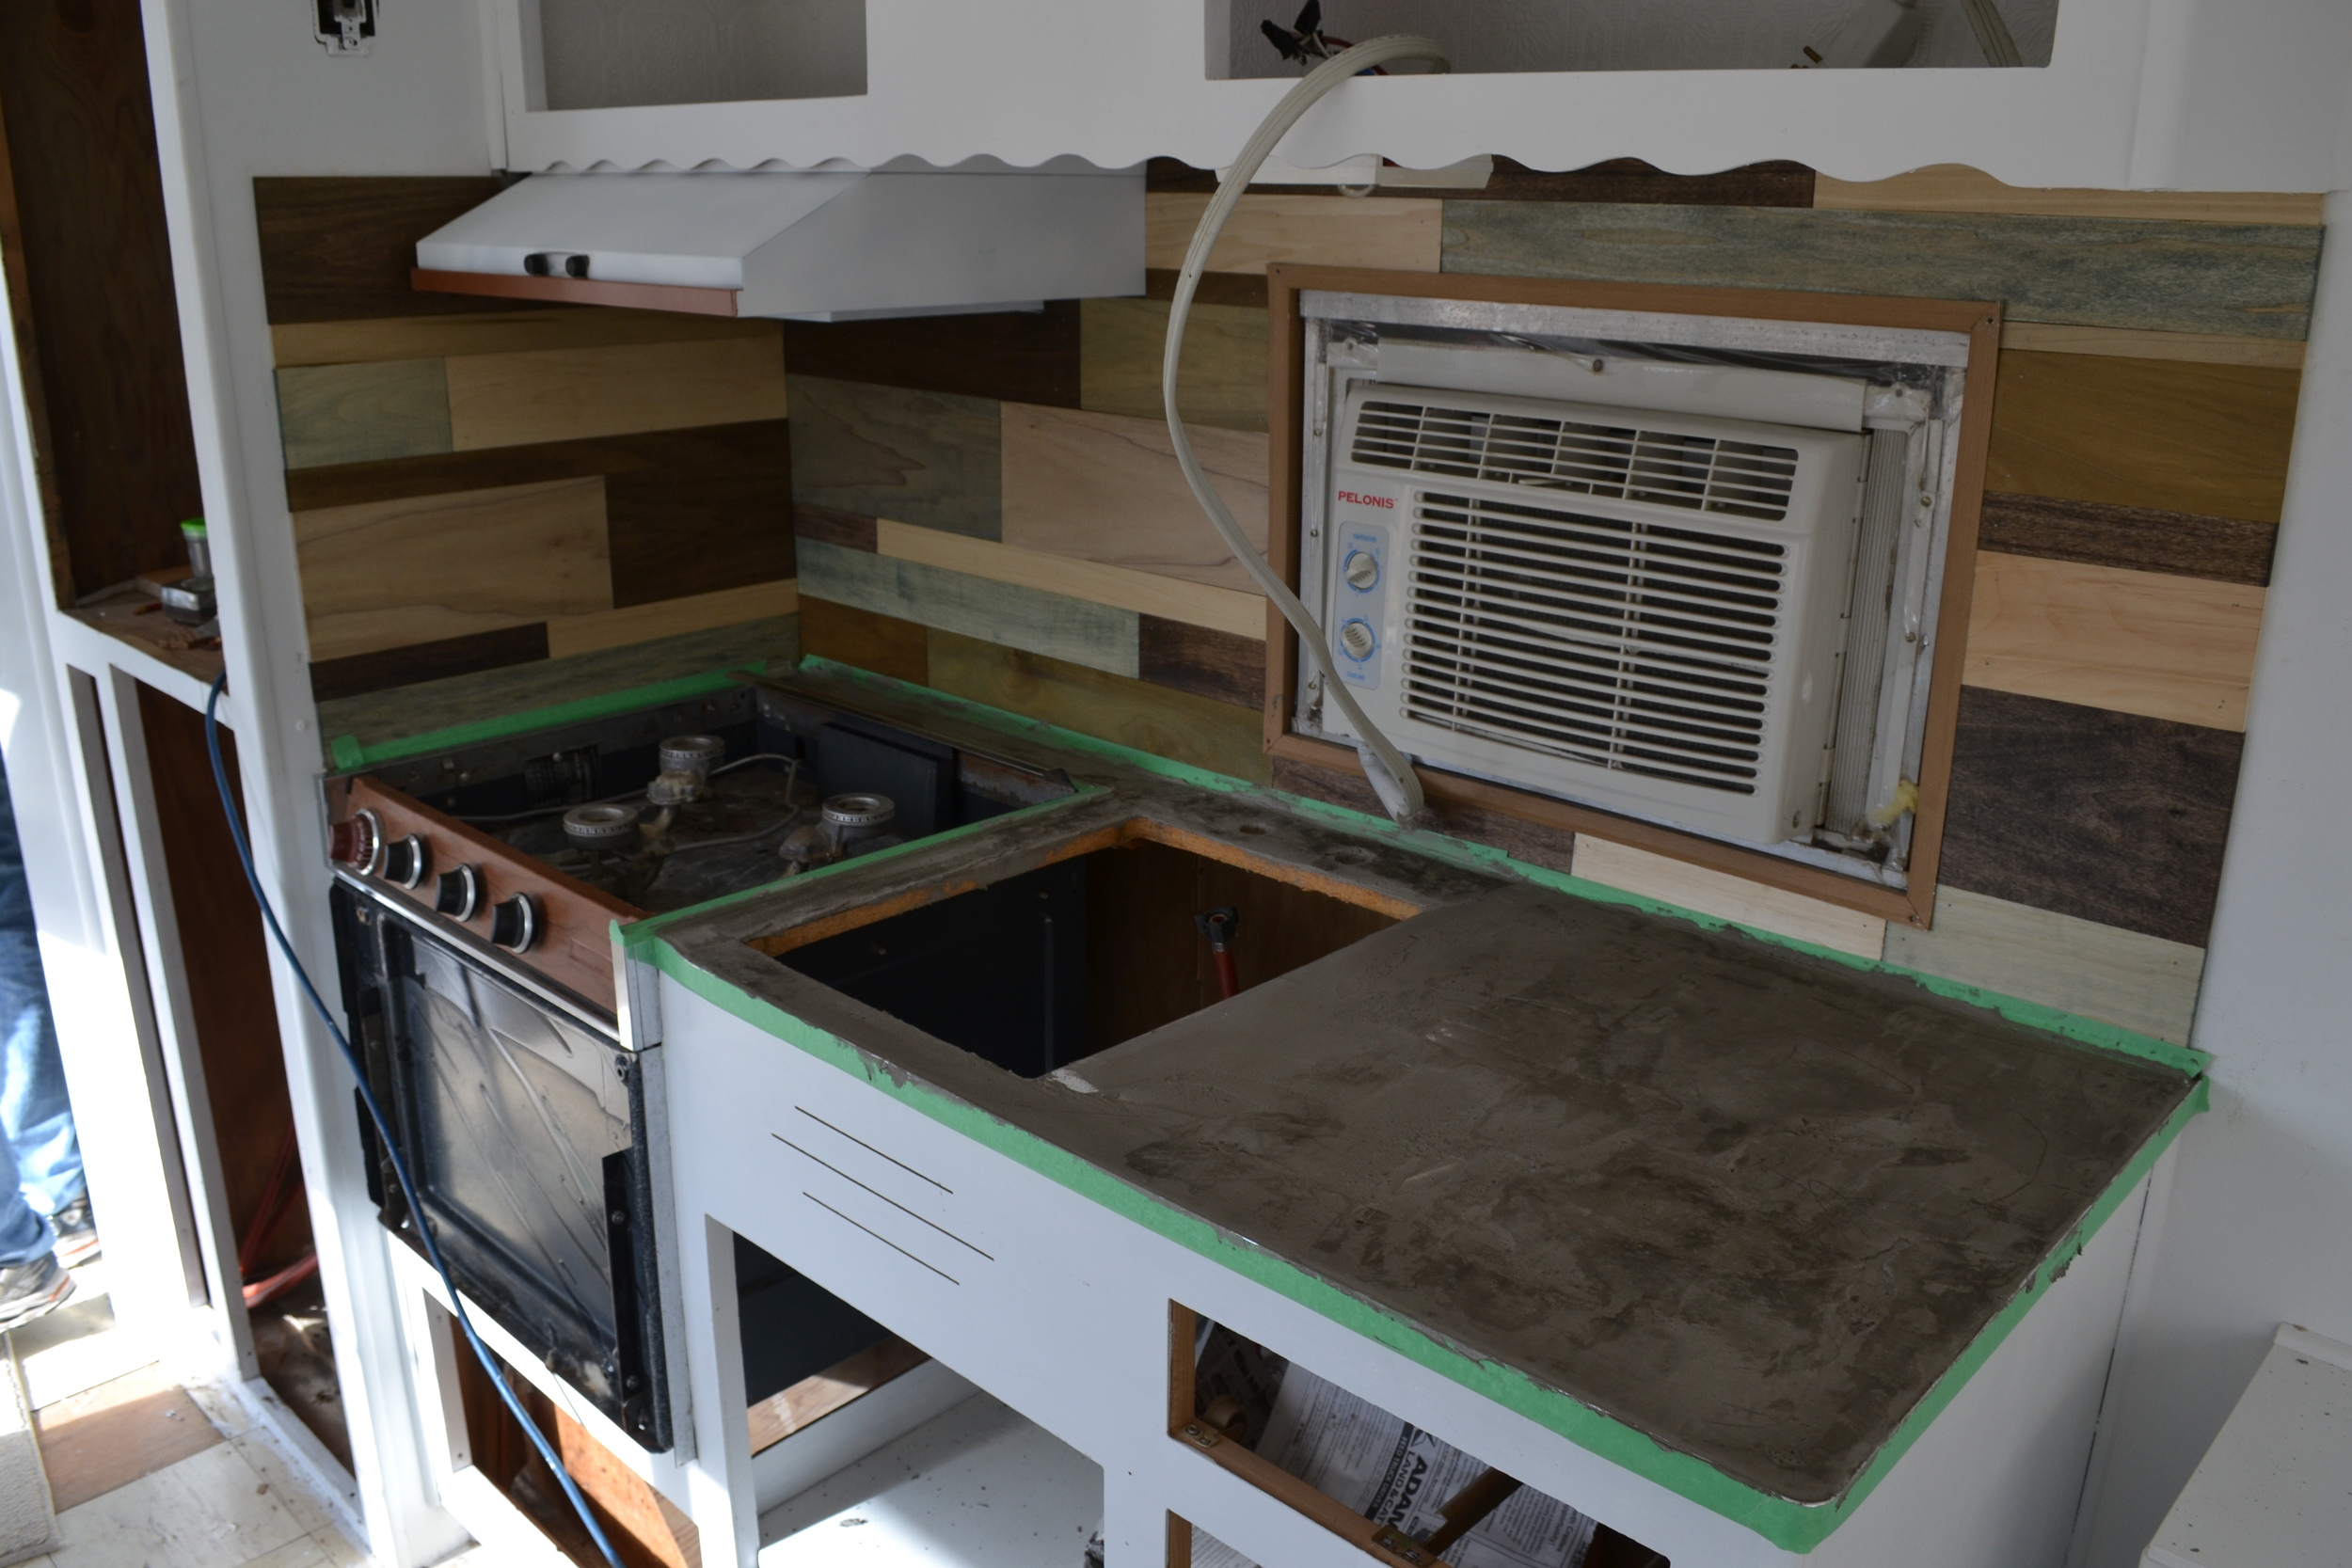
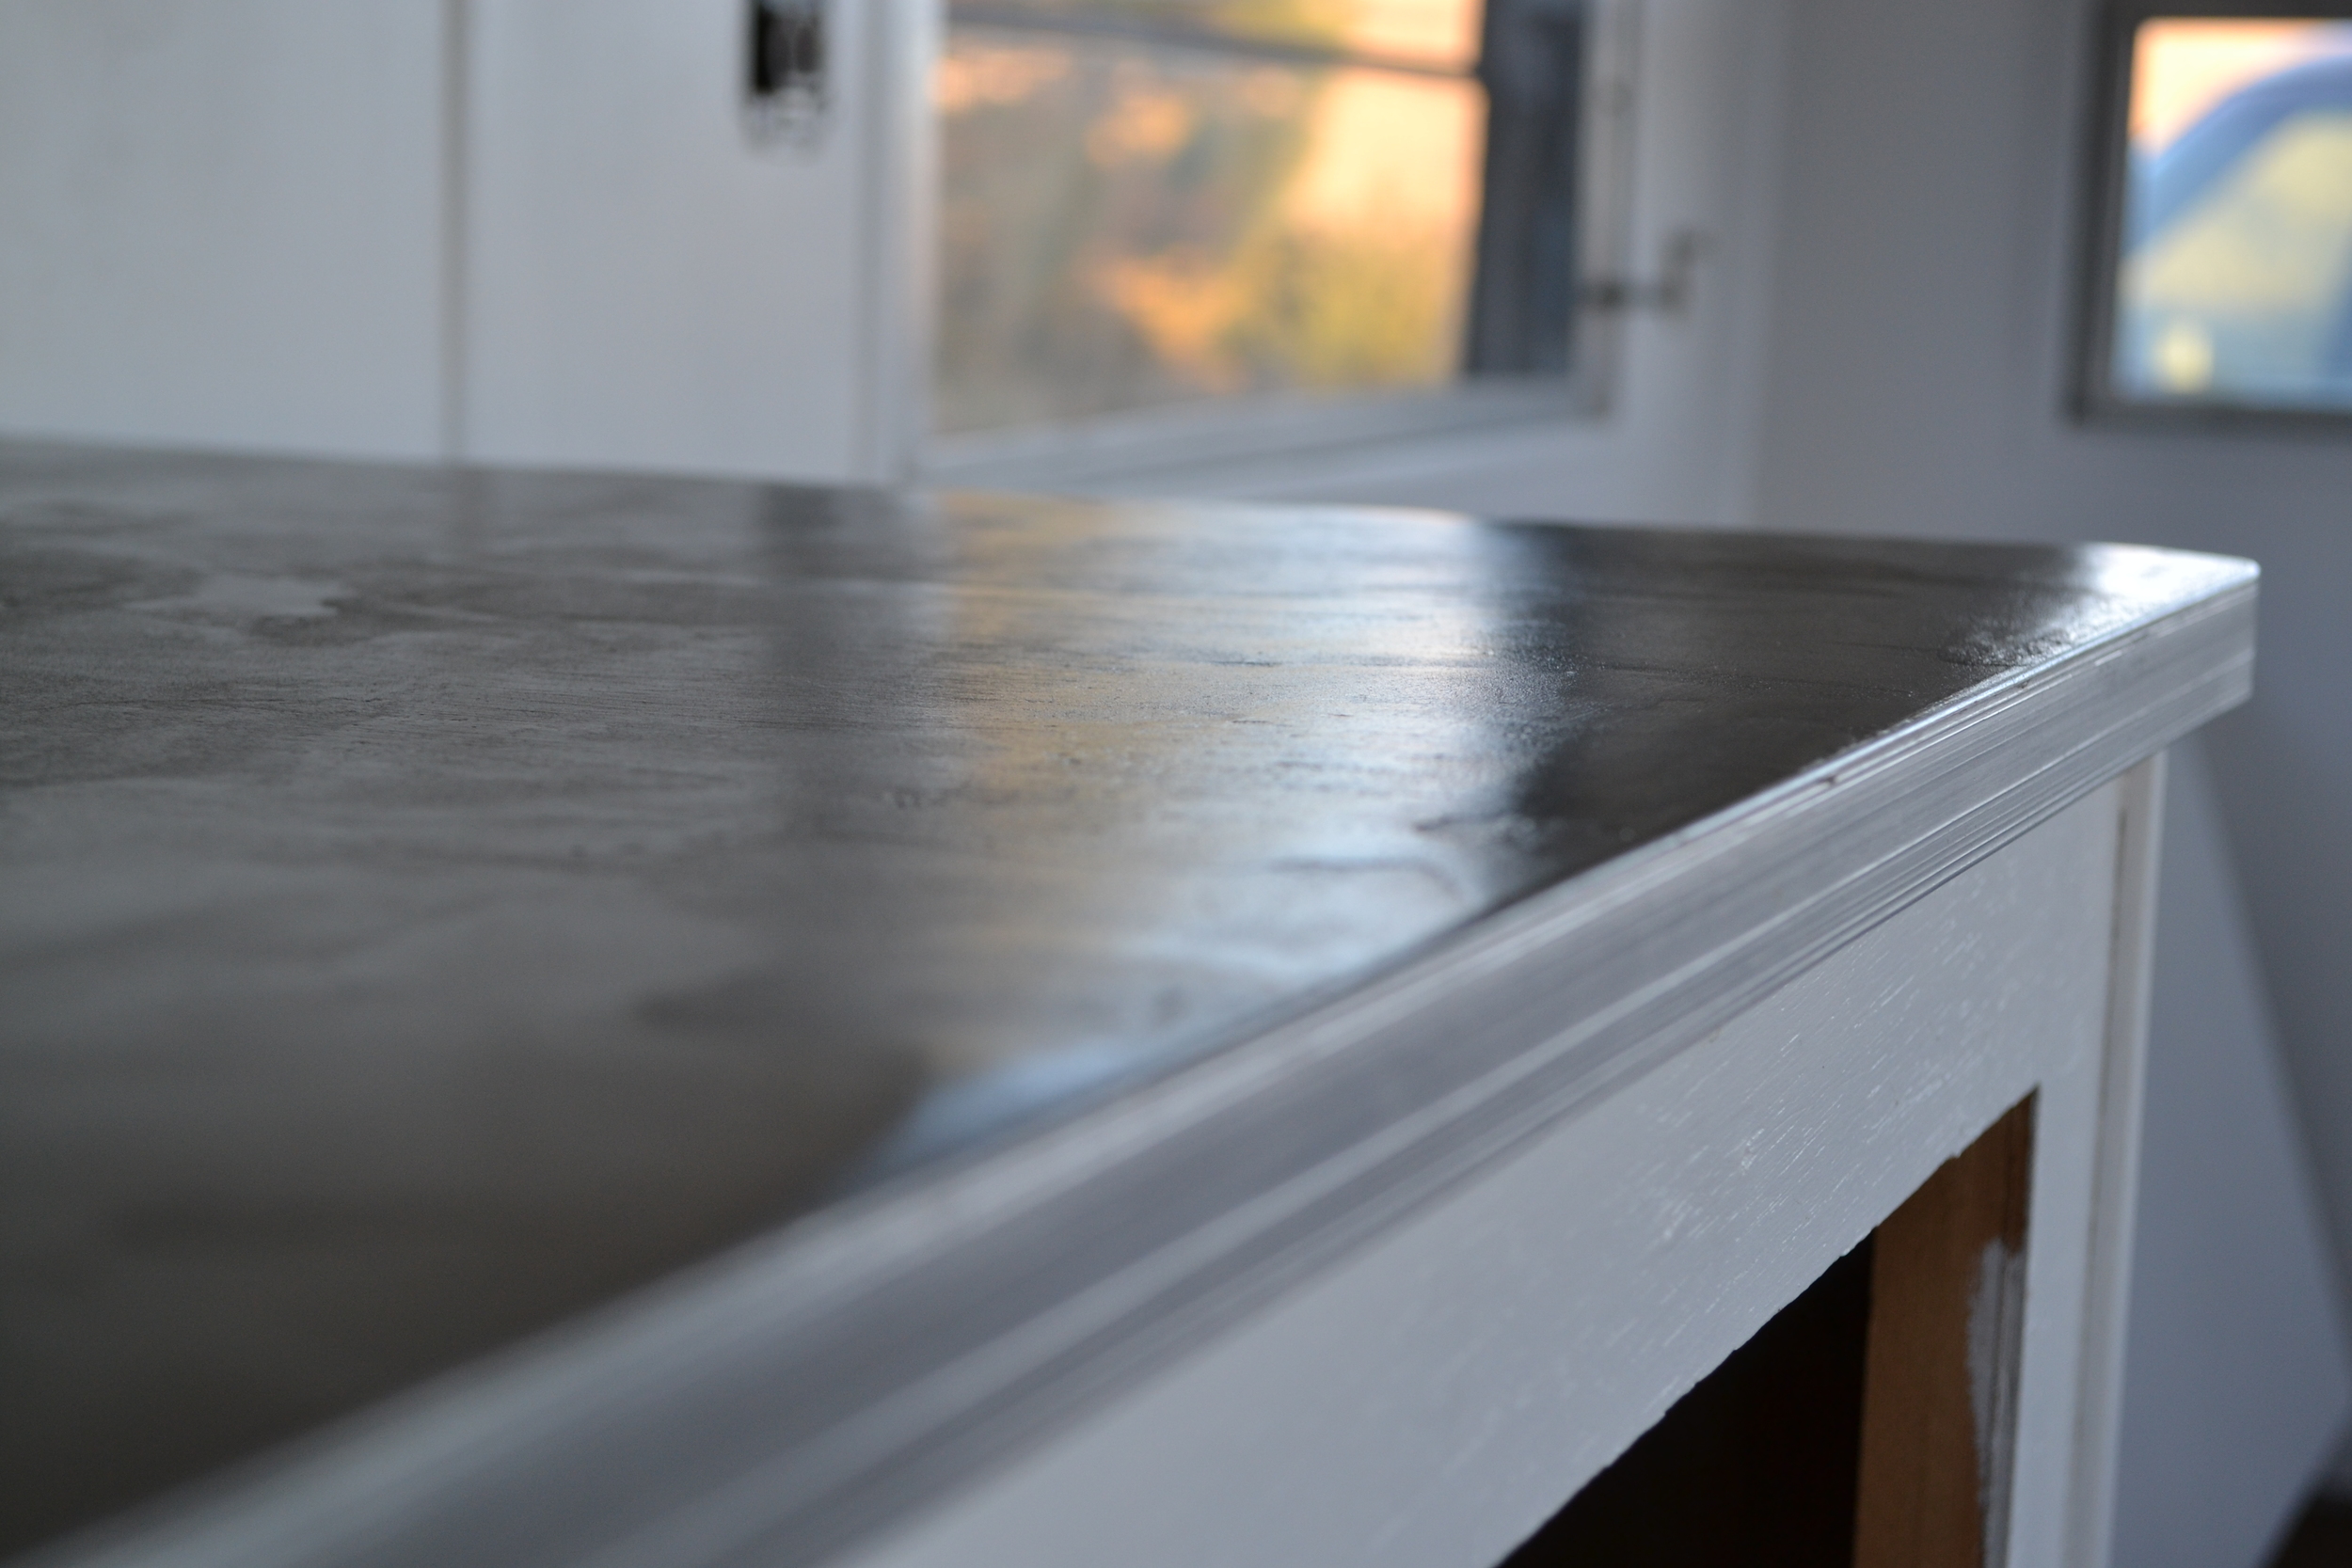
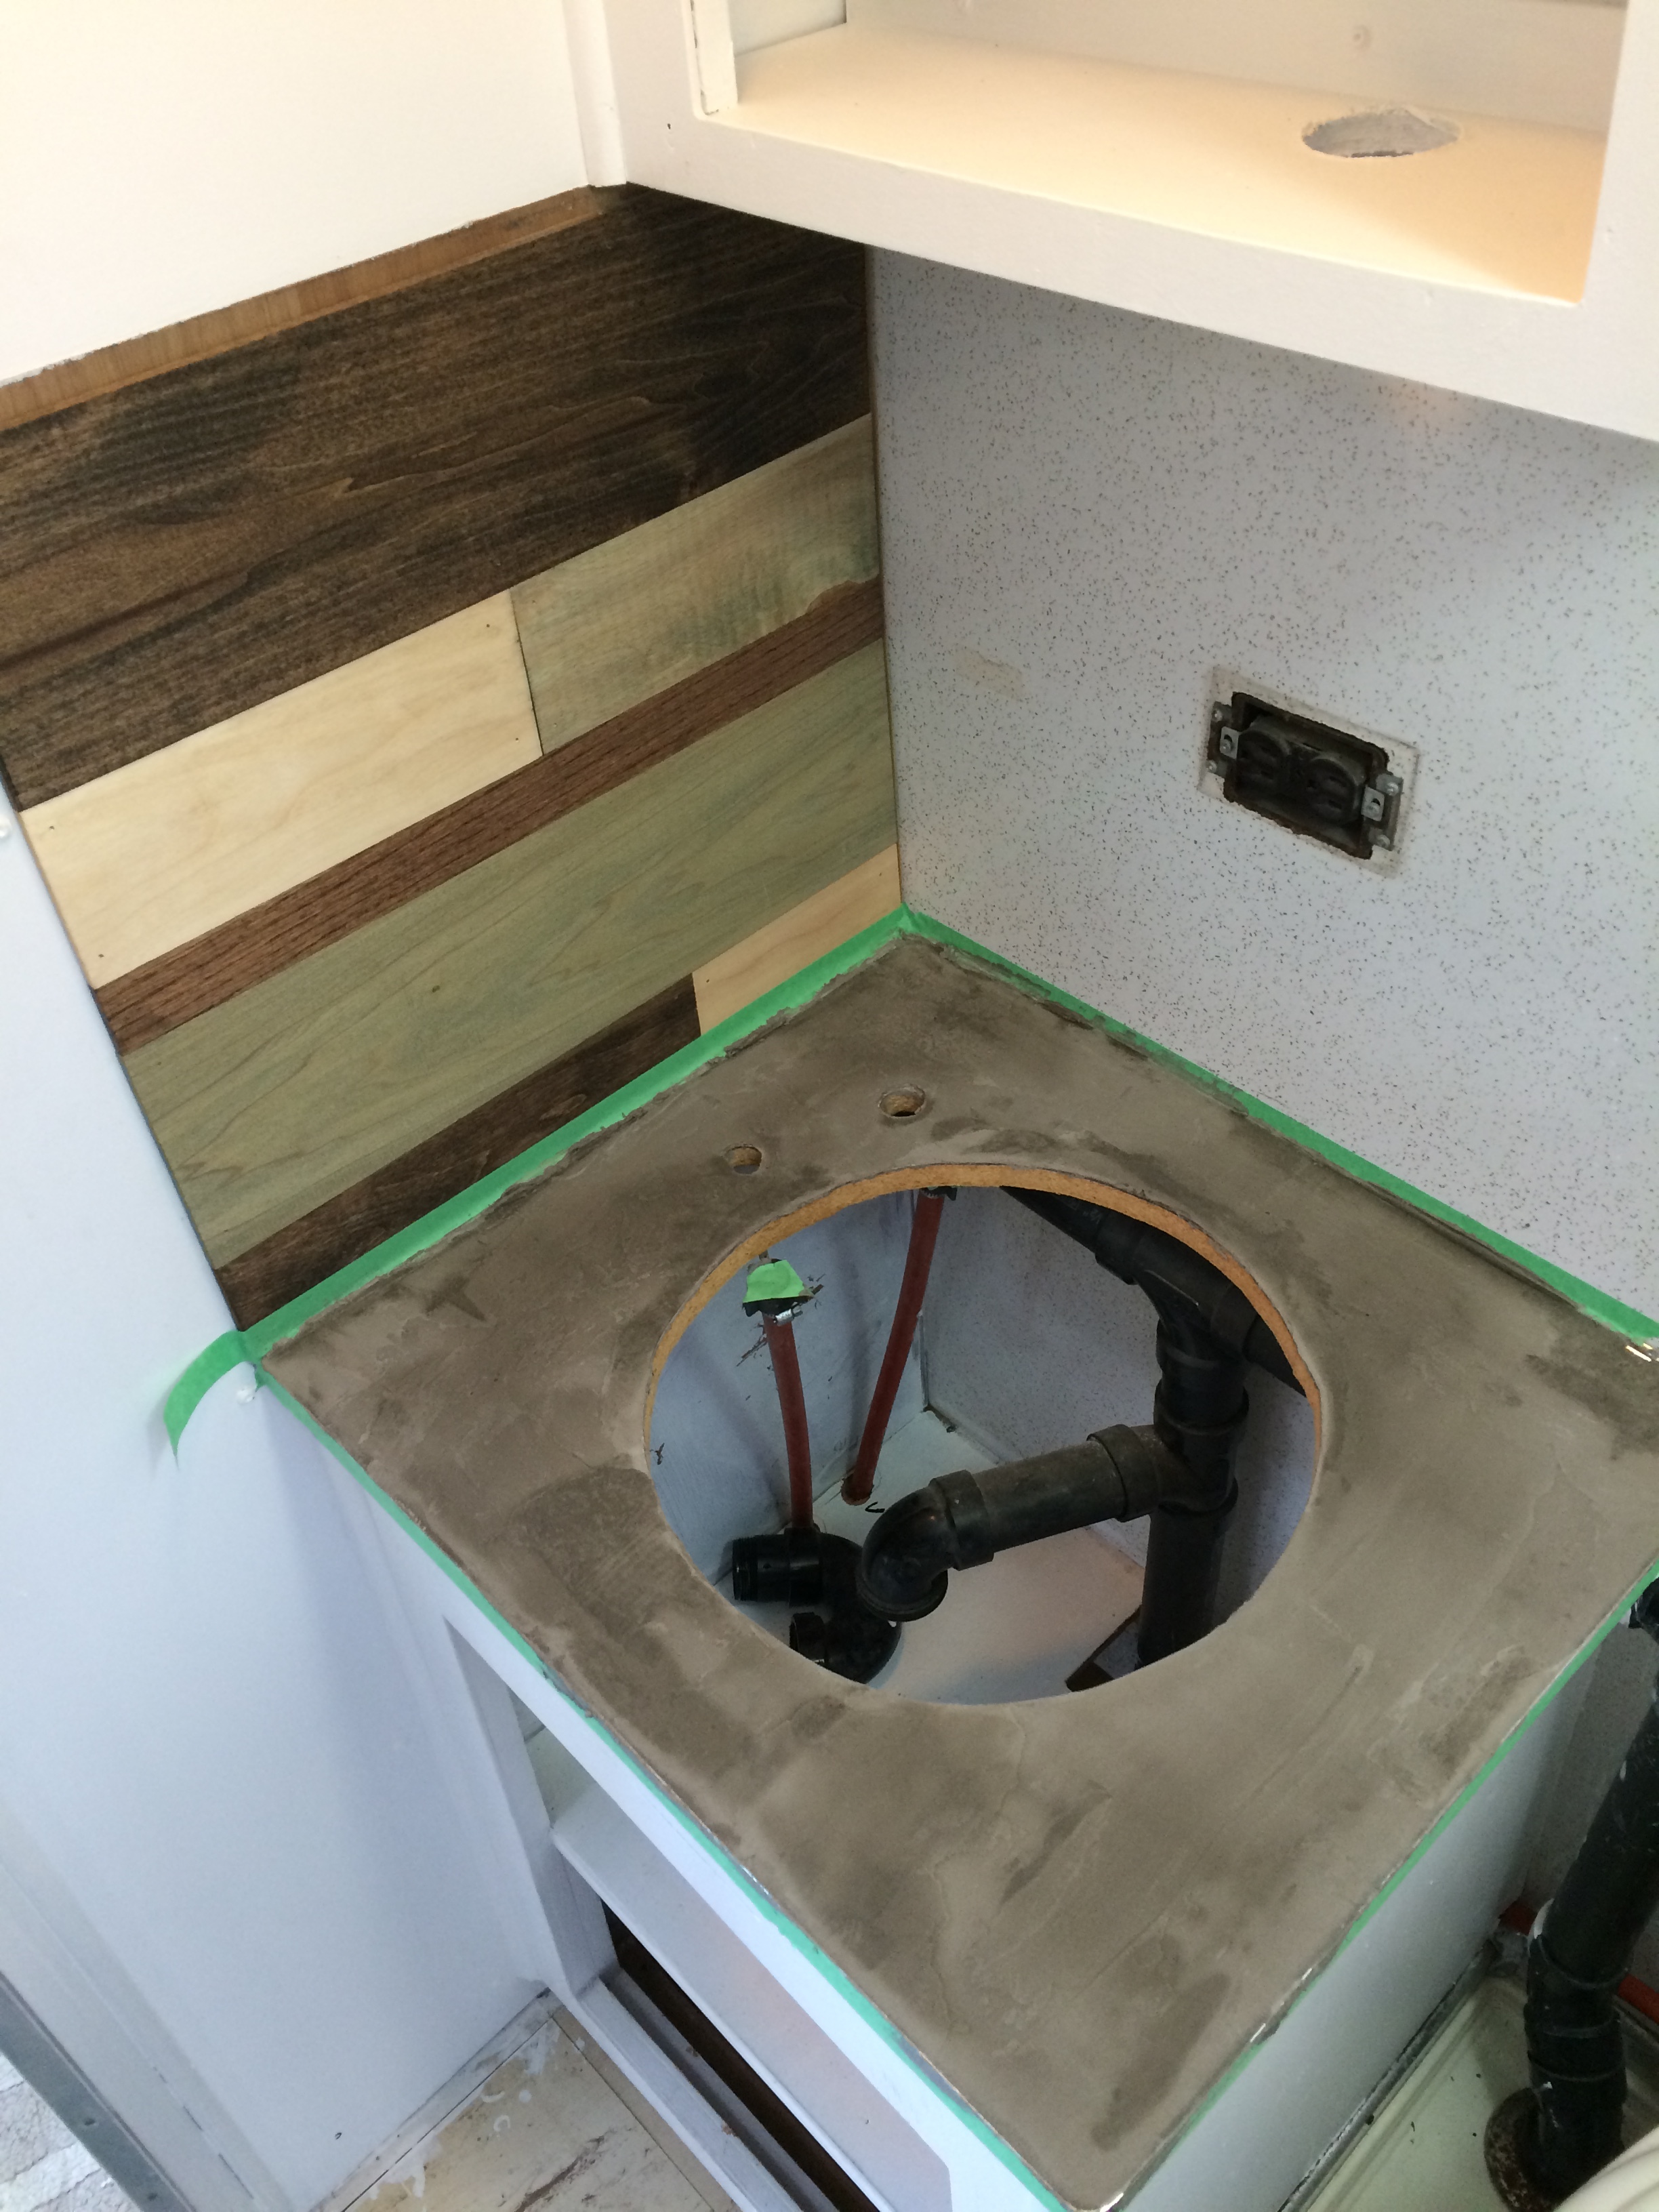
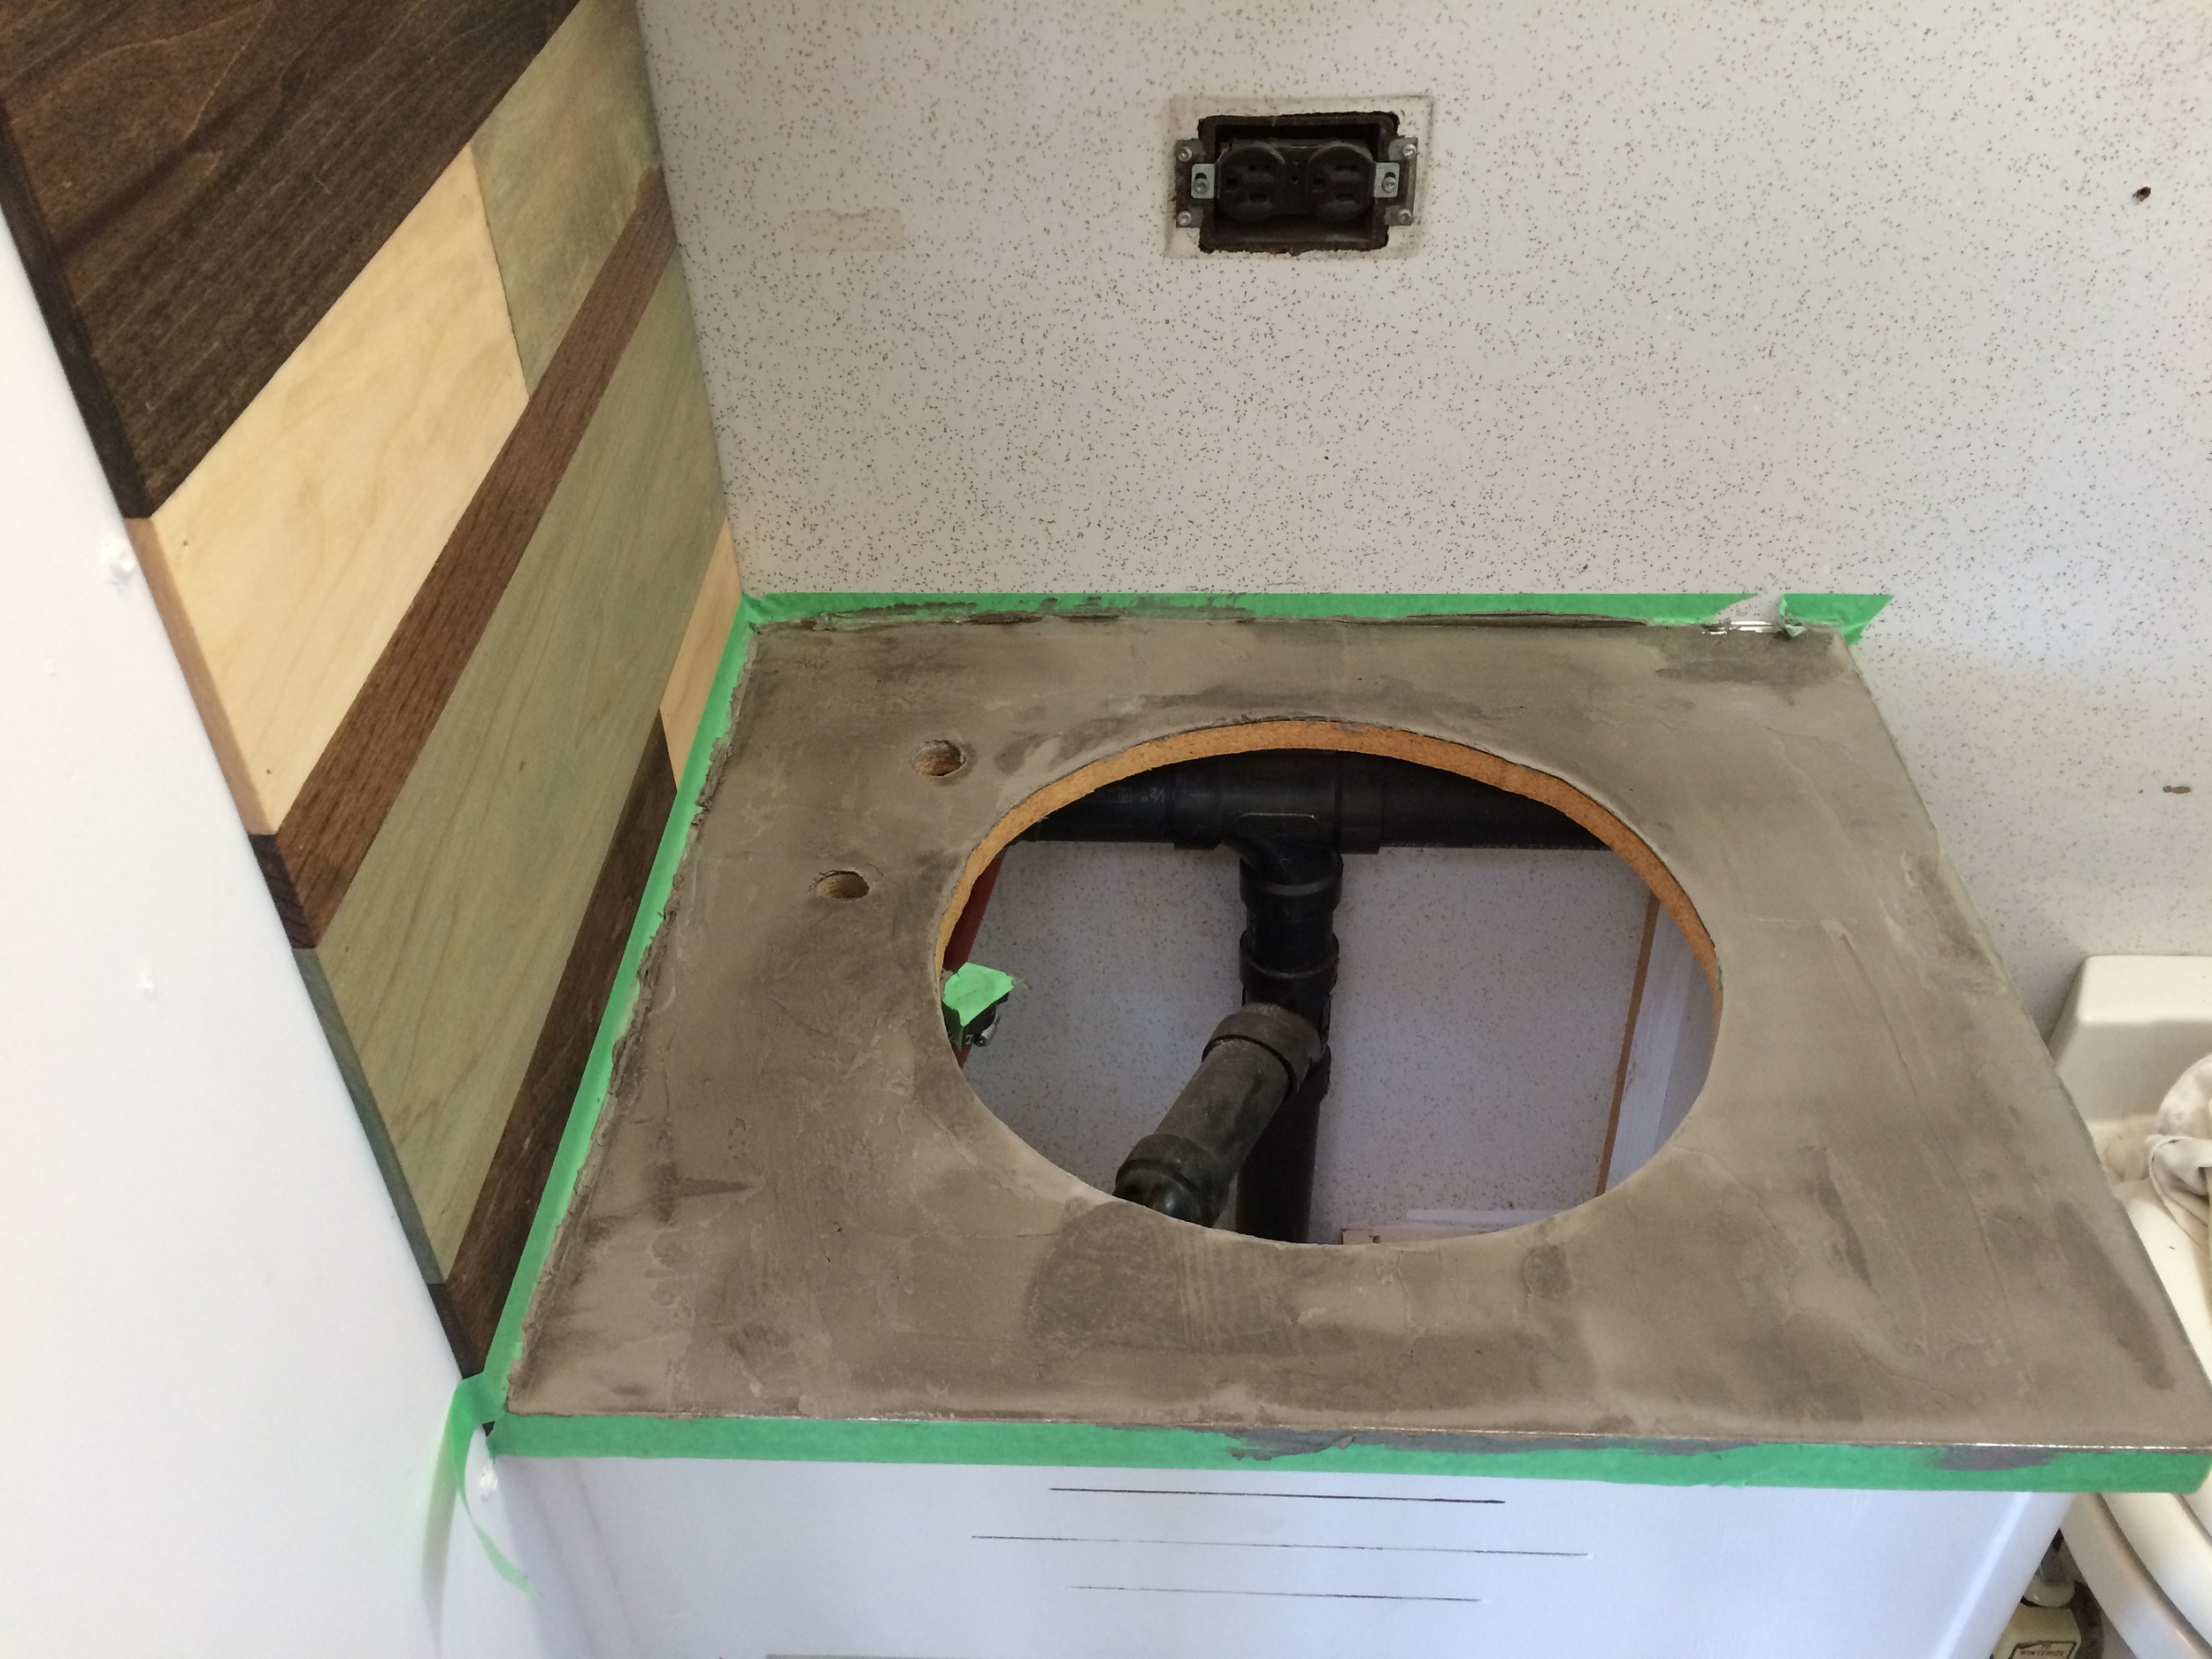
Now let's talk about our second aesthetics argument: the concrete countertops. While there was nothing technically wrong with our white and gold speckled countertops, they weren't necessarily appealing either. I spent a lot of Google time looking at potential solutions. The blog Vintage Revivals and Mandi's tutorial on how she refinished her countertops with concrete in The Nugget sold me.
Jerry was skeptical (again). He thought the product might crack over time. He was also worried it'd be uneven. And, yes, the countertop was perfectly functional. But as Carson has noted, we wanted that industrial kind of vibe. Concrete is a must for that look. Here's the steps and advice I'd give you on making this work.
- Ask for help. Finding the product was the first challenge. Follow Mandi's advice and look for Henry Feather Finish at The Home Depot. But ask a rep to help you locate it. It took us 20 minutes with an associate or two.
- Follow instructions, kind of. Even though the product says to NOT add more water after you've initially mixed it, we did. And the world didn't end. This stuff has a short time window (10 min., maybe) before it gums up. You've got to move quickly to spread it right away after you've mixed it. But if you need more time, like us, you can add some water.
- Use a trowel and bondo tool. We used a trowel to evenly spread the cement mixture in the larger areas. When we had tight spaces around the oven and sink we used a Bondo spreader Jerry had from doing car body repair. It worked great.
- Sand, sand, sand. We ended up doing about three coats/layers total, and while we did hand sand in between coats, we did most of the sanding work at the very end. Turns our my spaghetti arms are not cut out for hours of sanding. We broke down and used an electric hand sander. That was a good and bad decision. Bad: it left some imperfect marks on our counter top. Good: we actually like that it isn't perfect.
- Cheng concrete sealer. This stuff was kind of pricey (IMO), but so worth it. It's food grade. It seals the heck out of things. And works pretty easily. We applied the solution mixed with water (watch and follow the YouTube video) to the countertops about six times. We are very pleased with the seal and results. We used the 500ml bottle.
Both of these projects were very intimidating and could have gone horribly awry in hindsight. But YouTube videos from both Rust-Oleum and Cheng got us through it. Let's give their marketing departments a round of applause, people.

